
To clear your Ring Doorbell, start with a factory reset. Locate the orange reset button on the back and hold it for 10-20 seconds until the light flashes. Remember, this will erase all your settings, including Wi-Fi details, so make certain your device is charged. After resetting, use the Ring app to reconnect and customize your settings. If you need to remove the device from the app, go to Device Settings and select "Remove this Device." Managing recordings is also essential; you can delete unwanted videos for better performance. You'll find even more helpful tips on optimizing your device.
Key Takeaways
- Perform a factory reset by holding the orange reset button for 10-20 seconds to erase all saved settings.
- Ensure the device is charged and properly installed before starting the reset process.
- Use the Ring app post-reset to reconfigure the device and reconnect to Wi-Fi.
- Access the Ring app's Device Settings to remove the device if needed, ensuring to back up recordings first.
Overview of Clearing Process
Clearing your Ring Doorbell is a straightforward process that usually involves performing a factory reset to fix any connectivity or operational issues. This factory reset erases all saved settings, including your Wi-Fi network details and any custom configurations. To clear Ring Doorbell history, you would need to manually delete past video recordings or events through the Ring app, depending on your subscribed service plan. After performing a factory reset, all accumulated event history may remain on Ring’s cloud storage unless explicitly deleted. It’s important to review your storage settings if you’re concerned about how long recorded data is retained.
It's crucial to have your device charged and properly installed before you start the clearing process. Additionally, ensuring that your home environment has good air quality can enhance the performance of smart devices like your Ring Doorbell, as air purifiers improve indoor air quality markedly.
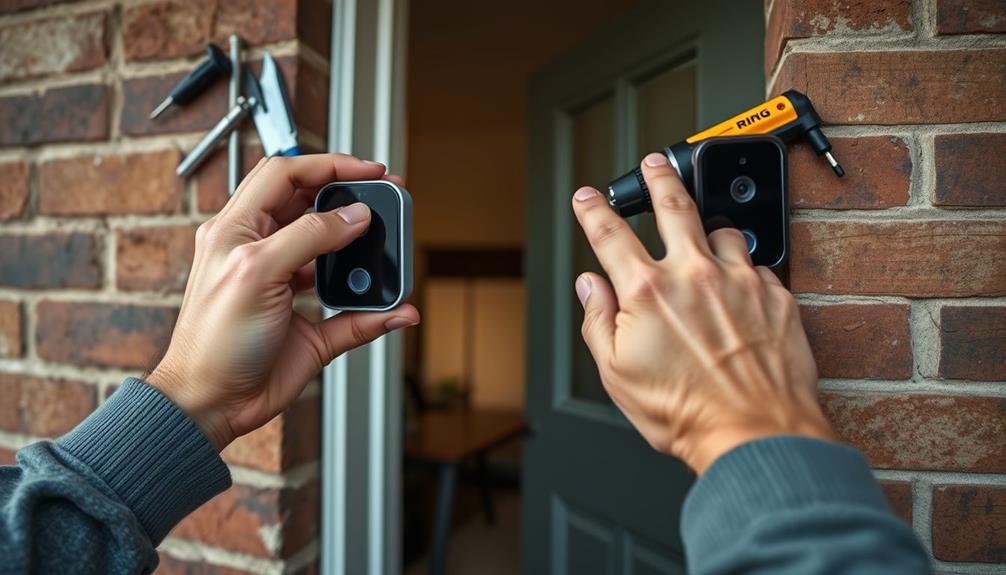
To initiate the reset, you'll need to locate the orange reset button on the back of your Ring Doorbell. Press and hold this button for about 15-20 seconds until you see the LED light stop flashing.
After the reset, your device will enter setup mode, making it ready for you to reconnect it to your Wi-Fi network. You can easily do this using the Ring app, which guides you through the process step-by-step.
Factory Reset Instructions
To reset your Ring Doorbell, you'll need to follow specific steps that vary by model.
Once you've completed the reset, you'll go through a setup process to reconnect the device to your Wi-Fi network.
Let's break down how to reset different models and what to expect afterward.
Resetting Different Models
Resetting your Ring Doorbell varies by model, so it's important to know the specific steps for your device. Below, you'll find a quick reference table to help you reset different Ring Doorbell models to their factory settings.
| Model | Reset Method | LED Indicator Status |
|---|---|---|
| Original Ring Doorbell | Remove screws, lift device, hold orange button for 10-20 seconds | Flashes during reset |
| Ring 2 | Access back panel, hold reset button for 10-20 seconds | Stops flashing when reset |
| Ring 3 | Access back panel, hold reset button for 10-20 seconds | Stops flashing when reset |
| Ring Pro | Access back panel, hold reset button for 10-20 seconds | Stops flashing when reset |
| Ring Video Doorbell 3+ | Access back panel, hold reset button for 10-20 seconds | Stops flashing when reset |
After performing a factory reset, remember that all saved settings, including your Wi-Fi passwords, will be erased. You'll need to reconfigure your device using the Ring app. Always consult your specific model's manual for any additional details.
Post-Reset Setup Process
After a factory reset, your Ring Doorbell will enter setup mode, indicated by a flashing LED light ready for reconfiguration.
To begin the post-reset setup, make sure you have the Ring app installed on your smartphone. First, open the app and follow the prompts. You'll need to scan the QR code located on the back of the doorbell to link your device. For an enhanced home experience, consider integrating your doorbell with a home theater setup for seamless audio and video monitoring.
Once you've scanned the code, the app will guide you through connecting your doorbell to your Wi-Fi network. When prompted, enter your Wi-Fi password to establish the connection. It's essential to make sure that your doorbell is within range of your Wi-Fi signal during this process to avoid connectivity issues.
As you proceed, the LED light will stop flashing once the doorbell has successfully been reset and connected to your network. If you encounter any issues, post a question in the app's help section or consult the online support resources.
With these steps, you'll have your Ring Doorbell set up and operational in no time.
Removing Device From App

To remove your Ring device from the app, you'll first need to access the Device Settings.
It's important to verify that you have a good understanding of the key factors in choosing a home cleaning service before making any changes, as maintaining a clean environment can enhance your overall experience with your smart home devices.
After confirming the device removal, you may want to reconfigure your settings for any new devices.
Let's break down these steps to facilitate a smooth process.
Accessing Device Settings
Removing your Ring doorbell from the app is a straightforward process that starts from the home screen. To get started, you'll need to access the device settings within the Ring app. Home security systems, like the Ring doorbell, not only provide visual monitoring but also improve your overall safety, making them a valuable addition to your property, especially considering that homes without security systems are considerably more likely to be targeted by burglars (increased safety).
Follow these steps to remove your doorbell:
- Open the Ring app: Launch the app on your smartphone.
- Tap the menu icon: This will open the navigation options you need.
- Select 'Devices': Here, you'll see a list of all your connected devices.
- Choose your doorbell: Pick the specific doorbell you wish to remove.
Once you've selected the doorbell, navigate to 'Device Settings'. From there, click on 'General Settings' to find the removal option.
You'll then select 'Remove this Device' and follow the prompts provided by the app.
Keep in mind that once you remove the device, it will no longer be accessible in the Ring app, and all associated video recordings will be deleted. If you have important footage, consider backing it up before proceeding with the removal process. This way, you can make sure you don't lose any valuable recordings.
Confirming Device Removal
Once you've selected 'Remove this Device,' you'll need to confirm the removal to finalize the process. This is an important step to guarantee that the device is properly disconnected from your Ring account.
Additionally, it's vital to reflect on how data protection regulations impact AI development and use in the context of smart home devices.
After accessing the 'Devices' section and choosing the device you want to remove, you'll navigate through 'Device Settings' to 'General Settings.' Here, you'll find the option to remove this device.
When you tap 'Remove this Device,' a confirmation prompt will appear. It's imperative to read this message carefully, as it will inform you that all associated recordings will be deleted. If you have any important videos, make sure to back them up before proceeding.
Once you're ready, select the confirmation option to confirm the removal.
After you confirm, the device will no longer be visible in your Ring account, and you'll be free of any clutter. You've successfully removed the device, allowing you to manage your devices more efficiently.
Keep in mind that if you change your mind, you'll need to reconfigure the device to use it again.
Reconfiguring After Removal
Reconfiguring your Ring device after removal is a straightforward process that allows you to reconnect it to your account or a new Wi-Fi network. Once you've successfully removed the device from the Ring app, it's crucial to verify that your content is structured well for peak performance, as keyword clustering enhances SEO by grouping related topics together.
Follow these steps to reconfigure the device:
- Open the Ring app on your mobile device.
- Tap the menu icon and select 'Set Up a Device.'
- Choose your device type from the list and follow the on-screen instructions for setup.
- When prompted, connect your device to the desired Wi-Fi network.
After completing these steps, your Ring device will be reconfigured and ready to use. Make sure that you're connecting to a strong Wi-Fi network to verify peak performance.
If you encounter any issues during this process, you can always refer back to the Ring app for troubleshooting tips or consult the help section for further assistance.
Remember, reconfiguration allows you to personalize your settings and verify everything works smoothly, whether you're reconnecting to your original account or setting up a new one.
Enjoy the enhanced security and convenience your Ring device offers.
Troubleshooting Power Issues
If you're experiencing power issues with your Ring Doorbell, start by verifying the device is properly hardwired or that the battery is sufficiently charged. For wired models, confirm that everything is connected correctly to provide a constant power supply. If you have a battery-operated version, check the battery level and recharge it with the included Micro USB cable, which usually takes 6 to 8 hours for a full charge.
Additionally, monitoring your device's power status can be similar to how astrological compatibility affects relationships, as both require attention to prevent issues.
Next, verify that the installation is correct and that your doorbell is within range of your Wi-Fi signal. Poor connectivity can sometimes mimic power problems. If your doorbell remains unresponsive, consider replacing the battery if it shows a low charge or struggles to hold one.
Regularly monitor your device's power status to avoid unexpected interruptions. If you've followed these troubleshooting steps and still face issues, don't hesitate to consult the Ring support page for further assistance. They provide detailed guidance that can help you navigate more complex problems.
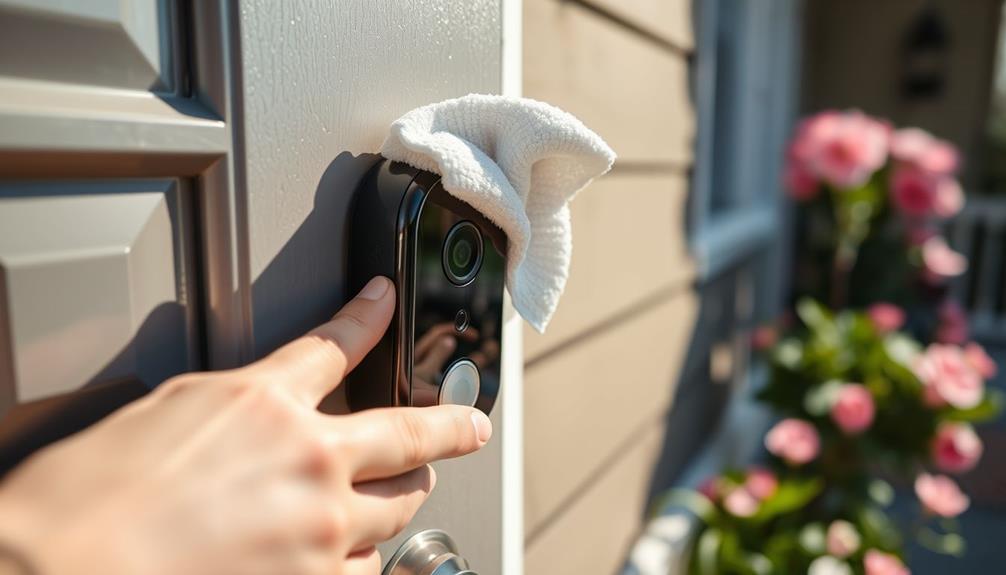
Deleting Video Recordings

Addressing power issues is important, but managing your video recordings is just as essential for keeping your Ring Doorbell functioning smoothly. Regularly optimizing your device's performance can enhance user experience and guarantee your recordings are effectively stored.
If you want to delete video recordings, follow these steps in the Ring app:
- Open the Ring app and navigate to the Event History list.
- Swipe right on the events to reveal checkboxes, allowing you to select the recordings you want to delete.
- For those using the Android app, look for the "Delete All" option at the bottom right to remove multiple videos at once.
- If you're on the desktop website, remember you can only delete a maximum of 94 videos at a time; attempting to delete more will result in an error message.
Before proceeding, guarantee you download any important videos, as once they're deleted from Ring servers, they're permanently removed.
Managing your recordings not only frees up storage but also helps maintain the efficiency of your device. Regularly checking your Event History keeps your Ring Doorbell running smoothly and guarantees you have access to the footage you truly need.
For more on effective user privacy, consider how managing your data can impact your overall experience.
Community Feedback on Deletion
Frustrated by the deletion process, many users have voiced their concerns about the Ring app's video management features. The current user interface leaves much to be desired, especially when it comes to deleting multiple videos. Feedback from the community highlights the need for more intuitive options to enhance user experience.
| User Feedback | Suggested Improvements | Current Issues |
|---|---|---|
| Difficulty finding "Delete All" option | Simplify access to delete options | Confusing navigation |
| Preference for checkboxes | Implement checkboxes for selection | Limited selection methods |
| Need for batch deletion | Add bulk delete feature | Time-consuming process |
| Improve user interface | Redesign for clarity | Overly complex layout |
| Enhance video management | Integrate better sorting options | Poor organization |
Many users struggle to manage their video storage efficiently due to these limitations. The community's desire for a smoother deletion process reflects a broader need for improvements in the Ring app's user interface. By listening to this feedback, Ring can enhance overall user satisfaction and streamline video management.
Best Practices for Data Management

To optimize your experience with the Ring app, it's vital to adopt best practices for managing your video storage effectively. Understanding the importance of understanding credit card impacts on personal finances can also parallel the need for effective data management. By following these guidelines, you can avoid exceeding retention limits and make certain that important footage is preserved.
- Regularly Review Your Storage: Check your video storage frequently to assess what's accumulated and decide what to keep or delete.
- Delete Videos Wisely: When you need to delete videos, consider doing it in bulk. Remember, you can delete up to 94 videos at a time via desktop to streamline the process.
- Preserve Important Clips: Before you delete any videos, download significant clips to safeguard them. Deleting from Ring servers is permanent and irreversible.
- Engage in Community Discussions: Join community discussions to share tips and learn from others about effective data management practices. This can enhance your overall experience with video storage on Ring devices.
Frequently Asked Questions
How to Reset a Ring Doorbell for a New Owner?
To reset a Ring Doorbell for a new owner, start by pressing and holding the orange reset button on the back for 15-20 seconds until the LED flashes. This means it's in setup mode.
Next, remove the device from your Ring account in the app by going to Device Settings and selecting "Remove this Device."
How to Clear Ring Camera History?
Did you know that over 80% of consumers consider video history management essential for security devices?
To clear your Ring camera history, open the Ring app and head to the Event History section.
You can swipe right to delete individual videos or tap "Delete All" at the bottom right.
Just remember, you can only delete up to 94 videos at once on the desktop.
Don't forget to download any important clips before deleting!
How Do I Clear My Ring Doorbell to Sell?
To clear your Ring Doorbell for selling, start by performing a factory reset.
Press and hold the orange reset button for 15-20 seconds until the LED light stops flashing.
Next, open the Ring app, select your doorbell, go to Device Settings, and tap "Remove this Device" to unlink it from your account.
Don't forget to download any important video recordings, as they'll be deleted during this process.
Now it's ready for the new owner!
How to Use Ring Doorbell From Previous Owner?
To use a Ring Doorbell from a previous owner, you need to verify it's removed from their Ring account first.
Ask them to do this in the Ring app.
After that, download the Ring app and create your account.
Press the orange reset button for 15-20 seconds to enter setup mode, then tap "Set up a Device" in the app.
Scan the QR code and follow the prompts to connect it to your Wi-Fi.
Conclusion
In the grand quest to clear your Ring Doorbell, you've revealed the secrets of the universe!
With just a few simple steps, you've transformed your device from a cluttered relic to a pristine marvel of technology.
Imagine a world where your doorbell is free from the burdens of the past, ready to capture every moment with crystal clarity.
So go ahead, embrace the power of a fresh start, and let your Ring shine brighter than a thousand suns!