To begin setting up your Ring Doorbell 2, first download the Ring app from your app store and create an account. Once you have verified your email, click on “Set Up a Device” and then select “Video Doorbells.” You can either scan the QR code or enter it manually. Then, proceed to install the device approximately 1.2 meters above the ground and ensure it is securely fastened. Make sure the device is connected to power, either through hardwiring or by using a fully charged battery. Finally, connect the device to your Wi-Fi network using the app. By following these steps, you are on your way to improving your home security and can explore more features in the future.
Key Takeaways
- Download the Ring app from the App Store or Google Play Store and create an account with your email and a strong password.
- Fully charge the Ring Doorbell 2 battery and ensure your doorbell transformer operates within the required 8 to 24 VAC range.
- Mount the doorbell approximately 1.2 meters above ground, using a level tool to ensure straight alignment before drilling holes.
- Connect the wires to the doorbell, ensuring both wires are securely fastened and fed into the wall before securing the device.
Ring Doorbell 2 mounting kit
As an affiliate, we earn on qualifying purchases.
As an affiliate, we earn on qualifying purchases.
Help Resources
Accessing various help resources can make setting up your Ring Doorbell 2 a smoother experience. Start by visiting the Ring Help Home, where you'll find extensive support tailored to your needs.
There, you can explore troubleshooting articles specifically designed to tackle common issues you might encounter during installation. These articles are organized by product category, making it easy to find the information relevant to your Ring Video Doorbell 2. Additionally, consider consulting expert advice on innovative design solutions that can enhance your installation process.
Next, take advantage of detailed installation guides that provide step-by-step instructions for setting up your device. This guidance can help prevent mistakes and guarantee a successful installation.
If you're looking for additional insights, community forums are a valuable resource. You'll be able to engage with other users who may have faced similar challenges and can share helpful tips or solutions.
If you still have questions or need personalized assistance, don't hesitate to contact customer service. They're equipped to handle specific inquiries and can guide you through any unresolved issues.
wireless video doorbell with battery
As an affiliate, we earn on qualifying purchases.
As an affiliate, we earn on qualifying purchases.
Ring App Setup

To get started with the Ring Doorbell 2, you'll need to download the Ring app from the App Store or Google Play Store.
If this is your first Ring device, create an account to access all the features.
Once you're set up, you can easily navigate through the app to complete the installation process.
AI enhances threat detection and response times, which can be beneficial for homeowners looking to improve their **security**.
App Download Instructions
Start by downloading the Ring app from the App Store for iOS or the Google Play Store for Android devices. This app is essential for the setup process of your Ring Doorbell 2, and having a well-organized space can enhance your overall experience while setting it up.
For tips on optimizing your setup area, consider exploring smart organization techniques. Once you've completed the download, open the Ring app, and navigate to the menu. Here, you'll begin the device setup process.
Select "Set Up a Device" within the app and choose "Video Doorbells" to get started with the installation instructions. The app will guide you through the steps with on-screen prompts. To connect your Ring Doorbell, you'll need to scan the QR code located on the device packaging. If for some reason scanning fails, you can input the manual code instead.
Following these instructions will guarantee that your device is properly set up and connected. If you're a first-time user, make sure to create an account by providing your email address and creating a password. This account will help you manage your Ring Doorbell and access all its features seamlessly.
With the Ring app downloaded and your device set up, you're ready to enhance your home security.
Account Creation Steps
After you've downloaded the Ring app, you'll need to create an account to begin setting up your Ring Video Doorbell 2. Open the app and select "Create an Account" to initiate the account creation process. You'll be prompted to enter your email address; make sure it's one you can access easily.
Next, create a strong password to secure your account—this is vital for protecting your information. Once you've filled in the required fields, follow the prompts to verify your email. This step guarantees that you have access to the email account used for registration and is essential for account security.
Check your inbox for a verification email and click the link provided to complete this step. After verifying your email, return to the Ring app and log in using your email address and the strong password you created earlier.
Now you're ready to start setting up your Ring Video Doorbell 2 and any other devices. Following these account creation steps will help you guarantee a smooth experience as you enjoy the benefits of your new security features.
doorbell level tool
As an affiliate, we earn on qualifying purchases.
As an affiliate, we earn on qualifying purchases.
Device Installation

To install your Ring Video Doorbell 2, you'll need to prepare by gathering the right tools and understanding the mounting process.
Start by figuring out the best height for visibility and mark your holes accordingly.
Then, you can connect the wiring and secure everything in place for a seamless setup.
Preparation and Tools Needed
Before you begin the installation of your Ring Video Doorbell 2, it's essential to gather the necessary tools and make sure everything is prepared for a smooth setup.
Start by verifying your Ring Video Doorbell 2 is set up in the Ring app. This will help you connect to the Ring seamlessly during the installation process.
Next, check your existing doorbell transformer to confirm it operates within the required 8 to 24 VAC range, as this will provide adequate power to your device.
Before proceeding, remember to disconnect power at the breaker to guarantee safety while you work.
You'll also need to fully charge the battery using the provided orange cable. Wait for the green light to indicate a full charge before moving on.
As for tools, gather a level tool, drill, screws, wire nuts, and, if necessary, wire extensions to assist with the mounting process.
Having these necessary tools on hand will make the installation process much more efficient and hassle-free.
With everything prepared, you're ready to move on to the next steps.
Mounting the Device
Mounting your Ring Video Doorbell 2 requires careful alignment and secure installation for best performance. Start by positioning the doorbell approximately 1.2 meters above the ground to guarantee ideal video capture and interaction with visitors. Use a level tool to check that the device is straight before marking the positions for mounting holes on the wall.
Next, drill holes according to the marked positions. If you're mounting on brick or concrete, utilize plastic anchors for added stability. If you're connecting to an existing digital doorbell, make sure to install the included diode. Skip this step if you have a mechanical doorbell system to avoid any potential damage.
Once you've drilled the necessary holes and installed the diode (if applicable), it's time to secure the Ring Video Doorbell 2 to the wall. Use all four provided screws to fasten the device tightly.
Double-check that the installation is secure and functional before finalizing the assembly. Following these steps will guarantee your doorbell is mounted correctly, giving you the best possible performance for monitoring your front entrance.
Wiring Connections Explained
Once your Ring Video Doorbell 2 is securely mounted, it's time to focus on making the necessary wiring connections for proper functionality.
First, verify you disconnect power at the breaker to guarantee safety during the installation process.
You'll need to connect the wires from your wall to the screws on the back of the doorbell. Remember, either wire can connect to either screw, so the order doesn't affect doorbell functionality.
If the existing wires are hard to reach, don't worry—wire extensions can help simplify the connection process.
As you connect the wires, make sure that all wire nuts are properly fed into the wall before you secure the device to avoid any obstruction.
It's essential to verify secure connections by gently tugging on the wires once attached. This will confirm that everything is tightly in place before proceeding to the final assembly of your doorbell.

Roku Indoor Camera – Home Security – 2-Pack – Wired Security Camera & Pet Monitor with 1080p HD Color Night Vision, Works with Alexa & Google, Motion & Sound Detection, WDR & WiFi 6
Easy home monitoring: Pop into any room—from anywhere with the Roku Indoor Camera. Check in with the kids…
As an affiliate, we earn on qualifying purchases.
As an affiliate, we earn on qualifying purchases.
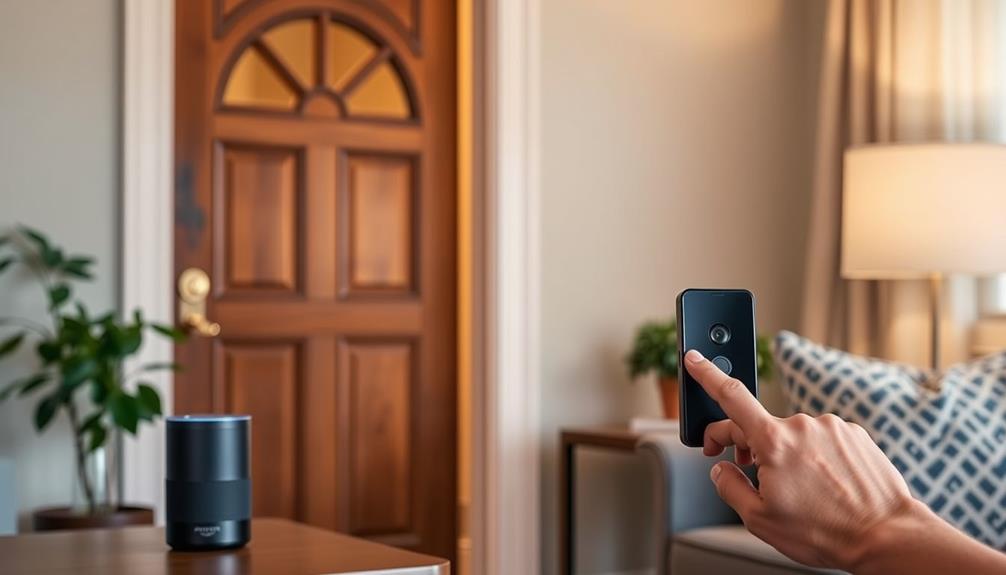
Wi-Fi Connection

To guarantee your Ring Video Doorbell 2 works smoothly, it's vital to connect it to a reliable Wi-Fi network. Start by making sure your doorbell is within range of your Wi-Fi router for peak performance. During setup, if your Ring device doesn't automatically connect, use the Ring app to manually connect it to the Ring Wi-Fi network.
Once connected, check the blue light indicator on your Ring Video Doorbell. A solid blue light means you've established a successful Wi-Fi connection. If you're facing connectivity issues, don't worry; you can enhance signal strength by repositioning your router or using a Wi-Fi extender to improve the area where the doorbell is installed.
In case your Ring device loses connection to your preferred Wi-Fi network, simply reopen the Ring app and follow the prompts to reconnect. This will provide a stable connection so you can enjoy the features of your Ring Video Doorbell 2 without interruptions.
Power & Battery Management

Managing power and battery life for your Ring Video Doorbell 2 is essential to guarantee it operates effectively and reliably.
You have two options for powering your device: using a rechargeable battery or hardwiring it to an existing doorbell system. If you choose hardwiring, make sure the system operates within a voltage range of 8 to 24 VAC, and always disconnect power at the breaker during installation to avoid hazards.
To maintain peak performance, keep an eye on your battery life through the Ring app. It provides real-time updates and alerts when it's time to recharge. Typically, you'll need to recharge the battery every 6 to 12 months, depending on usage.
For those looking to enhance power management, consider using a compatible transformer. This will guarantee a steady power supply, reducing the chances of battery drain during high usage periods.
Troubleshooting Setup Issues

If you're experiencing issues during the setup of your Ring Video Doorbell 2, there are several troubleshooting steps you can take to ensure a smooth installation.
First, make certain you have adequate lighting when attempting QR code scanning, as poor lighting can hinder the camera's focus. If scanning fails, try moving your mobile device closer or farther away from the QR code; the right distance can make a difference.
If you're still having trouble, clean your camera lens to eliminate any dirt or smudges obstructing the view. Alternatively, you can manually enter the setup code found on your device packaging or in the Ring app access section.
After completing these steps, don't forget to test the device functionality to confirm everything is working correctly.
If you continue to encounter common troubleshooting issues, verifying your location services settings may help, as they can impact connectivity. If you need further assistance, reach out for help for your Ring to resolve any lingering problems.
Following these tips should help you successfully set up your Ring Video Doorbell 2.
Additional Considerations

When setting up your Ring Video Doorbell 2, consider subscribing to a Ring Protect plan for enhanced features and cloud storage of your video recordings. This subscription can notably improve your experience, allowing you to access additional functionalities.
Make certain to review troubleshooting tips related to power and battery issues to make sure your Doorbell operates smoothly after installation. It's also vital to explore the Ring app features, which help you manage notifications, view live feeds, and adjust settings according to your location and preferences.
Keep the Ring app updated to benefit from the latest features, security improvements, and performance enhancements. Familiarizing yourself with Ring's privacy policy and terms of service is essential to understand how your data is used and protected.
Here's a quick overview of important considerations:
| Consideration | Details |
|---|---|
| Subscription | Ring Protect plan for cloud storage |
| App Features | Notifications, live feeds, settings |
| Power Issues | Troubleshooting tips for installation |
| Wifi Connection | Make sure a strong and stable connection |
| Privacy Policy | Understand data usage and protection |
Protect Plan Subscription

The Ring Protect Plan enhances your security experience by offering cloud storage for video recordings, allowing you to access footage for up to 60 days. With a Ring Protect subscription, you can take advantage of features designed to improve your home monitoring.
Here are three standout benefits:
- Video Sharing: Easily share recorded clips with friends or family members, ensuring everyone stays informed.
- Advanced Pre-Roll Video: Get a better perspective of events leading up to a motion alert with this innovative feature.
- Professional Monitoring: Enjoy peace of mind with real-time notifications and alerts, keeping you updated on any activity around your home.
Pricing for the Ring Protect Plan starts at just $3 per month for individual devices or $10 per month for a plan that covers all devices at a single location.
Plus, you can quickly cancel or modify your subscription through the Ring app, giving you full control over your plan.
Frequently Asked Questions
How to Set up Ring Doorbell 2?
To set up your Ring Doorbell 2, you'll first download the Ring app and create or log into your account. Next, you’ll follow the on-screen prompts to connect your Ring Doorbell 2 to your home Wi-Fi network. Once it’s connected, you can customize your settings and preferences within the app. If you need further assistance, you can access the ring doorbell setup tutorial on the Ring website for step-by-step instructions and troubleshooting tips.
Charge the battery fully until the green light shows.
Next, in the app, select "Set Up a Device" and choose "Video Doorbells."
Scan the QR code from the packaging, then connect it to your Wi-Fi.
How to Set up Wifi on Ring Doorbell 2?
Setting up Wi-Fi on your Ring Doorbell 2 can feel like a journey into the unknown, but it's simpler than you think.
First, make sure your device's powered on and close to your Wi-Fi.
Open the Ring app, tap "Set Up a Device," and follow the prompts.
Scan the QR code or enter the setup code if needed.
Select your Wi-Fi network, enter the password, and watch for that reassuring blue light confirming the connection!
How Do I Change the Settings on My Ring Doorbell 2?
To change the settings on your Ring Doorbell 2, open the Ring app and select your device from the list. From there, tap on the “Device Settings” option to access a variety of customization options. You can adjust motion detection sensitivity, create custom motion zones, and choose the type of notifications you want to receive. If you’re setting up your Ring Doorbell 2 for the first time, the app will guide you through the installation process and help you connect your device to your home Wi-Fi network.
Tap on "Device Settings" to customize options like motion detection and notifications.
You can enable or disable features such as "Motion Alerts" and "People Only Mode" to suit your preferences.
Don't forget to adjust the "Privacy Zones" for added privacy, and check for updates regularly to keep your device running smoothly.
How Do I Manually Reset My Ring Doorbell 2?
Ever wondered how to give your Ring Doorbell 2 a fresh start?
To manually reset it, just press and hold the setup button for about 15 seconds.
You'll see the front light flash in various colors; that's a good sign!
When the light turns off, release the button.
Soon, the light will flash white, indicating it's in setup mode.
Now, you're ready to reconnect it through the Ring app!
Conclusion
Setting up your Ring Doorbell 2 is a straightforward process that enhances your home security.
Did you know that homes with video doorbells are 55% less likely to be targeted by burglars?
By following the steps outlined above, you'll not only enjoy peace of mind but also protect your loved ones and property.
Don't forget to explore the Protect Plan for added features.
Now, you're all set to keep an eye on your home, no matter where you are!