
To install your Ring Doorbell 2, start by charging the battery and ensuring it’s configured in the Ring app. Place the doorbell approximately 4 feet above the ground for optimal performance. Utilize the mounting bracket to mark the screw holes, then drill them and insert anchors if necessary. Align the doorbell, fasten it to the wall using the provided screws, and secure the security screw with a star-shaped screwdriver. Once you’ve double-checked all connections and confirmed its stability, you can test its functionality. If you need more tips or troubleshooting assistance, there is additional information available for you to explore.
Key Takeaways
- Charge the Ring Doorbell 2 battery using the provided cable until the green light appears before installation.
- Position the doorbell at approximately 1.2 meters above ground and use a level tool for straight alignment.
- Mark screw holes using the mounting bracket template, then drill holes and insert plastic anchors for stability.
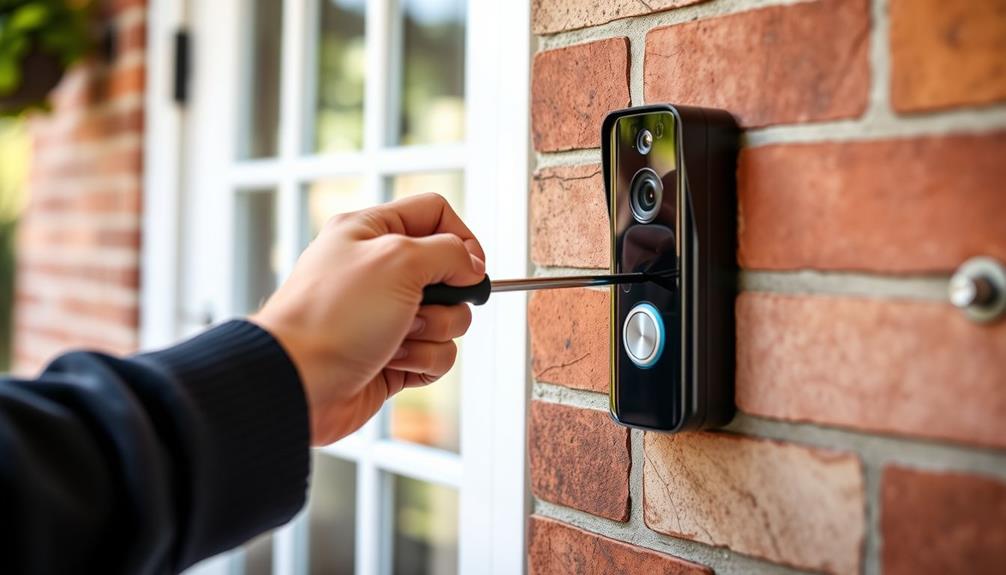
- Secure the device with all four screws, then replace the faceplate and tighten the security screw using a star-shaped screwdriver bit.
Installation Overview
Installing the Ring Doorbell 2 involves a few straightforward steps to verify it's set up correctly and functions properly.
First, you'll want to charge the built-in battery using the provided orange cable until the green light appears. Once it's fully charged, grab the mounting bracket and use it as a template to mark the screw holes on your wall. If you're working with brick or concrete, don't forget to drill holes and insert wall anchors for added stability. Additionally, ascertain that the area around the installation site is clear of any obstacles, allowing for easy access to the device and a clear view of your entryway. Consider using a smart organization technique to keep your tools handy during the installation process.
Next, align the Ring Doorbell 2 at about 1.2 meters above the ground. Secure it to the wall with all four provided screws to ensure it won't budge. After that, connect the existing doorbell wires to the screws on the back of the Ring Doorbell 2. Make sure these connections are secure before moving on.
Required Tools and Materials

Before you begin securing the Ring Doorbell 2, gather the necessary tools and materials to guarantee a smooth installation process.
First, you'll need a level tool to make sure your doorbell is mounted straight. A drill is essential for making holes in the wall, especially if you're mounting on brick or concrete surfaces. Proper positioning is critical for confirming functionality and durability, similar to the importance of projector setup tips for peak image quality.
The installation kit that comes with the Ring Doorbell 2 includes four screws specifically designed for securing the device, so be sure to use these to avoid any damage.
If you're working with a brick or concrete surface, plastic anchors are essential for providing proper support for the screws.
You'll also need a star-shaped screwdriver bit to tighten the security screw that holds the faceplate in place after you finish mounting.
Additionally, it's a good idea to have wire nuts on hand for connecting existing doorbell wires. If your wires are too short, a wire extension will come in handy to guarantee a secure attachment.
With these tools and materials ready, you're all set to start the installation process smoothly.
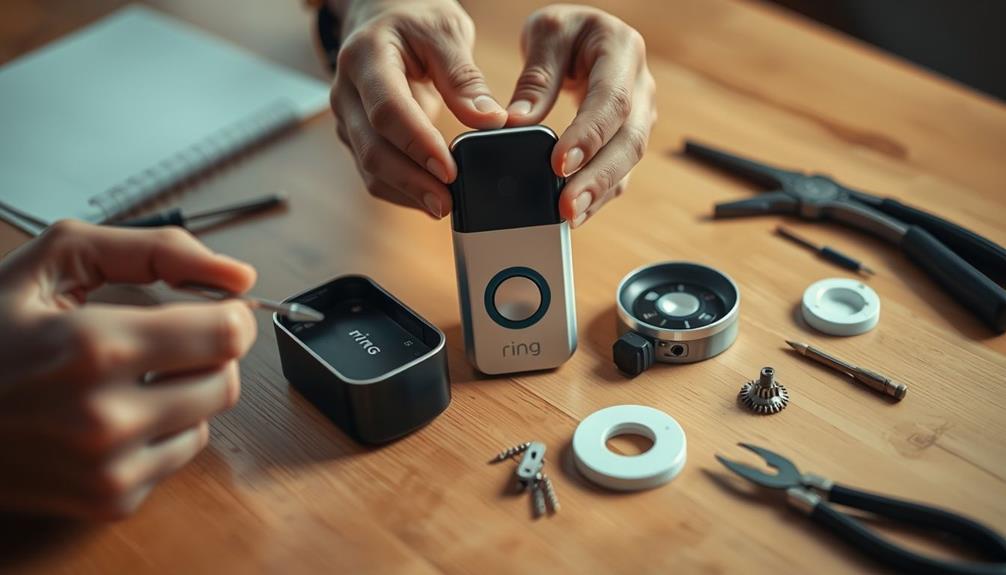
Preparing the Device

Make certain the Ring Doorbell 2 is fully charged and properly set up in the Ring app to facilitate a smooth installation experience. It's also wise to verify you have all the necessary tools on hand, including a level tool, drill, screws, and optional wire nuts or wire extensions if needed for installation.
Additionally, consider the benefits of smart home devices, such as focus enhancement, which can make your daily routines more efficient. Use the provided orange cable to charge the device until the green light indicates it's fully charged. Gathering all necessary tools is essential; confirm you have a level tool, drill, screws, and optional wire nuts or wire extensions if needed for installation.
Before proceeding, you'll want to disconnect power at the breaker to avoid any electrical hazards. This step is critical, especially if you're removing an existing doorbell or connecting wires.
Once the power is off, you can prepare to align the device. Position the Ring Doorbell 2 approximately 1.2 meters above the ground. Use the level tool to confirm it's straight, then mark the screw holes for drilling.
Taking these preparatory steps will save you time and guarantee your Ring Doorbell 2 functions correctly once installed. By being methodical and checking everything beforehand, you'll set yourself up for a hassle-free installation process.
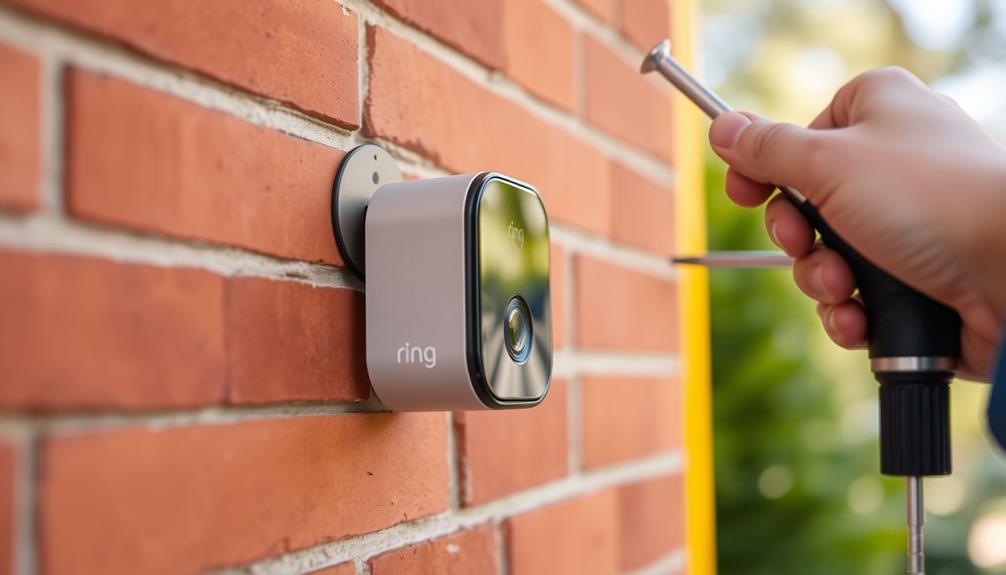
Mounting the Doorbell

To mount the Ring Doorbell 2, position it about 1.2 meters above the ground and use a level tool to guarantee it's straight before marking where to drill. Once you've marked the positions for the mounting holes, grab your drill and create the holes. If you're working with a hard surface like brick, remember to insert plastic anchors for added stability.
Next, secure the Ring Doorbell 2 to the wall using all four provided screws. Make sure each screw is tightened properly to avoid loosening over time. If you're using existing doorbell wiring, connect the wall wires to the screws on the back of the device, ensuring they're securely fastened.
Finally, replace the faceplate by slotting it in at the top and clicking it into place. Don't forget to tighten the security screw using the provided star-shaped screwdriver bit to complete your installation.
| Step | Action | Tools Needed |
|---|---|---|
| 1 | Mark positions | Level tool, pencil |
| 2 | Drill holes | Drill, plastic anchors |
| 3 | Secure with screws | Screws, screwdriver |
| 4 | Connect existing wiring | Wire connectors |
| 5 | Attach faceplate | Faceplate, screwdriver |
Connecting the Wires

Disconnect power at the breaker to guarantee safety while connecting the wires for your Ring Video Doorbell 2.
Start by locating the two existing wires in your wall. You can connect either wire to either screw on the back of the device, so don't worry about which goes where. If the existing wires are too short, use wire extensions to guarantee a secure connection.
Next, securely attach the wall wires to the corresponding screws. Make sure the connections are tight, as this will prevent any issues later. Confirm that any wire nuts are fed into the wall before you secure the device itself.
Once you've double-checked that all connections are secure, you can go ahead and restore power at the breaker. This step is essential to make sure everything works properly once you complete the installation.
After restoring power, you can move on to the final assembly of your Ring Video Doorbell 2. With these steps, connecting the wires will be straightforward and safe, allowing you to enjoy all the features your new doorbell has to offer.
Finalizing the Installation

Now that you've connected the wires, it's time to secure your Ring Doorbell 2 properly.
Make certain it's level and aligned before tightening all screws to prevent any future issues.
Securing the Device Properly
Make certain to align the Ring Video Doorbell 2 with the marked screw holes and use a level tool to verify it's straight before securing it to the wall. You'll want to use the four provided screws for mounting, as using other screws can damage your installation. After aligning the device, gently insert the screws to secure it firmly in place.
Next, take the star-shaped screwdriver bit included in the package and insert the security screw. This step is essential as it prevents easy removal of your doorbell. Once everything's in place, give the device a gentle tug to verify it's properly attached and doesn't wobble.
Finally, verify that the faceplate is clicked into place. This guarantees your doorbell is securely mounted and functioning correctly.
- Feel the peace of mind knowing your home is protected!
- Experience the joy of seamless installation.
- Enjoy the confidence that comes with a secure device.
- Relish in the satisfaction of a job well done.
Ensuring Level Alignment
After securing the device, using a level tool guarantees your Ring Doorbell 2 is perfectly straight before finalizing the installation. Start by placing the level tool against the mounted bracket to confirm that the device is aligned properly. If adjustments are needed, now's the time to make them before you secure the doorbell completely.
Next, mark the screw holes accurately on the wall, validating they match the mounting bracket. Once you've got the marks down, drill holes in the marked positions. If you're doing installations on hard surfaces like brick or concrete, be sure to use plastic anchors for added support.
After drilling, position the doorbell over the holes and secure the doorbell with the provided screws. Once everything is in place, remove the level tool to confirm that the device is straight and properly aligned.
Completing Final Checks
Before wrapping up the installation, double-check that all screws are tightened securely to prevent any movement or detachment of your Ring Doorbell 2. Make sure the four screws are securely fastened and that you've tightened the security screw at the bottom with the included star-shaped screwdriver bit. This step is essential for preventing tampering.
Next, verify that the faceplate is properly seated; it should click into place and sit flush against the doorbell unit. Don't forget to inspect all wire connections to confirm they're secure and tucked away safely inside the wall cavity.
Now, it's time to test your doorbell. Press the button and confirm it powers on and functions correctly, checking both the video capabilities and audio features.
Completing these final checks gives you peace of mind, knowing your home's security is intact.
- Enjoy the sense of safety
- Feel the pride in your hard work
- Experience the convenience of video alerts
- Relish in knowing you're always connected
Once all checks are done, you can confidently declare your installation complete!
Testing and Troubleshooting

Testing your Ring Doorbell 2 is essential to confirm it's functioning correctly and connected to your Wi-Fi. After installation, check the device's functionality by accessing the live video feed in the Ring app. If you see the feed, your Wi-Fi connection is good, and everything is working as it should.
If you encounter issues, don't worry—troubleshooting is straightforward. Start by verifying your Wi-Fi connection; make sure the doorbell is within range of your router. If the live video feed isn't available, check for common problems, like a loose or improper installation. Verify you've done secure mounting with the provided screws, as a loose doorbell can lead to connectivity issues.
Should you still face difficulties, refer to the guidance in the Ring app or visit online resources for more troubleshooting tips. You can often find solutions to frequent concerns, like faceplate misalignment or issues with the device powering on.
Frequently Asked Questions
How Do You Mount a Ring Doorbell With Screws?
To mount a Ring Doorbell with screws, start by aligning the device with your marked screw holes on the wall.
Drill pilot holes and, if needed, use plastic anchors for extra support.
Next, secure the doorbell using the provided screws, ensuring they're tightened well to prevent wobbling.
If you're connecting wiring, attach the wall wires to the back.
Does Ring Doorbell 2 Come With Screws?
Yes, the Ring Doorbell 2 does come with screws for installation, so you won't need to worry about buying extras.
You might think it's complicated, but it's straightforward. Just use the screws provided to secure the doorbell to the mounting bracket.
If you misplace any screws, you can easily get replacements through Ring's support page.
Installing it correctly guarantees your doorbell works properly, giving you peace of mind.
How Do You Attach a Ring Doorbell 2 to a No-Drill Mount?
To attach your Ring Doorbell 2 to a no-drill mount, start by checking that the mount's compatible.
Clean the surface where you'll stick the mount for better adhesion.
Then, peel the adhesive strips and press the mount firmly against the surface for about 30 seconds.
Once it's secure, align the Ring Doorbell 2 with the mount and click it into place.
How Do You Install a Ring Doorbell 2 Mounting Bracket?
Installing your Ring Doorbell 2 mounting bracket isn't just a task; it's your ticket to enhanced home security!
Start by using a level tool to position the bracket about 1.2 meters above the ground. Mark your screw holes, then drill them out. For hard surfaces, use plastic anchors.
Align the bracket, tighten the screws from your kit, and if needed, install the diode before attaching the doorbell.
You've just taken a big step in safety!
Conclusion
Now that you've successfully installed your Ring Doorbell 2, you're ready to access a world of smart home security.
Like a watchful guardian, it'll keep an eye on your doorstep, alerting you to visitors and potential threats.
Don't forget to test the device and tweak any settings to suit your needs.
With just a few taps on your phone, you're in control, ensuring peace of mind for you and your home.
Enjoy your new tech-savvy companion!