
To install your Ring Doorbell Wired, begin by making sure you have all necessary tools such as a screwdriver and screws. For safety, remember to turn off the power at the circuit breaker. Connect the existing doorbell wires to the doorbell terminals, using a jumper cable if necessary. Then, use the doorbell template to drill holes and securely mount it to the wall. Once it’s installed, restore the power and check for any lights or chimes to confirm it’s operational. If any issues occur, double-check the connections and Wi-Fi signal strength. You can find more helpful tips and troubleshooting information to ensure a successful setup. If you’re starting from scratch with the installation, you may need to learn how to fit a plug for the power source. This could involve wiring the plug correctly and ensuring a strong connection. If you’re unsure, it’s always best to consult a professional electrician for safety and proper installation. Following the correct steps and guidelines will result in a smooth and successful setup of your Ring Doorbell Wired. If you’re thinking about fitting a plug in your Ring Doorbell, it’s crucial to carefully follow the manufacturer’s instructions and guidelines. This may include identifying the right voltage and properly wiring the plug to avoid dangers. Moreover, make sure the plug is securely connected to the power source to prevent any issues with the doorbell’s performance. If you’re unsure about the process, it’s advisable to seek help from a qualified professional to ensure a safe and successful installation.
Key Takeaways
- Ensure electrical safety by turning off the power at the circuit breaker before beginning the installation.
- Verify existing doorbell wires are compatible with a voltage range of 10-24 volts.
- Mark and drill holes for mounting the video doorbell, using wall anchors for sturdiness on harder surfaces.
- Securely connect the doorbell wires and mount the device using the provided screws from Bag A.
Top picks for "ring doorbell"
Open Amazon search results for this keyword.
As an affiliate, we earn on qualifying purchases.
Installation Preparation Steps
Before you start installing your Ring Video Doorbell Wired, make certain you've gathered all the necessary hardware and tools for a smooth setup.
First, check the package to confirm that all necessary hardware is included, such as screws, anchors, and a jumper cable if required. It's also wise to reflect on your home's plumbing systems, as improper installation can lead to unforeseen issues, similar to how clogging remedies can prevent plumbing disasters.
Next, verify electrical safety by turning off the power at the circuit breaker to avoid any hazards during installation. If you have an existing doorbell chime, identify it and listen for its sound to confirm that it's functioning properly. You'll want to ascertain that your doorbell setup is compatible with the Ring device.
After that, gather the required tools, including a screwdriver, to assist in the installation process.
Don't forget to examine the installation surface—make sure it's suitable for mounting, whether it's wood, siding, or masonry.
Connecting the Doorbell Wires

Now that you've prepared for installation, it's time to connect the doorbell wires to guarantee your Ring Video Doorbell Wired functions correctly.
First, check that your existing doorbell wires are compatible with the Ring Video Doorbell, requiring an AC voltage of 10-24 volts. Confirming the proper voltage is vital for peak performance, similar to how cat health and nutrition relies on suitable dietary choices.
Begin by looping one wire around each screw terminal on your Ring Video Doorbell. This guarantees a secure connection, essential for proper functionality. As you tighten the terminal screws, make sure they're firm but avoid over-tightening to prevent any damage to the doorbell.
If you're bypassing the existing chime, use the included Jumper Cable. Connect this cable to the Front and Trans terminals. This step is necessary to maintain power to your doorbell.
After connecting the wires, feed any excess wiring back into the wall, maintaining a tidy installation. Double-check that all connections are secure before restoring power to your system. This will help confirm that your Ring Video Doorbell operates effectively and reliably, providing the security and convenience you expect.
Mounting the Video Doorbell

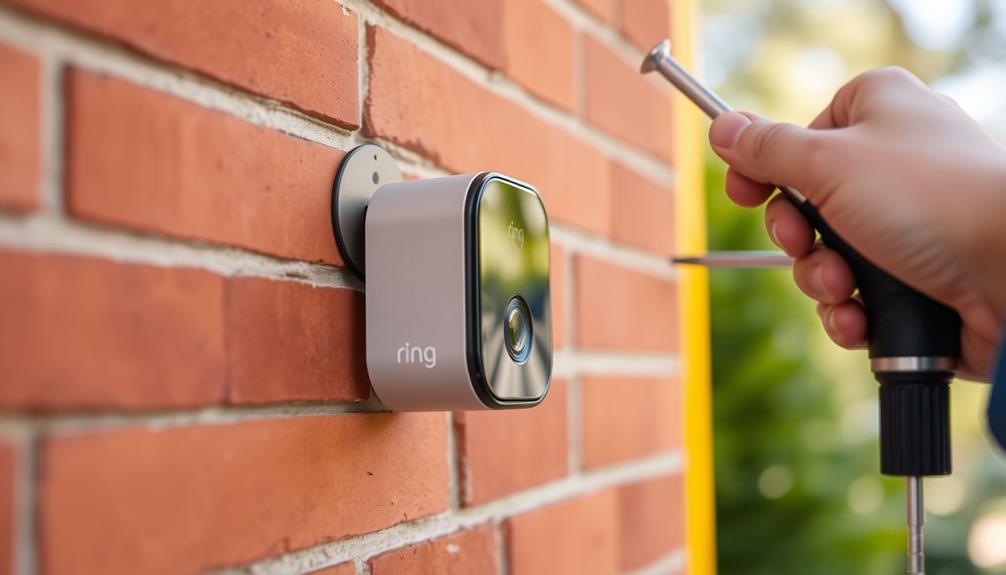
Start by marking the screw hole locations on your wall with the Ring Video Doorbell as a template to guarantee precise alignment. This guarantees that the installation is both secure and visually appealing.
If your wall is made of stucco, brick, or concrete, drill the necessary holes and use wall anchors to mount the Video Doorbell Wired. For wood or siding, you can skip this step. It's also beneficial to maintain a clean space around your installation area, as a tidy environment can help you focus better on the task at hand and guarantee everything is in order, much like maintaining a reputation and reviews from past clients for a home cleaning service.
Next, connect the existing doorbell wires to the Video Doorbell Wired. Loop one wire around each screw terminal and tighten securely to guarantee a good connection.
After connecting the wires, it's time to mount the doorbell. Use the provided screws from Bag A to secure the device to the wall. Be careful not to over-tighten these screws, as doing so can damage the doorbell.
Once the doorbell is firmly in place, reattach the faceplate.
Power Restoration Process

How do you guarantee your Ring Video Doorbell Wired powers up correctly after installation?
Start by verifying that all wire connections are secure. This step is essential to prevent any electrical hazards once you restore power.
Additionally, consider enhancing your entryway with welcoming decor elements like wreaths to create a warm atmosphere for guests transform entryways with rustic charm.
After checking the connections, head to your consumer unit and flip the circuit breaker back on to restore power.
Once you've done that, wait for the device lighting up, which indicates it's powering on. You should also hear a welcoming chime or voice prompt, confirming everything's working as it should.
If the doorbell doesn't power on, double-check those wire connections and verify compatibility with the transformer specifications, which should be between 8-24 volts AC.
If you experience any power issues after restoration, keep an eye on the device for any signs of malfunction.
The Ring app can be a valuable tool for diagnostics, helping you troubleshoot any problems you might encounter.
Following these steps will help verify that your Ring Video Doorbell Wired is up and running smoothly, ready to enhance your home security.
Troubleshooting Common Issues

Troubleshooting common issues with your Ring Video Doorbell Wired can help you quickly identify and resolve problems that may arise during or after installation.
If your doorbell doesn't power on, first check that the power is restored at the breaker and verify all wire connections are secure and compatible, needing 8-24 volts AC. Additionally, contemplate the importance of cybersecurity and ethical hacking when setting up smart devices to protect your home network from potential threats.
If the doorbell isn't connecting to Wi-Fi, make sure it's within range of your router. You might want to think about a Wi-Fi extender to boost the signal.
When it comes to ringing your existing chime, confirm that the Jumper Cable is correctly connected to the Front and Trans terminals, and verify that your chime is compatible with the Ring system.
For battery issues, you should check the power supply. Remember, hardwired devices usually eliminate the need for battery maintenance.
If you're still facing persistent issues, use the Ring app for diagnostics or visit community forums for troubleshooting advice.
These steps will help you guarantee your Ring Video Doorbell Wired operates smoothly and efficiently, providing the security you need.
Frequently Asked Questions
Do You Need an Electrician to Install a Wired Ring Doorbell?
You don't necessarily need an electrician to install a wired Ring Doorbell.
If you've got basic tools and some electrical knowledge, you can follow the provided instructions for a DIY installation.
Just make sure you have a compatible transformer, usually between 8 to 24 volts AC.
However, if you run into complications or aren't comfortable with electrical work, it's wise to consult a qualified electrician for safety and compliance.
How Do You Power a Wired Ring Doorbell?
To power a wired Ring Doorbell, you need a transformer that supplies 8 to 24 volts AC.
You can connect it directly to your existing doorbell transformer or use a Plug-In Adapter.
If your doorbell has a chime, you might need a Jumper Cable to bypass it, ensuring the doorbell gets enough power.
Always check that your transformer is compatible and meets the required voltage for peak performance.
How Do You Install a Wired Ring Doorbell Without Drilling?
To install a wired Ring Doorbell without drilling, start by disconnecting your old doorbell and connecting the existing wires to the new doorbell's terminal screws.
Use adhesive wall mounts designed for doorbells to secure it to the wall.
Check that your current doorbell system's voltage is compatible, ideally between 8-24 VAC.
If you're replacing an old unit, use the included Jumper Cable to bypass the chime for a direct connection.
Does It Matter Which Way the Wires Go on a Ring Doorbell?
They say, "A stitch in time saves nine," and in wiring, that rings true!
When connecting your Ring Doorbell, it doesn't matter which way you attach the wires to the terminals. Just make sure one wire goes to "Front" and the other to "Trans."
What's essential is ensuring those connections are tight. A secure fit keeps your doorbell functioning smoothly, so double-check those screws to avoid any future headaches!
Conclusion
Now that you've followed the steps to install your wired Ring Doorbell, you're just moments away from transforming your home security.
Imagine the peace of mind as you watch over your doorstep, even when you're not there.
But what if something goes wrong? Don't panic!
With a few troubleshooting tips, you can solve any issues that arise.
So take a deep breath and prepare to embrace a new level of safety—you're almost there!