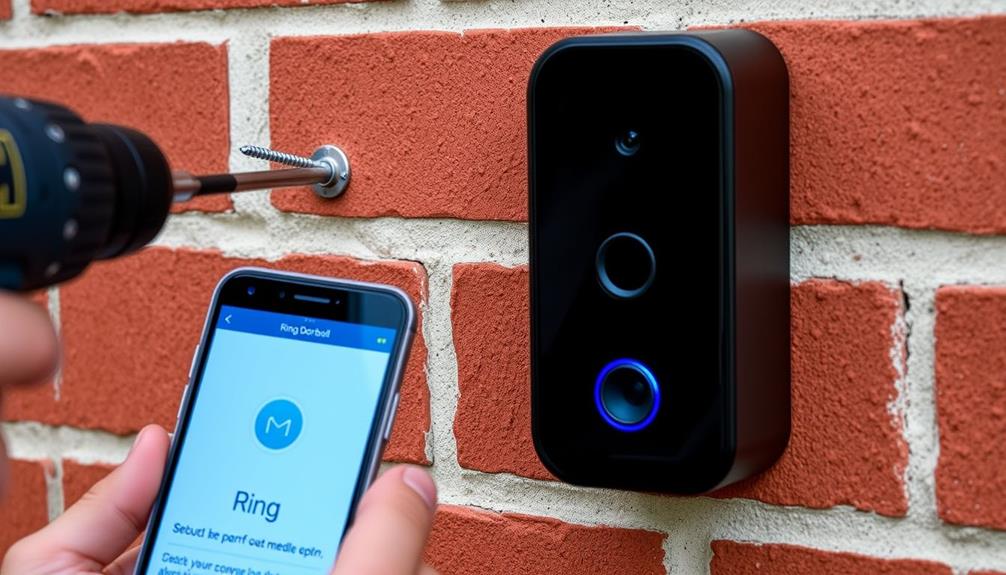

To take off the cover of your Ring Doorbell, start by using a T6 torx-head screwdriver to loosen the security screw located at the bottom. Rotate it in a counter-clockwise direction, then press upwards from the bottom of the faceplate using your thumbs. If it’s hard to remove, carefully pry it off with a butter knife. Take care not to harm the doorbell while doing this. Once the cover is removed, you can access the battery or perform maintenance. Proper alignment is crucial when reattaching the cover. Interested in learning more about troubleshooting or tips for a seamless removal process? There is a wealth of useful information available.
Key Takeaways
- Use a T6 torx-head screwdriver to remove the security screw located at the bottom of the faceplate.
- Push up from the bottom of the faceplate with your thumbs to loosen it.
- If the faceplate is stuck, gently pry it away using a butter knife or flat object.
- Ensure the faceplate is aligned correctly before pushing it back on until it snaps securely.

Video Doorbell Key Replacement Tool, Doorbell Screwdriver Replacement Compatible with Battery Doorbell (2024), Doorbell Camera Opening Key Tool Video Doorbell Screwdriver
【Compatible Models】:Video Doorbell Key Replacement Tool Doorbell Screwdriver Replacement are compatible with Battery Doorbell (2024)
As an affiliate, we earn on qualifying purchases.
As an affiliate, we earn on qualifying purchases.
Tools Required
To remove the cover of your Ring Doorbell, you'll need a special star-shaped screwdriver from the kit or a compatible T6 torx-head screwdriver.
This tool is vital for unscrewing the security screw that holds the cover in place. If you don't have the star-shaped screwdriver, a T6 torx-head screwdriver can be a suitable alternative, but make sure it fits properly to avoid damaging the screw.
Additionally, confirming you have a clean workspace can help prevent losing small screws or tools during the process, which is essential for maintaining smart organization techniques that reduce clutter.
Before you start, check if you have a flat and skinny object, like a butter knife, handy. This can help if the faceplate is stuck and needs a little extra leverage.
When using the screwdriver, apply gentle pressure to confirm you don't strip the security screw, which could complicate the removal process.
If you lose or damage your security screws or screwdriver during this process, don't worry! You can easily order replacements through customer service or online.
Just remember, having the right tools is key to smoothly removing the faceplate and accessing the components of your Ring Doorbell.

Video Doorbell Screwdriver, Double-Ended T6 T15 Screw Driver Tool for Camera Video Doorbell Replacement, Battery Change, Wifi Password Reset
DOORBELL SCREWDRIVER: This video camera screwdriver is used for Wifi password reset access, battery replacement, charging and secure…
As an affiliate, we earn on qualifying purchases.
As an affiliate, we earn on qualifying purchases.
Removing the Faceplate

To remove the faceplate of your Ring Doorbell, you'll need a few specific tools, including the special screwdriver that comes with your device.
It's also important to guarantee that you handle the device safely to avoid any damage.
Start by following the step-by-step process to verify you do it correctly and safely.
For those looking to keep their home secure, understanding what to look for in a home cleaning service can be beneficial as well.
Let's break down what you need and how to get it done.
Tools Needed for Removal
You'll need a special star-shaped screwdriver or a T6 torx-head screwdriver to remove the faceplate of your Ring Doorbell. These tools are vital for loosening the security screw located at the bottom of the faceplate.
It's important to guarantee your workspace is free of distractions to maintain focus and prevent accidents, much like the importance of caregiver routines for maintaining stability and comfort. You'll turn this screw counterclockwise to release it before you can remove the cover.
Having a clean and organized workspace is essential, as it helps prevent losing small parts like the security screw back during the removal process.
If you find the faceplate difficult to detach with just your hands, you might also want a flat and skinny object, such as a butter knife, to help pry it away from the device gently.
If you happen to lose or damage the security screw, don't worry! Replacement screws can be ordered through customer service or online, assuring you can complete the task without any hassle.
Step-by-Step Process
Begin by locating the security screw at the bottom of the Ring Doorbell's faceplate and use the star-shaped screwdriver to turn it counterclockwise. This step is essential because it allows you to remove the security screw, making it easier to detach the faceplate.
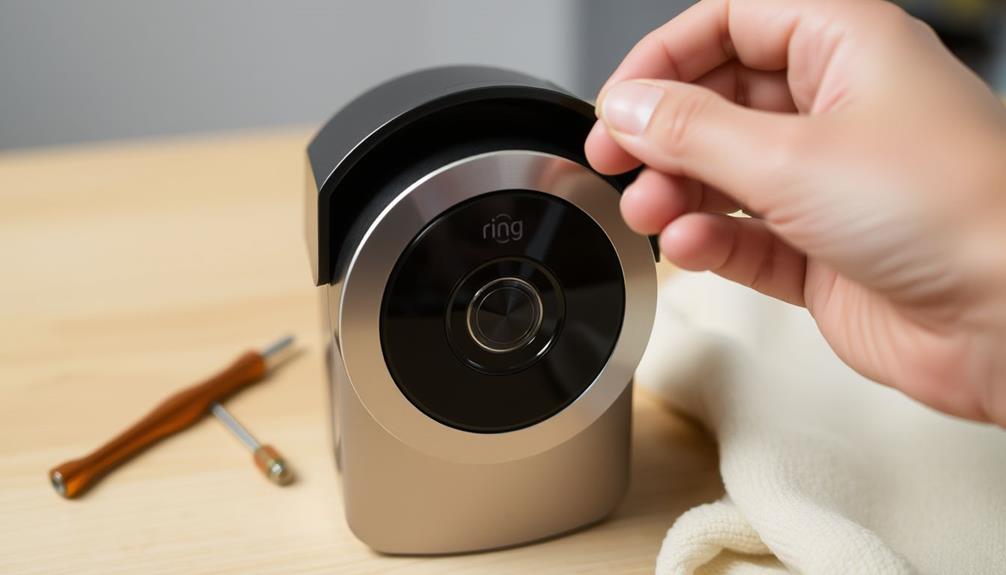
Once the screw is out, push up from the bottom of the faceplate with your thumbs to loosen it. If it's still stuck, gently use a flat object, like a butter knife, to pry the faceplate away.
Carefully pull the faceplate away in one fluid motion to avoid damaging the doorbell body. After removing the faceplate, place it in a secure location to prevent potential damage while you perform maintenance or battery replacement.
Here's a quick summary of what you need to do:
- Locate and remove the security screw.
- Push up from the bottom of the faceplate.
- Use a flat object if necessary.
Following these steps will help you successfully remove the faceplate and replace the cover when you're done with your tasks!

Screwdriver for Doorbell Screwdriver Replacement with WiFi Password Reset and Battery Change, Fits for All Doorbell Models (Orange), CTYUKHS
Doorbell Screwdriver: If you lose the doorbell screwdriver, this doorbell screwdriver will be the perfect replacement for battery…
As an affiliate, we earn on qualifying purchases.
As an affiliate, we earn on qualifying purchases.
Battery Access

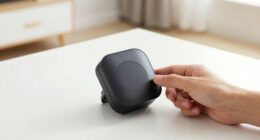
Accessing the battery of your Ring Doorbell is straightforward once you remove the faceplate. First, use a screwdriver to unscrew the security screw located at the bottom of the device. After you've detached the cover, you'll find the battery compartment inside.
To remove the battery, simply press the black tab at the bottom and pull the battery downward until it's free from the compartment. Make certain to check the battery's charge level; it's best to have it fully charged before reinserting it to guarantee your doorbell functions effectively. Once you've charged or replaced the battery, push it back up into place until it's secure.
Here's a quick reference table to help you with the process:
| Step | Action | Notes |
|---|---|---|
| 1. Remove screw | Unscrew the security screw at the bottom | Use a compatible screwdriver |
| 2. Detach cover | Gently pull off the faceplate | Be careful not to damage it |
| 3. Press tab | Press the black tab at the bottom | This releases the battery |
| 4. Pull battery | Pull the battery downward | It's now free |
| 5. Reinsert battery | Push the battery back up until secure | Confirm it's charged |
Now you're ready to maintain your Ring Doorbell!

Doorbell Key Tool, Doorbell Opening Pin Tool, Release Removal Pin Security Key Replacement Tool Compatible with Blink, Arlo, Google Nest, TP-Link Tapo and Eufy Video Doorbell, 4 Pack
【Replacement Doorbell Key】: As a small accessory of the doorbell, security pin keys may be easily lost, so…
As an affiliate, we earn on qualifying purchases.
As an affiliate, we earn on qualifying purchases.
Replacing the Faceplate

When you're ready to replace the faceplate of your Ring Doorbell, proper alignment is key.
You'll want to hold the faceplate at a 45-degree angle to guarantee it fits securely.
Once it's aligned, push it in until it snaps into place, and don't forget to secure it with the screw at the bottom.
Proper Alignment Technique
Aligning your faceplate correctly is essential for ensuring a snug fit on your Ring doorbell. To replace the faceplate, hold it at a 45-degree angle, so you can easily align the top hook with the corresponding slot on the doorbell body. This alignment is vital because it allows the top hook to slide in smoothly. Once you've aligned the top, gently push the bottom of the faceplate until it snaps into place.
Here are some tips to help you with this process:
- Ensure proper alignment: Make sure the top hook is fully inserted into the slot.
- Check for gaps: The faceplate should fit snugly against the doorbell without any visible spaces.
- Reinsert the security screw: This keeps the faceplate securely attached once you've finished.
Securing the Faceplate
Once the faceplate is properly aligned and snapped into place, securing it with the security screw is the final step to confirm it stays firmly attached to your Ring doorbell.
Start by locating the security screw at the bottom of the faceplate. Using a compatible screwdriver, gently reinsert the screw into its designated hole. Turn it clockwise until it's snug, but be careful not to overtighten, as this can damage the faceplate or the doorbell.
After securing the faceplate with the screw, it's important to verify that it's firmly attached. Gently tug on the faceplate to confirm there's no movement. If it feels loose, double-check the alignment and make sure it's properly snapped into place. A correctly secured faceplate won't only keep your Ring doorbell looking great but also provide the necessary protection from the elements.
Taking these steps confirms that your faceplate remains secure and functions effectively. Regularly checking the security screw can help maintain the integrity of your Ring doorbell over time, giving you peace of mind as it monitors your home.
Common Issues

Removing the cover of your Ring Doorbell can be tricky due to common issues like stripped screws or inadequate tools. One of the primary challenges you'll face is when the security screw gets stripped, making it hard to grip with your screwdriver to remove it. If the provided screwdriver doesn't catch on the screw, you may find yourself frustrated after multiple failed attempts.
Visibility problems can also arise, especially if you're trying to locate the security screw in low-light conditions. Using incorrect tools, such as non-compatible screwdrivers, can complicate the faceplate removal and even damage your doorbell.
Here are some tips to help you navigate these issues:
- Confirm you're using the correct screwdriver designed for your doorbell.
- Use rubber bands for better grip on stripped screws.
- Work in a well-lit area to minimize visibility problems.
Additional Resources

To further assist you in removing the cover of your Ring Doorbell, there are numerous resources available that provide expert tips and troubleshooting advice.
Start by checking out the video guides on the Ring website, where you'll find step-by-step tutorials specifically designed for your model. These visual aids can make the process much clearer.
Additionally, you can explore articles that investigate maintenance and troubleshooting steps tailored for various Ring doorbell models. This knowledge will enhance your understanding and help you tackle any challenges that arise during the cover removal process.
Don't forget to join the Ring Community! Engaging with other users can provide valuable insights, as you can share experiences and discover solutions to common faceplate removal issues.
For ongoing support, sign up for the WikiHow newsletter. This will keep you updated with helpful tips and maintenance techniques related to your doorbell.
If you have specific questions about tools or replacement parts necessary for a safe cover removal, utilize the customer support resources available through Ring. These additional resources will empower you to handle your Ring Doorbell with confidence.
Reader Feedback

How have your experiences been when trying to remove the cover of your Ring Doorbell? Many users have found the process challenging, especially when dealing with the security screw. For those who've shared their stories, tools like the special star-shaped screwdriver have proven essential in easing the removal process.
Here are some key takeaways from user experiences:
- Use the right tools: A specialized screwdriver can make all the difference.
- Follow instructions closely: Louise Purdin's success story shows the importance of sticking to the provided guidelines.
- Share your experiences: Your feedback can help others avoid common pitfalls.
While the article has received a 31% helpfulness rating from 16 votes, it's evident that user experiences vary. By sharing your insights and learning from others, you can navigate the challenges of removing your Ring Doorbell cover more effectively.
Community Support

Looking for help with your Ring Doorbell cover? You're not alone! The Ring Community is a valuable resource where you can engage in community discussions about the challenges of removing the faceplate. Here, you can seek support from fellow users who've tackled similar issues and have tips to share.
Whether you're struggling with stripped screws or visibility problems, you'll find a wealth of shared experiences that can guide you. To get started, simply log in or create an account to join the conversation. You can ask questions and browse through troubleshooting articles that provide step-by-step guidance on removing the cover effectively.
Many community members are enthusiastic to help, so don't hesitate to reach out. If you encounter persistent issues that community discussions can't resolve, it's wise to contact Ring's support directly. They can offer specialized assistance tailored to your situation.
Frequently Asked Questions
How Do You Take the Ring Doorbell Cover off to Charge?
To take the Ring Doorbell cover off for charging, start by locating the security screw at the bottom.
Use the special screwdriver from your kit to turn it counterclockwise and remove the screw.
Next, push up from the bottom of the faceplate with your thumbs to loosen it, then gently pull it outward.
You'll access the battery compartment to charge it before putting everything back together securely.
How to Remove Door Bell Cover?
You might think removing a doorbell cover is a simple task, but it can be tricky if you don't know the right steps.
To get it off, start by locating the security screw at the bottom. Use the special screwdriver that came with it to unscrew.
Then, push up from the bottom with your thumbs to slide the cover off. If it's stuck, gently pry it open with a flat object.
How to Unscrew Ring Doorbell Without Tool?
If you're trying to unscrew your Ring doorbell without a tool, you can get creative.
First, use a rubber band over the screw head to improve your grip.
If that doesn't work, press a flat object, like a butter knife, between the faceplate and the doorbell body to pry it open gently.
If you're still stuck, consider reaching out to Ring customer support for help or to get the right tools.
How to Remove Ring Doorbell to Change Battery?
Did you know that 40% of homeowners feel safer with a smart doorbell?
To change your Ring Doorbell's battery, start by locating the security screw at the bottom of the faceplate.
Use the provided star-shaped screwdriver to remove it.
Then, push up with your thumbs to slide off the faceplate.
Once it's off, press the black tab on the battery and pull it down for charging.
Reinsert the battery and reattach the faceplate securely.
Conclusion
Now that you've mastered the art of removing your Ring Doorbell cover, imagine the satisfaction of accessing the battery or making a quick update.
But wait—what if you encounter a hidden issue or a stubborn faceplate? Each twist and turn could reveal unexpected challenges.
Don't worry; you're not alone in this. With the right tools and a little patience, you'll conquer it all.
Ready to plunge into your next step? The adventure awaits!