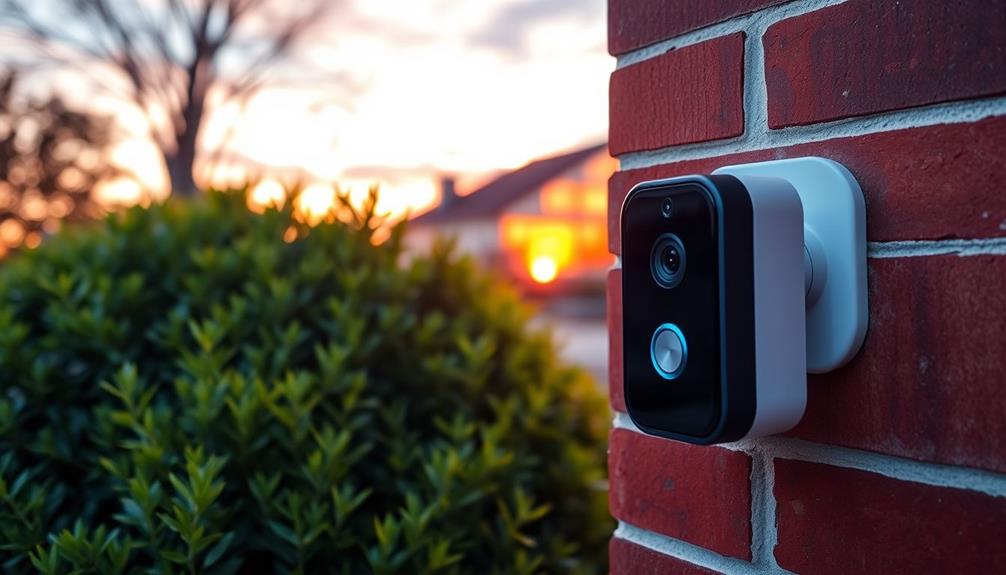
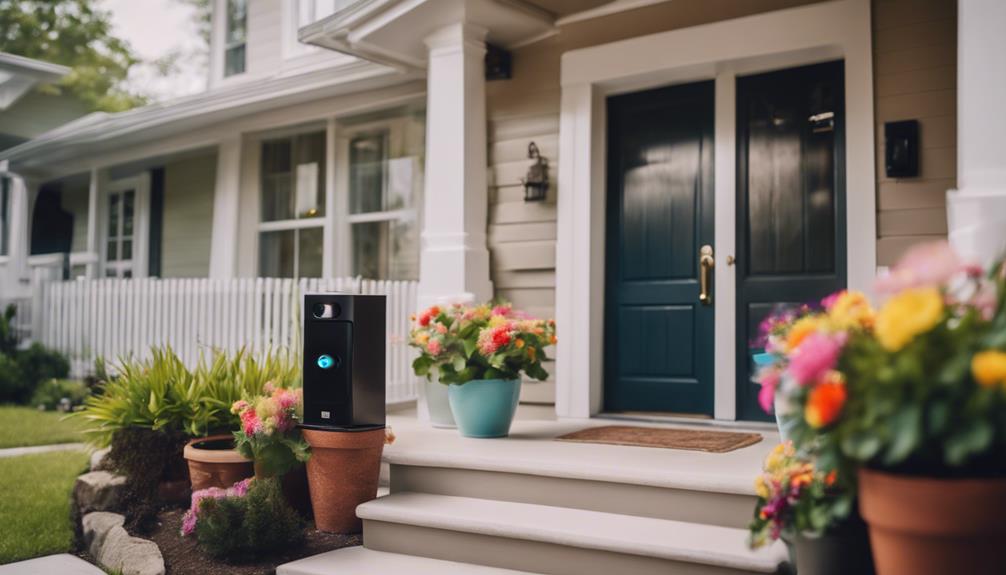
To install your Ring Doorbell on brick, begin by inspecting the surface for any cracks. Make sure to fully charge the doorbell’s battery and gather the necessary tools: a masonry drill bit, plastic anchors, screws, and a level tool. Mark the spots where you will be drilling holes, then use the drill to create the openings and insert the anchors. Position the doorbell at approximately 125 cm from the ground, ensuring it is level, and secure it with screws. Finally, attach the faceplate. This simple process ensures a secure installation, allowing you to make the most of your doorbell’s functions. Keep exploring for more helpful tips! If you’re interested in alternative installation techniques, you can try installing the ring doorbell without drilling using adhesive mounting brackets. This option may be beneficial for renters or individuals who prefer not to make permanent changes to their brick surface. Just attach the brackets to the brick using strong adhesive, and then mount the doorbell onto the brackets. This approach still offers a reliable installation without the necessity of drilling. It’s always a good idea to consider different options to determine the best fit for your specific circumstances.
Key Takeaways
- Before installation, check the brick wall for cracks and damage to ensure stability for the Ring Doorbell.
- Use a masonry drill bit to create holes in the brick and insert plastic anchors for secure mounting.
- Position the doorbell approximately 125 cm from the ground and use a level tool for accurate alignment.
- Secure the doorbell with all screws provided in the kit, ensuring it's tightly fastened to prevent disconnections.
Preparation for Installation
Before you begin mounting your Ring Doorbell on brick, make certain you have the right tools and hardware ready for a smooth installation process. First, check the brick wall for cracks or damage that might affect stability. If you find any issues, consider repairing them before proceeding.
It's also helpful to think about incorporating smart organization techniques that can enhance the area around your doorbell for ease of access and functionality.
Next, familiarize yourself with local building codes. Compliance with regulations regarding mounting devices on exterior walls can save you from future headaches.
Once you've checked the brick surface and local regulations, gather all necessary hardware. Your Ring Doorbell kit typically includes screws and anchors, but make certain you have additional items like a masonry drill bit and plastic anchors on hand.
A level tool is also vital for accurate alignment on the brick wall. This will help your Doorbell look straight and function effectively.
Finally, don't forget to charge the Ring Doorbell battery fully before installation. This way, you'll be ready to go once it's mounted.
Tools and Materials Needed

To mount your Ring Doorbell securely on brick, you'll need some specific tools and materials.
It's crucial to use the right type of masonry drill bit to guarantee a clean and effective installation, as well as to take into account the what to look for in a home cleaning service when hiring professionals for assistance.
Gather a masonry drill bit, plastic anchors, a level, and a screwdriver to get started.
Having the right items on hand will make the installation process much smoother.
Essential Tools Required
Mounting a Ring doorbell on brick requires specific tools and materials to confirm a secure and accurate installation. You'll need a few essential items to make the process smooth and effective.
| Tool/Material | Purpose | Notes |
|---|---|---|
| Masonry Drill Bit | To drill holes for anchors | Confirm it matches the anchor size |
| Level Tool | To verify the doorbell is straight | Prevents alignment issues |
| Plastic Anchor Bolts | To secure the doorbell to the brick | Provides a durable attachment |
| Star-shaped Screwdriver Bit | Tightens the security screw | Often included in the Ring package |
| Pencil | For marking hole locations | Confirms accurate placement |
Having these tools ready will simplify the task of mounting your Ring. Start by using the pencil to mark where you'll drill holes for the anchors. Next, use the masonry drill bit to create those holes, making sure they're precisely where you need them. After that, insert the plastic anchor bolts to secure the doorbell firmly. Finally, use the level tool to confirm everything is aligned before tightening the screws with the star-shaped screwdriver bit.
Necessary Mounting Materials
You'll need several key materials and tools to guarantee a successful installation of your Ring Doorbell on brick. First, grab a masonry drill bit designed for creating holes in brick and mortar. This will help you drill into the brick securely.
It's important to verify that the area around the installation site is clean and free of debris for ideal adhesion and alignment. You'll also need plastic anchor bolts, which are essential for firmly attaching the mounting plate to the brick. For more information on maintaining clean outdoor areas, check out outdoor ceiling fans for style and comfort.
To verify everything's aligned properly, use a level tool while installing your Ring. A pencil will come in handy for marking the drill hole positions, so you get it just right.
Once you've drilled the holes, use a screwdriver to secure the doorbell with the screws provided. If your brick is particularly hard, a hammer might be necessary to gently tap in the plastic anchors for a snug fit.
If you prefer a no-drill option, consider using strong double-sided tape specifically designed for outdoor use, but make sure the surface is smooth for ideal adhesion.
Preparation for Installation
Gathering the right tools and materials is vital for successfully installing your Ring Doorbell on brick surfaces.
Start your preparation for installation by collecting a masonry drill bit, as this will allow you to drill into the hard brick without damaging it. You'll also need a power drill with enough power to tackle tougher materials; standard drills mightn't cut it.
Next, grab a level tool to verify your doorbell is mounted straight, and a pencil for marking the drill points accurately. Don't forget to include plastic anchors specifically designed for brick or masonry; these are essential for secure mounting.
If you prefer a no-drill option, prepare double-sided tape, but make sure it's compatible with your brick's surface texture.
Lastly, have a vacuum or dustpan handy to clean up any debris from drilling. Keeping your workspace tidy is important for a smooth installation process.
Step-by-Step Installation Guide

To get started, make certain your Ring Video Doorbell 3's battery is fully charged using the orange cable until the light glows green. Once that's done, you can move on to the installation process.
- Use the included level tool to position the Ring Doorbell at approximately 125 cm from the ground.
- Mark the mounting hole positions with a pencil for accuracy.
- Drill holes at the marked positions; if you're mounting on brick, use masonry drill bits and plastic anchor bolts for a sturdy fit.
After securing the Ring Doorbell, cover the device with the faceplate. Slot it in at the top and tighten the security screw using the provided star-shaped screwdriver bit.
If you're connecting to a junction box, make sure the wiring is safe and secure before attaching the doorbell.
With these steps, your Ring Doorbell will be ready to provide enhanced security for your home.
Choosing the Right Mounting Method

After securely installing your Ring Doorbell, it's important to evaluate the best mounting method that suits your specific needs and surface type.
You have a few options: the no-drill mount, DIY tape method, or drilling into mortar.
The no-drill mount uses strong double-sided tape, making it easy to remove, but it's best for smooth surfaces.
If you're looking for something more customizable, the DIY tape method allows you to choose adhesive strength, and you can use industrial-strength options for better durability on uneven surfaces.
However, if you want the most secure installation, drilling into mortar is your best bet.
This method minimizes damage to your brick walls and allows for localized repairs using masonry drill bits and plastic anchors.
You'll want to contemplate how permanent you want your Ring Doorbell's mounting to be.
If you prefer ease of removal and preserving your exterior finishes, the no-drill mount is ideal.
Ultimately, match your choice with your surface type and desired permanence for the best result.
Troubleshooting Common Issues

When troubleshooting common issues with your Ring Doorbell, it's important to start by ensuring the battery is fully charged to prevent performance problems. A low battery can lead to connectivity issues and affect the overall functionality of your device.
If you're still experiencing problems after checking the battery, consider these steps:
- Verify that the Ring Doorbell is properly aligned and leveled during installation. Misalignment can lead to poor video quality and functionality.
- Use the Ring app for troubleshooting connectivity issues. This app can help identify problems such as weak Wi-Fi signals or incorrect device settings.
- Regularly inspect your Ring Doorbell for signs of wear or damage. Environmental factors can impact its performance over time.
Maintenance and Care Tips

To keep your Ring Doorbell functioning at its best, establish a regular cleaning schedule to remove dirt and debris.
Don't forget to check the battery level frequently and inspect for any signs of damage.
Staying on top of these maintenance tasks will help guarantee your device operates smoothly and reliably.
Regular Cleaning Schedule
Establishing a regular cleaning schedule for your Ring Doorbell helps guarantee peak performance and clear image quality. To keep your device functioning at its best, make it a habit to inspect and clean it every month.
Here's how you can effectively maintain your doorbell:
- Use a soft, lint-free cloth and a mild cleaning solution to gently wipe the lens and surface.
- Avoid abrasive materials that might scratch the finish, ensuring the doorbell looks good and works well.
- Check the battery status during your monthly maintenance, charging it if necessary for top performance.
Battery Maintenance Tips
Maintaining the battery in your Ring Doorbell is just as important as keeping the device clean, guaranteeing it operates smoothly and reliably.
One of the key battery maintenance tips is to regularly check the battery level in the Ring app. Aim to recharge it when it drops to around 20% to prevent any service interruptions. When it's time to charge, use the provided orange charging cable and let it charge until the indicator light glows green, signaling a full charge.
Store the battery in a cool, dry place when not in use, as extreme temperatures can negatively impact its performance and lifespan. It's also wise to inspect the battery periodically for any signs of damage or wear. If you notice any issues, replace the battery to keep your device functioning properly.
Consider purchasing an extra battery for easy swapping during maintenance. This way, your Ring Doorbell remains operational while one battery is charging.
Keeping these battery maintenance tips in mind will help guarantee your device remains ready to capture important moments, so you can rely on it when you need it most.
Don't forget to log into your Ring account to post updates or check battery health.
Inspect for Damage
Regular inspections of your Ring Doorbell's mounting area on brick can help catch any potential damage early, guaranteeing it stays secure and functional. By routinely checking the installation, you can prevent larger issues down the line.
Here are some key areas to inspect:
- Look for cracks or loose materials in the brick that could compromise the stability of your Ring.
- Check for signs of moisture or water damage around the doorbell, as this can impact the device's performance and lifespan.
- Inspect the integrity of the adhesive or screws used for mounting to guarantee the doorbell remains firmly in place.
Community Resources for Support

The Ring Community offers invaluable resources and support for anyone tackling the challenge of mounting their Ring Doorbell on brick surfaces.
When you join in the discussion, you'll find a wealth of shared experiences from users who've successfully installed their Ring Video Doorbell on similar surfaces. These insights can greatly enhance your understanding of the process and help you avoid common pitfalls.
You can access community forums where users post their concerns and receive feedback from seasoned DIYers. This collaborative environment allows you to ask specific questions and get tailored advice for your installation challenges.
Additionally, engaging with Ring representatives in the community means you'll receive official guidance, ensuring you're following best practices.
Regular participation keeps you updated on the latest installation techniques and troubleshooting methods. You'll discover tips and tricks that others have found useful, making your project smoother and more efficient.
Don't hesitate to immerse yourself in the discussions, share your progress, and learn from others. The Ring Community is here to support you every step of the way as you work towards successfully mounting your Ring Doorbell on brick.
User Experiences and Feedback

Users often share a variety of experiences when it comes to mounting the Ring Doorbell on brick, highlighting both successes and challenges during their installations.
Many express frustration with the installation complexity, especially when dealing with tough materials like brick or mortar.
Here are some common insights from user experiences:
- Drilling into mortar often yields a more secure installation than drilling directly into bricks.
- Clearer, more tailored instructions for brick installations would greatly help new users.
- Some users found existing guides insufficient, leading to confusion and delays.
These shared experiences underscore the importance of community feedback in refining the installation process.
As more users discuss their struggles and successes, it becomes evident that improvements in installation resources could greatly benefit those looking to mount their Ring Doorbell on brick.
Frequently Asked Questions
Can Ring Doorbell Be Installed on Brick?
Yes, you can install a Ring Doorbell on brick.
It's a bit different from other surfaces, but with the right tools, you'll get it done.
You'll want to use masonry drill bits and plastic anchor bolts for a secure fit.
Drilling into mortar is often recommended, as it minimizes damage to the brick.
Just follow the instructions carefully, and you'll have your Ring Doorbell up and running in no time.
How Do You Install a Ring Doorbell on Brick Without Drilling?
To install your Ring Doorbell on brick without drilling, you can use the official no-drill mount.
This mount features strong double-sided tape, perfect for smooth surfaces.
Make sure the area is clean and dry for the best adhesion.
If you prefer a DIY method, standard double-sided tape can work too, but be careful with stronger adhesives, as they might damage the wall when removed.
Always check your local regulations before installing.
How to Mount a Ring Doorbell on Stone?
Did you know that over 30% of break-ins happen through unlatched doors?
To mount your Ring Doorbell on stone, start by choosing a spot about 125 cm off the ground.
Use a level to mark drilling points, then drill with a masonry bit.
Insert plastic anchors and secure the screws.
If the stone's uneven, try industrial-strength double-sided tape.
Regularly check your installation for stability to keep your doorbell functioning properly.
How Do You Use a Ring Doorbell Without a Drill Mount?
To use your Ring doorbell without a drill mount, you can opt for the no-drill mount or a DIY tape method.
Start by cleaning the surface to guarantee the tape adheres well.
If you choose the no-drill mount, apply the strong double-sided tape, making sure the surface is smooth.
Alternatively, use industrial-strength tape, layering it for extra grip.
Both methods allow easy removal, perfect for renters or those avoiding permanent changes.
Conclusion
In summary, mounting your Ring Doorbell on brick can enhance your home security considerably.
Did you know that homes with video doorbells experience a 55% decrease in package theft?
By following the steps outlined, you'll guarantee a secure installation and peace of mind.
Don't hesitate to reach out to community resources if you hit a snag along the way.
With proper care, your Ring Doorbell will serve you well for years to come!