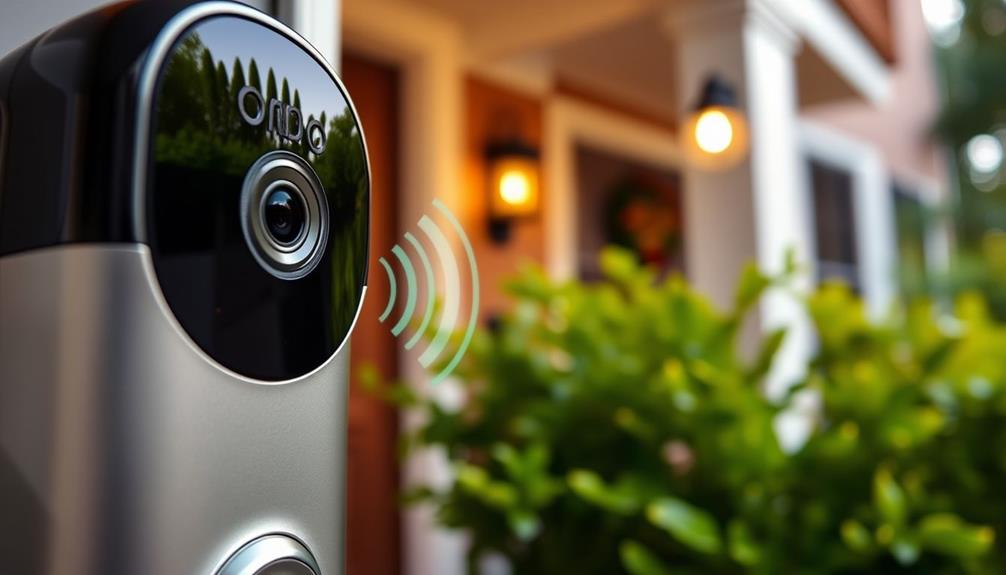
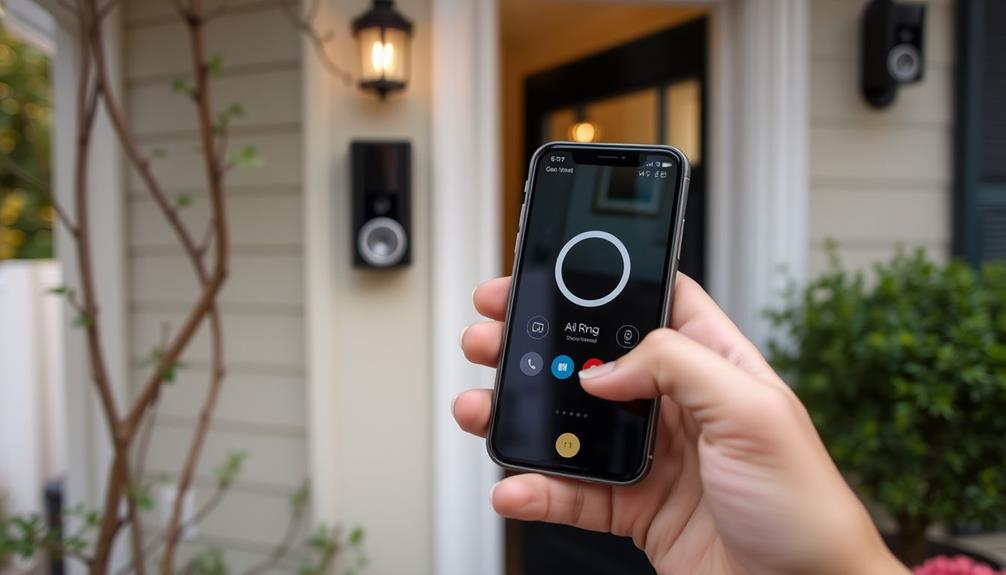
In order to mount your Ring Doorbell 4, first make sure the battery is fully charged and gather necessary tools such as a 6mm masonry drill bit and a PH2 Phillips screwdriver. Select a mounting location approximately 48 inches from the ground. Ensure the doorbell is level and mark the hole positions before drilling. If you are connecting to existing wires, double-check their security. Once the doorbell is attached, confirm that it displays a solid white light. Finally, put on the faceplate and security screw for added safety. For troubleshooting and tips on optimizing your device, there is more to explore! If you are uncertain about how to mount a doorbell or encounter any difficulties during installation, refer to the user manual or visit the Ring website for detailed instructions and useful resources. Do not hesitate to contact customer support for assistance if needed. Through proper installation and setup, you can benefit from the convenience and security offered by the Ring Doorbell 4. If you need more information on how to mount Ring Doorbell 3, you can find helpful resources and guidance on the Ring website. Customer support is also available for assistance with mounting Ring Doorbell 3 if you encounter any issues during installation. By properly installing and setting up your Ring Doorbell 3, you can ensure that you are maximizing its functionality and performance.
Key Takeaways
- Ensure the battery is fully charged before starting the installation process for the Ring Doorbell 4.
- Choose a mounting height of 48 inches for optimal performance and use a level tool for straight alignment.
- Drill holes with a 6mm masonry drill bit and connect wall wires to the back of the doorbell, checking for a solid white light.
- Secure the doorbell with all provided screws, then attach the faceplate and install the security screw for safety.
Installation Overview
Installing the Ring Video Doorbell 4 is a straightforward process that anyone can tackle, whether you have an existing doorbell or not. Before you begin, make certain the battery is fully charged to avoid interruptions during installation.
First, gather the tools needed for installation: a 6mm masonry drill bit and a PH2 Phillips screwdriver. If you're using an existing doorbell, you'll need to take into account wiring compatibility, but you can still follow the step-by-step guide provided in the Ring app for smooth setup. It's also beneficial to guarantee you have a clean and organized workspace, similar to what you'd expect from a home cleaning service to facilitate the process.
Next, decide on the best location for mounting your Ring doorbell. Proper alignment is essential, so aim for a height of 48 inches from the ground for peak functioning and viewing angle.
Once you've chosen the spot, mark where you'll drill holes for the mounting screws. Use the drill to create these holes, making sure they're accurately placed to support your device securely.
Mounting Process

How do you assure your Ring Video Doorbell 4 is mounted securely and at the right height for peak performance?
First, position it at a height of 48 inches (1.2 meters) from the ground. It's also important to take your home's layout into account to guarantee peak visibility and functionality, similar to how smart organization techniques improve kitchen setups.
Use a level tool to make certain it's straight before marking the mounting holes with a pencil. If you're drilling into brick, concrete, or stucco, grab a 6mm masonry drill bit to create the necessary holes. Insert plastic anchors to secure the mounting.
Next, connect the wires from your wall to the back of the Ring Video Doorbell 4. Make sure a solid white light appears, indicating a proper connection. Once everything's connected, you're ready to install the device. Secure it with the included screws, ensuring it's firmly attached to the wall.
After you've secured the Ring Video Doorbell 4, it's time to attach the faceplate. Slot it in at the top and fasten it with the provided security screw.
This process assures that your doorbell isn't only securely mounted but also ready to function effectively for your home security needs.
Final Assembly

Once everything's connected, you can proceed with the final assembly of your Ring Video Doorbell 4. Start by carefully feeding the wires into the wall to avoid any damage. Once that's done, align the mounting holes and secure the Ring Doorbell 4 to the wall using all four provided screws.
Next, it's time to attach the faceplate. Slot it in at the top and press down until you hear it click into place. To guarantee it's securely fastened, use the provided star-shaped screwdriver bit to install the security screw. This will keep your device safe and sound.
Before wrapping up, double-check that all components are securely attached. Look for a solid white light on the device, indicating a successful installation.
Here's a quick reference table to help you with the final assembly:
| Step | Action | Tools Needed |
|---|---|---|
| 1. Feed Wires | Carefully feed the wires into the wall | None |
| 2. Secure Device | Use screws to secure the Ring | Provided screws |
| 3. Attach Faceplate | Slot the faceplate and press down | None |
| 4. Install Security | Use the star-shaped screwdriver bit | Star-shaped screwdriver bit |
Now you're all set!
Troubleshooting Tips

If you run into any issues during installation, these troubleshooting tips can help you resolve them efficiently.
First, verify your battery is fully charged; improper battery discharge or reporting can lead to malfunctions. After installing, check that your Ring Doorbell shows a solid white light, indicating proper wiring and functionality. If the light isn't on, double-check your wire connections to make certain they're secure. If you're having difficulty with the wires, consider using wire extensions and wire nuts to simplify integration.
Additionally, understanding your personal strengths can enhance your approach to the installation process, much like how astrology claims to influence personality traits related to attractiveness.
Alignment is essential, too. Make sure the screws align perfectly with the mounting holes; incorrect alignment can create significant installation challenges.
If you're still facing issues, don't hesitate to consult the Ring Community. Many users share their experiences and solutions, making it a valuable resource for troubleshooting tips.
Frequently Asked Questions
How Do You Mount a Ring Doorbell 4 to the Wall?
To mount a Ring Doorbell 4 to the wall, first, position it at about 48 inches high and use a level to guarantee it's straight.
Mark the mounting holes with a pencil and drill holes at those spots. If needed, use plastic anchors.
Connect the wires to the screws on the back, ensuring a solid white light.
How Do You Position a Ring Doorbell 4?
Imagine your Ring Doorbell 4 as the watchful eye of your home, keeping a vigilant lookout.
To position it perfectly, you'll want to install it about 48 inches from the ground—like a friendly wave at eye level.
Grab your level tool to guarantee it stands straight, and mark your drilling points with a pencil.
Align it carefully before securing it with screws; this way, it'll be ready to greet visitors with a smile!
How Do You Install a Ring Doorbell 4 Without Drilling?
To install your doorbell without drilling, grab a No-Drill Mount that's compatible with your model.
You'll find that it attaches securely from inside to the outside.
Use just a screwdriver and the screws provided with the mount for a hassle-free setup.
Make certain you align the screws with the mount holes properly for a secure fit.
Follow the manufacturer's guidelines to verify everything's done right for peak performance.
Does Ring Doorbell 4 Require Wiring?
The Ring Doorbell 4 offers you flexibility; you can choose between wiring it or relying on its rechargeable battery.
If you decide to hardwire it, you'll benefit from continuous power, eliminating the need for battery changes.
However, if you prefer a simpler setup, you can use the battery option, charging it with the included Micro-USB cable.
Conclusion
Now that you've successfully mounted your Ring Doorbell 4, you can enjoy the peace of mind it brings.
Did you know that homes with video doorbells experience a 55% decrease in package theft?
With your new setup, you're not just enhancing your security; you're also part of a growing trend that keeps neighborhoods safer.
So, get ready to monitor your front porch with ease and stay connected with loved ones and deliveries like never before!


