To install your Ring Doorbell 3 Plus, begin by charging the battery until the light turns green. Set up the device in the Ring app and select a location approximately 48 inches from the ground, ensuring it is clear. Make holes at the designated spots and use plastic anchors if mounting on brick or concrete. Secure the doorbell using the provided screws and attach the faceplate by sliding it in at the top. Once everything is set up, check the wiring indicator light to ensure a solid white signal. Stay tuned for tips on maximizing the features of your doorbell! Lastly, remember to adjust the motion settings in the app according to your preferences to customize the alerts you receive. Additionally, think about adding a protective cover to your mounting ring doorbell to protect it from the elements and potential tampering. Following these final steps, your Ring Doorbell 3 Plus should be ready for use, providing you with increased security and convenience.
Key Takeaways
- Charge the battery until the light glows green and set up the device in the Ring app before installation.
- Choose a mounting location about 48 inches from the ground and ensure the area is free of obstacles.
- Drill holes at marked positions, using plastic anchors for sturdy materials like brick or concrete.
- Secure the device firmly with all four screws and use a level tool to confirm proper alignment.
Amazon Product B0GKDWJL75
As an affiliate, we earn on qualifying purchases.
Installation Preparation
Before you start the installation of your Ring Video Doorbell 3 Plus, make sure to prepare by charging the battery and setting it up in the Ring app.
Plug the provided battery into a power source using the orange USB cable and wait until the light glows green, indicating it's fully charged.
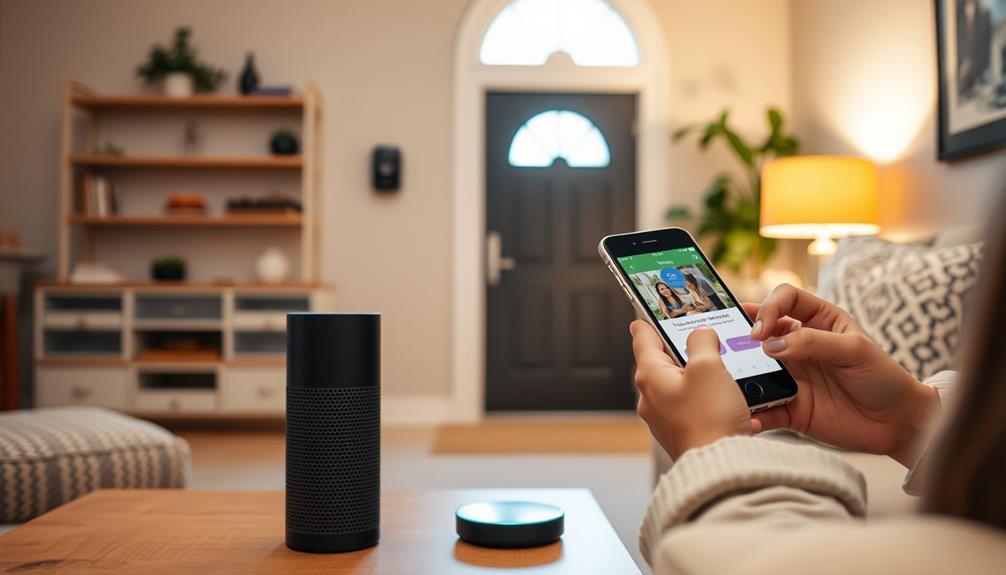
Once charged, open the Ring app to set up your device; this step will streamline your installation process.
Additionally, verify that your installation area is clear of any obstacles and that you have all necessary tools handy, such as a drill and screwdriver, to facilitate the process smart organization techniques.
Next, you'll want to determine the ideal location for your doorbell.
Use the included level tool to confirm it's positioned correctly, typically at about 48 inches (1.2 meters) from the ground.
This height optimizes performance and captures the best view.
Mark the positions of the mounting holes with a pencil to guide your drilling.
Before drilling, check that your transformer voltage is compatible with the Ring Doorbell, ideally between 8-24 VAC and a maximum of 40VA.
This precaution helps prevent any electrical issues during installation.
With these steps complete, you'll be ready for a smooth and secure installation of your Ring Video Doorbell 3 Plus.
Amazon Product B0FNM2N55T
As an affiliate, we earn on qualifying purchases.
Mounting Process

With your installation area prepared and the device set up, it's time to secure the Ring Doorbell 3 Plus to the wall.
Start by drilling holes at the marked positions, using plastic anchors if you're mounting on brick, concrete, or stucco. If you're working with wood or vinyl, you can directly install the device using the included screws without needing to drill additional holes.
Confirm that your setup is safe and reliable, similar to how garage door openers enhance security.
Once you've drilled the holes, verify the device is properly aligned. Remove the level tool and position the Ring Doorbell over the drilled holes.
It's vital to secure the device firmly, so use all four included screws to attach it to the wall. This will help prevent any wobbling and confirm it stays in place.
After mounting, grab the faceplate and slot it in at the top of the device. Press down gently to click it into place, completing the mounting process.
Double-check that everything is secure and aligned properly. Now your Ring Doorbell 3 Plus is ready for the next steps.
Amazon Product B0FPRCK2MR
As an affiliate, we earn on qualifying purchases.
Finalizing Installation

Now that your Ring Doorbell 3 Plus is mounted, it's time to install the faceplate securely. Start by aligning the faceplate at the top of the device and pressing it down until it clicks into place. This guarantees that it's snug and ready for use. Once the faceplate is secure, you can move on to any optional accessories. If you’d like to change the viewing angle, you can attach Ring Doorbell to corner mount for enhanced coverage. Simply follow the instructions provided with your corner mount for a smooth, secure setup.
If you're also considering ways to maintain a clean home environment while using your new device, you might want to look into what to expect from a home cleaning service.
Next, take the provided security screw and the star-shaped screwdriver bit to tighten the faceplate. This step is essential to secure your Ring and prevent any tampering.
Before you finish, verify that all wiring is properly fed into the wall. Make sure there are no loose connections, as this could lead to issues with the device's functionality.
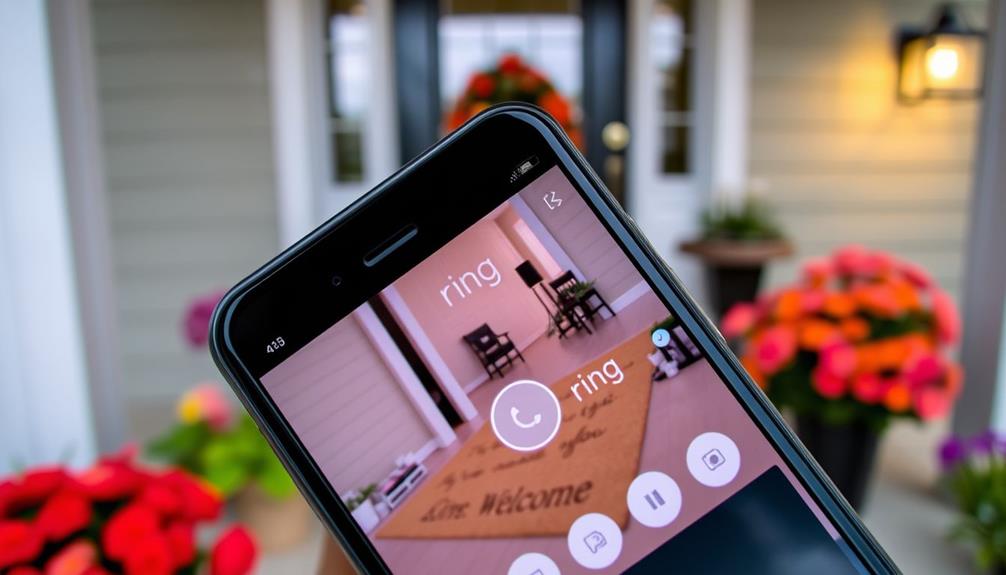
Once everything looks good, check the wiring indicator light. A solid white light confirms that your installation is correct and that the device is ready for action.
To explore additional features and configuration options, don't forget to check the setup information in the Ring app. This will help you maximize your doorbell's capabilities and guarantee it's tailored to your needs. You’ll find useful tips on customizing motion settings, notifications, and integrations with other smart devices. Additionally, make sure to explore the app for details on promotions and offers, such as how to get a free Ring or other compatible accessories. Staying updated with the latest app features ensures your doorbell operates efficiently and enhances your home security.
With everything in place, your Ring Doorbell 3 Plus is fully installed and ready to enhance your home security.
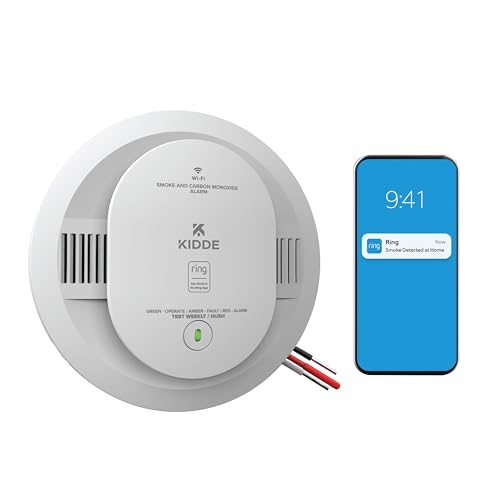
Kidde Smart Smoke and Carbon Monoxide Detector, Ring App Enabled for Real-Time Notifications, Hardwired Alarm, AA Backup Battery
Double the Detection: Alerts you to both smoke and carbon monoxide (CO)
As an affiliate, we earn on qualifying purchases.
Frequently Asked Questions
What Height Should Ring Doorbell 3 Plus Be Mounted?
You should mount your Ring Doorbell 3 Plus at about 48 inches (1.2 meters) from the ground.
This height lets the camera capture clear images of faces while reducing obstructions from door frames or overhangs.
Using the included level tool during installation guarantees it's properly aligned.
Following this height guideline boosts the motion detection capabilities, enhancing security coverage and helping you comply with local building codes for a better user experience.
How to Fix Ring Doorbell 3 to Wall?
To fix your Ring Doorbell 3 to the wall, start by ensuring you've charged the battery fully and inserted it into the device.
Use the included level tool to mark the mounting holes at the desired height.
If you're mounting on a tough surface like brick, drill holes and insert anchors.
Connect the wires, secure the doorbell with screws, and finish by adding the faceplate and tightening the security screw.
How Do You Install Ring Doorbell 3 Without Drilling?
To install your Ring Doorbell 3 without drilling, start by cleaning the wall surface to make certain it's dry and free of dust.
Then, use the adhesive mounting tape included with your doorbell for a strong hold.
Position the doorbell about 48 inches from the ground for the best video and interaction.
Once it's secure, connect it to power through existing wiring or the rechargeable battery, and check that the indicator light is on.
Can the Ring Doorbell 3 Plus Be Hardwired?
Sure, you can hardwire the Ring Doorbell 3 Plus, which means you won't have to worry about recharging the battery.
Unlike battery-operated devices that limit usage, hardwiring offers a continuous power source.
Just remember to turn off the power at the circuit breaker before you start connecting wires.
Once you see a solid white light on the device, you'll know you've successfully completed the connection and it's ready for action.
Conclusion
You've successfully mounted your Ring Doorbell 3 Plus, only to realize you forgot to charge it first—classic move!
But hey, at least you've got a great view of your front porch while it's still tethered to the charger.
Now, as you watch your doorbell come to life, just remember: it's not just a doorbell; it's your new favorite home security companion.
With a little patience, you'll soon be ready to greet visitors from anywhere.