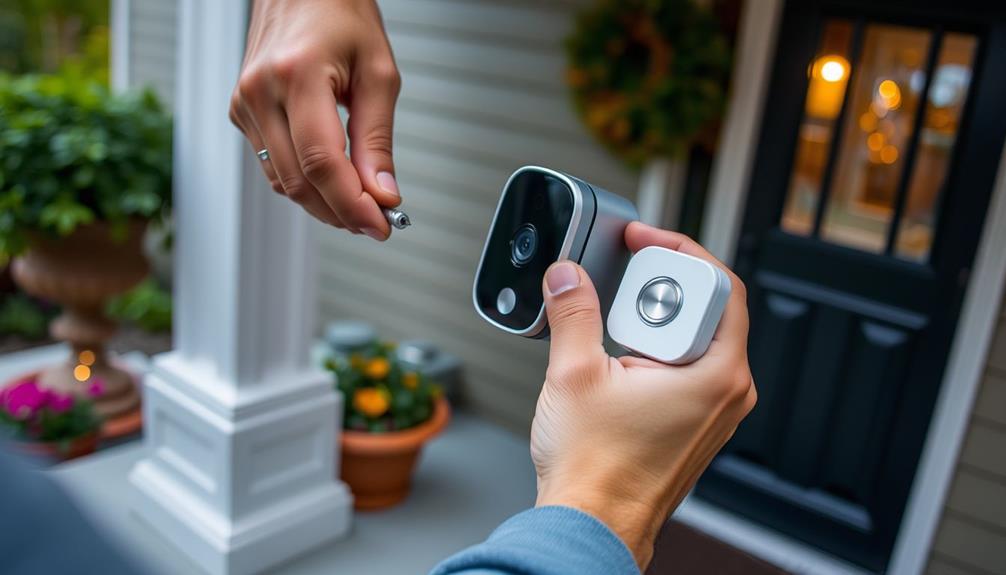
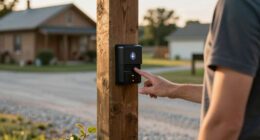
To install your Ring doorbell on a uPVC frame, start by assessing the area and planning your setup. Utilize self-tapping screws to securely attach it without excessive drilling, preserving the frame’s strength. Aim for a mounting height of approximately 1.2 meters (4 feet) for optimal camera functionality. Think about using mounting brackets to adjust the angle for improved viewing. Periodically inspect the installation to ensure the screws stay firm and stable. Seeking advice from individuals who have completed comparable installations can offer helpful insights and strategies to address any obstacles you may encounter during the process.
Key Takeaways
- Use self-tapping screws for secure attachment to maintain the integrity of the uPVC frame and avoid heavy drilling.
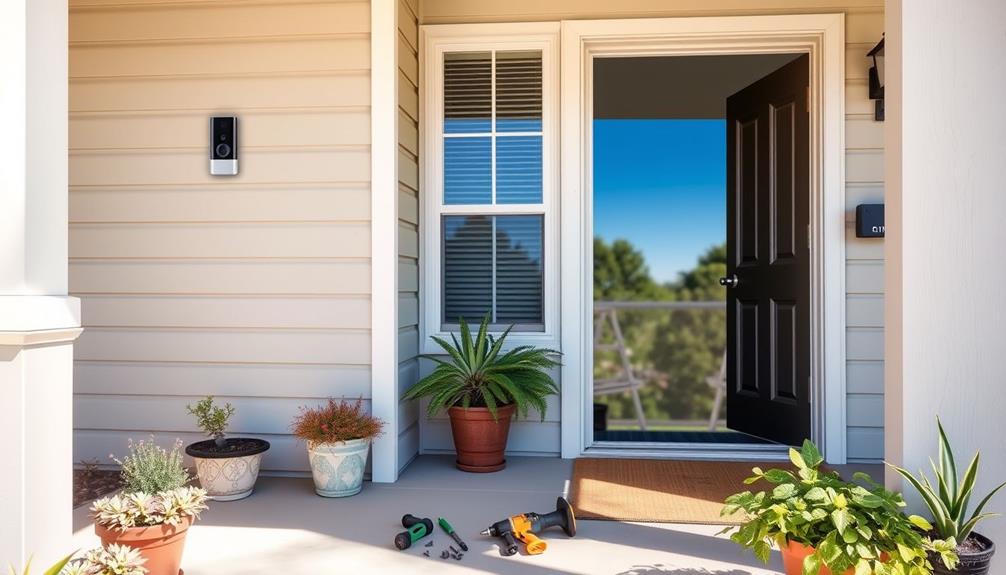
- Install the doorbell at a height of 1.2 meters (4 feet) for optimal camera performance and coverage.
- Consider using mounting brackets to adjust angles for better visibility and ensure a clean installation.
- Regularly check the tightness of screws to prevent wobbling and enhance overall security of the doorbell.

Doorbell Extender Bracket Compatible with Ring Doorbell, Extends Offset Doorbell Holder Mount for Brick Wall, Get Better View, Black 97mm
Optimized Installation Angle: 3.8 inch (97mm) doorbell extender bracket allows doorbell to be installed outwards, effectively avoiding common…
As an affiliate, we earn on qualifying purchases.
As an affiliate, we earn on qualifying purchases.
Installation Challenges
Installing a Ring Doorbell on a uPVC frame presents various challenges, including limited space and the need for secure attachment to prevent theft. You might find that the size of your door frame restricts your options, making it difficult to locate suitable drilling spots. This can lead to frustration, particularly if you're unsure where to mount the doorbell for ideal functionality.
Additionally, it's important to take into account any energy consumption of appliances when planning your installation, as some models may rely on battery power or require proximity to power sources.
Aesthetic concerns can further complicate the installation process. If the doorbell doesn't align with the overall look of your entryway, it could detract from your home's curb appeal. You'll want to balance functionality with aesthetics, ensuring the doorbell looks good while remaining securely attached.
User experiences can vary widely; some find a way to successfully navigate these installation challenges, while others struggle greatly. It's crucial to prioritize a secure attachment, as improper mounting not only risks the doorbell becoming dislodged but also leaves it vulnerable to theft.
Before you start, take the time to assess your uPVC frame and plan your installation carefully to minimize potential issues.

Wensilon(200pcs)#8×1”for Sheet Metal Self-Tapping Screws 410 Stainless Steel Truss Head High-Strength Quick Tapping Screws
MATERIAL: Made Of High Quality 410 Stainless Steel, Corrosion Resistant, Rustproof, High Strength, No Deformation, Can Be Used…
As an affiliate, we earn on qualifying purchases.
As an affiliate, we earn on qualifying purchases.
Alternative Installation Methods

If you're looking for alternative ways to install your Ring doorbell, consider using self-tapping screws for a secure fit without heavy drilling.
This method can be particularly useful to avoid damaging your uPVC frame while guaranteeing a strong hold.
You can also explore mounting brackets to adjust the angle and guarantee the best camera view, as they allow for flexibility in positioning.
These methods not only simplify installation but can also keep your uPVC frame looking great, making them a smart choice for maintaining your home's aesthetics while enhancing security with essential items for a home cleaning kit.
Self-Tapping Screws Benefits
Self-tapping screws offer a practical solution for securing your Ring doorbell to a uPVC frame, streamlining the installation process by often eliminating the need for pre-drilling pilot holes. This feature makes them particularly handy for quick installations.
Additionally, using self-tapping screws can be a faster option than traditional methods, akin to the efficiency of an airless paint sprayer in large projects. There are two types of self-tapping screws: thread-forming, which may require a pilot hole, and thread-cutting, which can be installed directly into the material. Depending on your specific situation, you can choose the right type for your needs.
When you install the doorbell using self-tapping screws, you enhance its security. Unlike adhesive methods, which can be impacted by weather conditions or theft, these screws provide a more permanent attachment. Just remember to tighten the screws adequately to prevent any wobbling, as this can affect the camera's performance and overall functionality of the doorbell.
For the best camera view, aim to install the doorbell at about 1.2 meters (4 feet). This height guarantees that your doorbell captures clear footage of visitors, enhancing both your security and convenience.
Self-tapping screws not only simplify the installation but also offer a robust solution for keeping your doorbell securely in place.
Mounting Bracket Options
When choosing the right mounting bracket for your Ring doorbell, consider the specific design options available for uPVC frames to guarantee a secure fit with minimal visual impact.
Utilizing effective clustering in your content can enhance user experience by providing clear guidance on installation methods. There are several mounting brackets you can choose from, including wedge and corner mounts. These options allow you to adjust the angle of your doorbell, guaranteeing superior viewing, especially on curved or textured surfaces.
When installing, self-tapping screws offer a reliable method for attaching the mounting bracket directly to your uPVC frame. These screws often eliminate the need for pilot holes, making your installation quicker and easier. However, it's essential to select a mounting bracket that fits your specific Ring Doorbell model to guarantee proper alignment and function.
For additional stability, consider using adhesive solutions alongside your mounting brackets. Just make sure the surface of your uPVC frame is clean to achieve effective bonding.
Choosing the right combination of mounting brackets and self-tapping screws won't only enhance the security of your installation but also maintain the aesthetic appeal of your home.

KMOUANTS Adjustable 360° Degree Doorbell Angle Mount Compatible with Ring/Wireless Video Doorbell/Battery Doorbell Plus/Pro Mount, Ring Camera Holder Door Mount no Drill
(Not compatible with Blink Doorbell and Ring Wired Doorbell Plus)Applicable doorbell models:This Doorbell angle mount compatible with All-new…
As an affiliate, we earn on qualifying purchases.
As an affiliate, we earn on qualifying purchases.
User Experiences

Sharing their experiences, users have discovered various installation techniques for Ring doorbells on uPVC frames, leading to a mix of successes and challenges. Many have successfully employed self-tapping screws for a secure fit, while others opted for adhesive methods to maintain the aesthetics of their doors. Additionally, some users have found that ensuring the doorbell's design complements their home can enhance its integration with the overall decor, similar to the modern farmhouse bedroom style that emphasizes serene atmospheres.
Here are some common insights from users:
- Height Matters: Installing the doorbell at around 1.2 meters (4 feet) improves the camera's field of view, allowing for better monitoring.
- Security First: Users emphasize the importance of a secure installation to prevent theft, with some choosing longer screws or additional adhesive options.
Community forums have become a popular resource for users looking to share tips and personal experiences. These platforms offer valuable insights into overcoming common installation challenges. By tapping into these shared experiences, you can navigate your own installation process more effectively and avoid potential pitfalls.
Reinforced Door Screw Kit for Strike Plates, Deadbolt Plates, and Hinges. 3-inch Screws and Screwdriver Bit, Makes Doors Kick Resistant, Home Security Upgrade
[ANTI-VILLAIN TECHNOLOGY] Fixes the 3 WEAK POINTS of a residential door: The Strike Plate, Deadbolt Plate, and Hinges….
As an affiliate, we earn on qualifying purchases.
As an affiliate, we earn on qualifying purchases.
Troubleshooting Tips

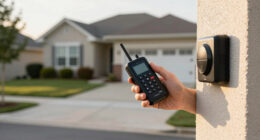
Frequently checking the installation after you've mounted the Ring doorbell can help catch any issues early and secure peak performance. Start by verifying that there's sufficient wall space beside your uPVC door. This prevents any obstructions that could hinder the doorbell's functionality.
If you notice any wobbling, it's vital to tighten the screws adequately; loose screws can affect performance and security. Additionally, using a well-draining soil mix is important for plants that enhance your home's aesthetic, making your entrance more inviting.
Position your Ring doorbell at around 1.2 meters (4 feet) for the best camera view and motion detection. After installation, take a moment to test the doorbell's functionality. Confirm that it's recording and sending notifications correctly. If you're experiencing issues, consider adjusting the angle or height of the device as needed.
If you encounter unique installation scenarios that don't match standard guidelines, don't hesitate to seek advice from the community. Many users share valuable troubleshooting tips based on their experiences, which can be immensely helpful.
Community Engagement

Joining the Ring Community is a great way to share your experiences and learn from others.
You can exchange installation tips and strategies that work best for fitting Ring doorbells to uPVC frames. One tip is to use the provided wedge kit to ensure a snug fit on the uPVC frame. Another strategy is to carefully measure and align the doorbell before securing it in place to avoid any misalignment. Fitting ring doorbell to uPVC frames may require some trial and error, so don’t be afraid to adjust and readjust until it sits perfectly on the frame. One important consideration when fitting Ring doorbell to uPVC frames is the weatherproofing of the installation. Be sure to seal any gaps or holes between the doorbell and the frame to prevent moisture or debris from getting inside. Additionally, consider the angle and positioning of the doorbell to ensure the best field of view for the camera. Overall, fitting ring doorbell to uPVC frames requires patience and attention to detail, but with the right techniques, you can achieve a secure and professional-looking installation. Another important tip for fitting Ring doorbell to uPVC frames is to test the functionality of the doorbell after installation. Make sure the Wi-Fi signal is strong and that the doorbell can connect to your smartphone or other devices. Additionally, consider using additional security measures such as security screws to deter potential tampering or theft. Overall, fitting ring doorbell to uPVC frames can enhance the security and convenience of your home, so taking the time to ensure a proper installation is well worth the effort.
Don't hesitate to post your questions or seek advice—your input can really help someone else in the community!
Share Your Experiences
Many users have found valuable insights and techniques in the Ring Community to successfully install their doorbells on uPVC frames. Sharing your experiences can't only help you troubleshoot but also guide others facing similar challenges. By engaging with fellow users, you'll learn effective methods and gain inspiration for your own installation.
Here are some key aspects to take into account when you join in the discussion:
- Self-tapping screws: Many users recommend using self-tapping screws for a secure fit on uPVC surfaces, making installation easier.
- Visual guidance: Don't hesitate to post a question or share images of your setup—visuals can help others understand what's working for you.
Installation Tips Exchange
Engage with the community to exchange practical installation tips and tricks for fitting your Ring Doorbell to uPVC frames. By joining discussions, you can learn from others who have faced similar challenges. Don't hesitate to post specific questions; seasoned members are often keen to share their experiences and insights.
Here's a quick reference table summarizing some key installation tips:
| Tip | Description | Benefit |
|---|---|---|
| Use Self-Tapping Screws | Secure your doorbell effectively to prevent theft | Greater stability and security |
| Share Your Setup | Upload pictures of your installation | Visual inspiration for others |
| Ask Questions | Post inquiries about tricky aspects of installation | Gain tailored advice from experienced users |
| Discuss Product Updates | Stay informed on the latest features and solutions | Enhance your installation strategy |
| Join Local Groups | Connect with nearby users for hands-on help | Create a support network for future needs |
Product Recommendations

For securely attaching your Ring doorbell to a uPVC frame, consider using EasyDrive self-drilling pan head screws, as they eliminate the hassle of pilot holes while providing a strong hold. These self-drilling screws are ideal for ensuring your doorbell stays put while maintaining the integrity of the uPVC door frame.
In addition to screws, here are a few product recommendations to enhance your installation experience:
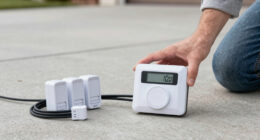
- Multimeter: Use this essential tool to verify the functionality of existing doorbell wiring, ensuring your power source is reliable for wired Ring models.
- Plug-in Transformer: If you prefer an easy power solution, a plug-in transformer allows you to power your Ring doorbell without complicated wiring.
Installation Considerations

When installing your Ring doorbell on a uPVC frame, you'll want to take into account specific factors to guarantee a secure and effective setup. Using self-tapping screws is essential, as they provide a strong attachment while minimizing damage to the frame. Remember, the standard installation kit is designed for wooden doors, so you might need specialized screws or mounting brackets for uPVC.
Additionally, install the doorbell at a height of approximately 1.2 meters (4 feet) to maximize its functionality. While drilling into the uPVC frame is often necessary, do it carefully to avoid interfering with the door operation. Adjusting screw lengths can help you achieve this balance.
Here's a quick overview of key installation considerations:
| Factor | Recommendation |
|---|---|
| Screw Type | Self-tapping screws |
| Height for Installation | 1.2 meters (4 feet) |
| Drilling Precautions | Avoid disrupting door operation |
Don't forget to tap into community support for shared user experiences, which can offer helpful insights into the best practices and challenges during your installation on uPVC surfaces.
Frequently Asked Questions
Can You Drill Through an Upvc Door Frame for a Doorbell?
Yes, you can drill through a uPVC door frame for a doorbell, but you need to be careful.
Use self-tapping screws to minimize damage and choose the right drill bit to avoid cracking.
Make certain you install the doorbell at about 1.2 meters (4 feet) for the best view.
Always check that your drilling won't harm the frame's integrity or warranty.
Taking these precautions will help guarantee a successful installation.
How Do You Install a Ring Doorbell on Plastic Siding?
To install a Ring Doorbell on plastic siding, start by using self-tapping screws for easy attachment.
Aim for a height of about 1.2 meters (4 feet) for the best camera view.
If the siding's curvature affects the angle, consider a mounting bracket or wedge.
Clean the area thoroughly before applying any adhesive, and make certain the installation happens in warm, dry conditions.
Tighten the screws well to keep your doorbell secure.
Can I Install a Ring Doorbell Without Screws?
Yes, you can install a Ring Doorbell without screws. You'll want to use strong adhesive solutions made for outdoor use, like heavy-duty double-sided tape or silicone adhesive.
Just make sure the surface is clean and dry before applying.
Keep in mind that while adhesive methods are convenient and preserve aesthetics, they mightn't be as secure and could require more frequent checks and maintenance due to weather conditions.
How Do You Install a Ring Doorbell on a Narrow Door Frame?
You're staring at that narrow door frame, wondering how to make it work.
First, grab self-tapping screws; they'll secure your Ring Doorbell without needing pilot holes.
If the frame's too tight for the standard bracket, consider a wedge mount to angle it just right.
Remember, install it around 1.2 meters high for an ideal view.
Avoid interference with the door, adjusting screw lengths as needed.
Your doorbell will be ready to go!
Conclusion
Fitting your Ring doorbell to a uPVC frame might feel like maneuvering through a maze, but with the right approach, you can master it.
Remember to explore alternative installation methods if challenges arise, and don't hesitate to tap into community experiences for support.
With proper installation considerations and troubleshooting tips, you'll guarantee your doorbell is as reliable as a friend at your doorstep.
Now, get ready to enhance your home security with ease!