Installing a Ring Doorbell in the United States is uncomplicated. Initially, switch off the power to your current doorbell at the circuit breaker. Remove the old doorbell and detach the wires cautiously. Pick a spot for your Ring Doorbell approximately 4-5 feet up for optimal video quality. Safely affix the mounting bracket, making sure it’s level. Connect the wires to the Ring device, turn the power back on, and configure the Ring app to link it to your Wi-Fi. Then, personalize your notification preferences for alerts. There’s more to learn, so continue reading for additional tips! If you are setting up a new Ring Doorbell 4, be sure to follow the specific instructions outlined in the user manual. This model might have enhanced features or installation procedures that are different from previous versions. Take your time to thoroughly read and comprehend the instructions to ensure a successful and safe installation. Once your Ring Doorbell is operational, you can appreciate the peace of mind and convenience that accompany having a top-notch video doorbell.
Key Takeaways
- Turn off the power at the breaker box before removing the existing doorbell to ensure safety during installation.
- Mount the Ring doorbell at eye level, approximately 4-5 feet high, for optimal video quality and visitor visibility.
- Use a level tool to ensure the mounting bracket is horizontal before marking screw hole locations.
- Secure the mounting bracket to the wall, using wall anchors for harder surfaces like brick or stucco.

Ring Spare Parts Kit for Battery Doorbell
Everything you need to setup your Ring Battery Doorbell in just a few minutes.
As an affiliate, we earn on qualifying purchases.
As an affiliate, we earn on qualifying purchases.
Tools and Materials Needed
To get started with installing your Ring doorbell, gather the tools included in the kit, like a screwdriver, screws, and a charging cable for battery-operated models.
You'll also need a few additional tools to guarantee a smooth installation. If you're replacing an existing doorbell, a box cutter or flathead screwdriver can help you remove it.
For a secure installation, consider exploring breathtaking destinations to guarantee your home is welcoming, especially if you plan to entertain guests.
Check if you need a masonry drill bit, especially if your wall is made of brick or stucco.
You'll also want to have a level tool handy—this will help you align the mounting bracket straight, guaranteeing your doorbell looks professional.
If you're installing on a hard surface, make sure to gather any necessary anchors to secure the mounting screws properly.

10-PCS Masonry Drill Bit Set & Concrete Drill Bit Set, Professional Drill Bit Set for Glass/Brick/Plastic/Cement/Wood/Tile/Etc, Industrial Strength Carbide Drill Bit Tip, 1/8"-1/2" by TITGGI
HIGH QUALITY DRILL BIT SET; TITGGI Masonry drill bit set, industrial strength carbide drill bit tip, excellent abrasion…
As an affiliate, we earn on qualifying purchases.
As an affiliate, we earn on qualifying purchases.
Removing the Existing Doorbell

Before you start removing the existing doorbell, make sure to turn off the power at the breaker box to keep things safe.
It's also wise to contemplate hiring a professional if you're unsure about the process, as key factors in choosing a home cleaning service can apply to electrical work as well.
You'll need a screwdriver or box cutter to detach the faceplate and access the wires.
Don't forget to properly dispose of the old components once you've removed everything, so you can keep your workspace tidy for the new installation.
Tools Needed for Removal
Gathering the right tools is vital for safely removing your existing doorbell without damaging the wall. Start with a box cutter or flathead screwdriver to gently pry off the faceplate of the existing doorbell. This will help you access the screws or wiring without causing any harm to the surrounding area.
Additionally, consider the benefits of upgrading to a more secure and modern doorbell system, as many options offer enhanced features for home security technology.
You may need a drill if the existing doorbell is secured with screws that require drilling out. If you're installing a new mounting bracket, make sure you have a masonry drill bit handy, especially if your existing doorbell is mounted on brick or stucco. This will allow you to create the necessary holes in tough materials.
Pliers are important for securely disconnecting the wires from the old doorbell and managing any wire nuts you encounter.
Additionally, having a level tool on hand is recommended to make certain that the new mounting bracket is installed straight and properly aligned once you begin the installation of your Ring doorbell.
With these tools ready, you'll be set to remove your existing doorbell and prepare for the new installation.
Safety First: Power Off
Powering off your home's electrical system is essential for safely removing the existing doorbell. First, locate the breaker box and turn off the power supply to the doorbell. This step is critical for your safety, especially when dealing with electrical wiring.
Additionally, guaranteeing a clean and safe environment is important, as maintaining good indoor air quality can help reduce allergens that may be present in the home air purifiers reduce allergens.
Once the power is off, grab a voltage tester to confirm that there's no residual voltage. This precaution helps make sure you won't face any electric shock while working.
If you don't have an existing doorbell, you can skip this step, but it's fundamental for wired models that can pose a hazard.
After confirming the power is off, carefully remove the faceplate of the old doorbell using a screwdriver or box cutter. Be cautious not to damage any underlying wiring during this process.
Once the faceplate is off, loosen the screws to disconnect the wires completely. Make sure to manage the wiring safely, preventing them from falling back into the wall.
Following these safety steps will help you avoid accidents and facilitate a smooth changeover to your new Ring doorbell installation.
Proper Disposal of Components
Once you've safely disconnected the old doorbell, it's time to properly dispose of its components to guarantee a clean and responsible changeover to your new Ring doorbell. This step is essential to assure you're not leaving behind any potential electrical hazards or clutter. Proper disposal also aligns with eco-friendly practices, similar to how essential oils offer natural alternatives to synthetic products natural alternatives to synthetic fragrances.
Here's how to do it:
- Remove all screws and detach the existing doorbell from the wall, taking care not to damage the wiring.
- Secure any exposed wiring by insulating it with electrical tape to prevent accidental contact.
- Dispose of the old doorbell and its components according to your local regulations, assuring they're recycled or discarded safely.
- Safely store any spare parts or wiring that may be useful for future installations, but make sure they're clearly labeled and kept away from power sources.
Following these steps not only makes your installation smoother but also helps you adhere to installation instructions for the new Ring doorbell while maintaining a safe environment. Remember, a responsible approach to disposal will contribute to both your safety and the well-being of your community.

IP66 Doorbell Wireless Classroom Doorbell Waterproof & Dustproof with 66 Chimes Loud 115dB Door Bell Ringer 1000ft Range Electric Doorbells 7 Levels Volume Mute Mode for Bedroom Home Kids Room Office
♪【 1000ft/300M Wireless Range 】The Wireless doorbell transmission distance is more than 1000 feet long and has a…
As an affiliate, we earn on qualifying purchases.
As an affiliate, we earn on qualifying purchases.
Connecting the Ring Doorbell

To connect your Ring Doorbell, start by looping one wire around each screw terminal on the device and tightening them securely. This guarantees a proper connection for the device.
If you're connecting to an existing doorbell, be careful that the wires don't touch each other. If you have a digital chime, consider installing a diode for compatibility.
Additionally, confirming your home theater setup is well-optimized can enhance your overall experience, as ideal projector placement affects image quality.
After securing the wires, you'll want to install the doorbell using the provided security screws. Make sure it's flush against the wall for optimal functionality.
Once that's done, restore power at the consumer unit. You should see the device light up and hear it speak, indicating it's powered on.
Next, grab your smartphone and open the Ring app to complete the setup process. Follow the prompts to connect your Ring Doorbell to your Wi-Fi network. This final step is vital for full functionality, allowing you to monitor your home and receive notifications.
Take your time during the installation and setup to verify everything is done correctly. With your Ring Doorbell connected, you're one step closer to enhancing your home's security.

KIMILAR Anti-Theft Video Doorbell Mount Compatible with Ring/Blink Wireless Video Doorbell, Adjustable Mounting Bracket Accessories for Houses, Apartments, Businesses, Not for Blink 2nd Gen
Anti-theft Design: By a group of excellent designers racking their brains to design the anti-theft doorbell bracket, with…
As an affiliate, we earn on qualifying purchases.
As an affiliate, we earn on qualifying purchases.
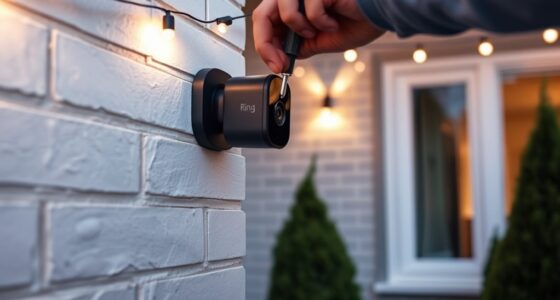
Mounting the Device Securely

When it comes to mounting your Ring doorbell securely, picking the right location is essential.
You'll want to use a level tool to make sure it's straight, and then secure it with the provided screws for stability.
Taking these steps will help assure your device functions properly and looks great on your wall.
Choosing Mounting Location
Choosing the right mounting location for your Ring doorbell is essential for guaranteeing ideal video quality and effective communication. Here are four key tips to guide your choice:
- Proximity to Existing Doorbell: If possible, choose a location near your existing doorbell. This makes wiring easier and maintains functionality with your doorbell chime.
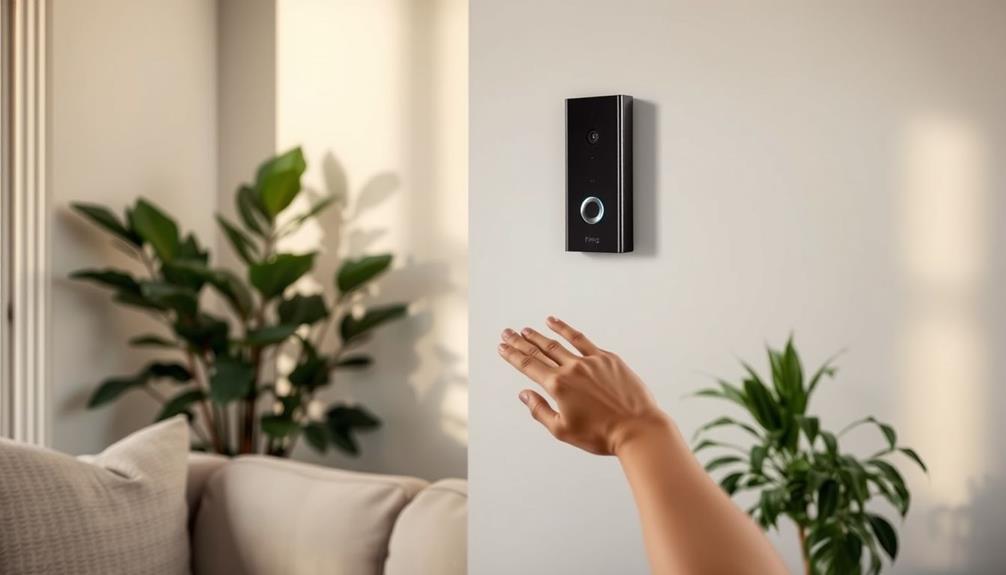
- Height Matters: Mount the doorbell at eye level, approximately 4-5 feet from the ground. This height captures better video footage and enhances two-way communication.
- Optimal Angle: Use the live video feed from the Ring app to find the best angle. Guarantee you have a clear view of visitors and minimize any potential obstructions.
- Secure Installation: If you're mounting on brick, stucco, or concrete, pre-drill holes and install wall anchors for a firm fit. Don't forget to mark screw hole locations accurately with a pencil to avoid improper installation.
Using Level Tool
Using a level tool is essential for verifying the mounting bracket of your Ring doorbell is perfectly horizontal, which prevents any tilt that could compromise its camera angle and functionality.
During the installation process, place the level against the bracket to confirm it's aligned correctly. If it's not, adjust until you achieve that ideal placement.
Once you've confirmed the bracket is level, mark screw hole locations with a pencil. This step is vital for precise drilling and will help secure the doorbell firmly onto the wall.
After you've attached the mounting bracket, don't forget to double-check the level again before putting on the Ring Video Doorbell. This final check guarantees a flush fit against the wall, which not only looks better but also enhances the aesthetic appearance of your entryway.
A properly leveled installation plays a significant role in improving the effectiveness of motion detection and video recording capabilities.
Securing With Provided Screws
Secure the mounting bracket to the wall with the screws from Bag A, verifying they're tightened enough to hold the bracket firmly without causing any damage. This step is essential for securing your Ring doorbell and achieving long-lasting stability. Follow these guidelines to guarantee a secure fit:
- Choose the right surface: If you're installing on wood or siding, you can use the provided screws directly.
- Drill holes for tougher materials: For stucco, brick, or concrete, you'll need to drill holes first.
- Use wall anchors: When drilling into harder surfaces, insert wall anchors to enhance support for the screws.
- Check alignment: After attaching the mounting bracket, double-check its alignment to confirm it's flush against the wall, which is important for both aesthetic and functional purposes.
Once you've attached the mounting bracket, align the Ring Video Doorbell with it and press down until it clicks into place. This final step will guarantee that your doorbell is securely mounted and ready to use.
Configuring the Ring App

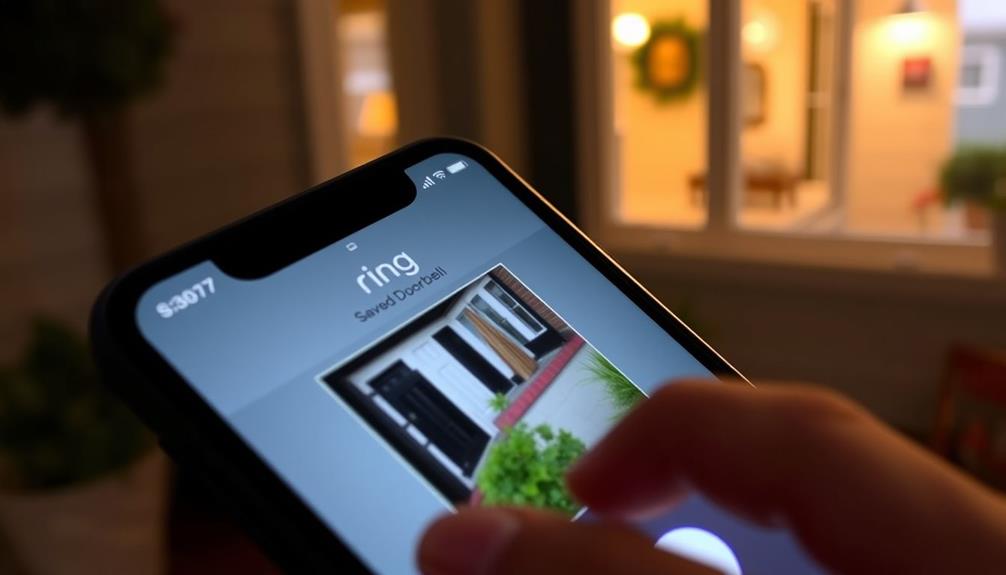
Configuring the Ring app starts with downloading it from the App Store or Google Play and creating or logging into your account to kick off the setup process.
Once you're in, follow the in-app instructions to connect your Ring device to Wi-Fi. Make sure you're near the doorbell's final location for the best signal strength during setup.
After connecting to Wi-Fi, take a moment to customize your notification settings. This way, you'll receive alerts for motion detection, doorbell rings, and other important updates tailored to your preferences. You can also access the live video feed in the app, allowing you to monitor activity in real-time.
Keep in mind that having a Ring Protect subscription is essential for accessing cloud storage and viewing recorded clips later.
Lastly, don't forget to regularly check for app updates. These updates enhance functionality and security features, ensuring your device operates smoothly and efficiently.
Troubleshooting Common Issues

Troubleshooting common issues with your Ring doorbell can help guarantee it works smoothly and effectively. Here are some steps to follow:
- Check Power Supply: Verify your Ring doorbell is wired to a compatible existing doorbell transformer. Using incorrect power sources can damage the device.
- Improve Wi-Fi Connection: If you're experiencing connectivity issues, try relocating your router closer to the doorbell. You can also use a Ring Chime Pro to boost the signal.
- Restore Power: If your doorbell isn't responding, check the breaker box to restore power. Verify that all wiring connections are secure and not touching each other, especially if installing on wood.
- Address Video Quality Issues: For subpar video quality, check your internet connection speed. Make sure it meets the minimum requirement of 1 Mbps for best performance.
Don't forget to regularly open the Ring app and understand any software updates, as outdated firmware can lead to functionality problems. By following these steps, you can enhance your Ring doorbell's security and performance.
Frequently Asked Questions
Can You Fit a Ring Doorbell Yourself?
Yes, you can fit a Ring Doorbell yourself! Just follow the installation instructions carefully and gather the necessary tools, like a screwdriver and drill.
You'll typically start by removing your existing doorbell and connecting the Ring Doorbell to your power supply.
Don't forget to turn off the power at the breaker box first for safety.
If you run into any issues, it's wise to consult a qualified electrician for help.
Does a Ring Doorbell Connect to Existing Wiring?
Yes, a Ring Doorbell can connect to existing wiring if your previous doorbell was hardwired.
Just make sure it's compatible with 8 to 24 VAC transformers to avoid any damage.
You'll loop the existing wires around the screw terminals and tighten them securely.
If you have a digital chime, you might need to install a diode for compatibility.
Always check the voltage supply to prevent operational issues or hazards.
Do You Need Wiring to Install Ring Doorbell?
Did you know that around 60% of homeowners prefer battery-operated doorbells for their ease of installation?
You don't necessarily need wiring to install a Ring Doorbell. If you choose a battery-powered model, you can simply charge the battery and mount it wherever you like.
However, if you opt for a wired version, you'll need existing doorbell wiring or a compatible transformer to keep it powered.
Choose what fits your needs best!
How Do I Put My Ring Doorbell on My Door?
To put your Ring Doorbell on your door, start by removing the existing doorbell and disconnecting the wires.
Use the mounting bracket to mark screw holes, ensuring it's level.
Securely loop the wires around the terminals on the Ring Doorbell, then attach it to the bracket by pressing down until it clicks.
Conclusion
Installing your Ring Doorbell can enhance your home security considerably.
Did you know that homes equipped with video doorbells are 50% less likely to experience package theft?
By following the steps outlined, you've not only upgraded your doorbell but also added peace of mind.
Don't forget to keep your Ring app updated for the best performance.
Now, you can enjoy the convenience of knowing who's at your door, no matter where you are!