To effectively set up your Ring Doorbell, begin by downloading the Ring App and fully charging the battery. Make sure to have tools like a screwdriver, level, and drill ready. Mount the bracket at a minimum height of four feet, ensuring it is level. If dealing with wiring, remember to turn off the power and use a voltage tester for safety. Follow the instructions to connect the wires, then secure the doorbell in position. Check to make sure everything is secure and adjust WiFi settings if necessary. As you progress on this journey, you will discover additional tips and features to enhance your experience.
Key Takeaways
- Download and set up the Ring app for a streamlined installation process and configuration.
- Charge the doorbell battery fully before installation to ensure proper functioning upon setup.
- Securely mount the bracket at least 4 feet above the ground, using a level for accuracy.
- Connect existing wiring carefully, ensuring compatibility and adherence to local electrical codes.

Ring Spare Parts Kit – Compatible with Wired Doorbell (newest model)
Spare Parts Kit will help you safely install your Wired Doorbell (2nd Gen).
As an affiliate, we earn on qualifying purchases.
As an affiliate, we earn on qualifying purchases.
Installation Preparation
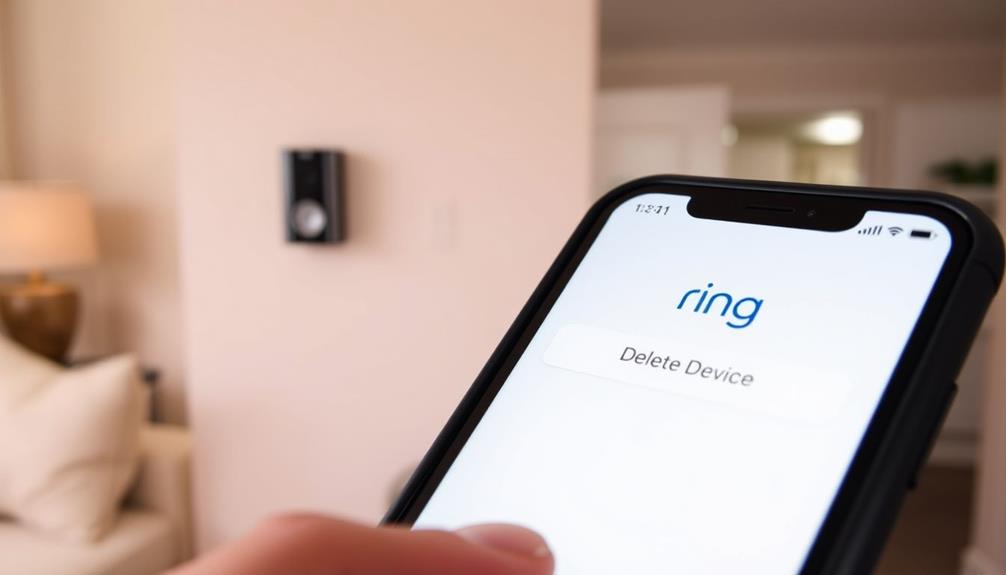
Before you start installing your Ring doorbell, make certain you've downloaded the Ring app and created your account to streamline the setup process. This will help you manage settings and receive alerts once your doorbell is up and running.
First, verify that the doorbell battery is fully charged, as this typically takes about 4 to 6 hours. Additionally, it's important to guarantee good indoor air quality while you work; consider using an air purifier to eliminate allergens and improve your workspace environment, especially if you have allergies or respiratory issues air purifiers reduce allergens.
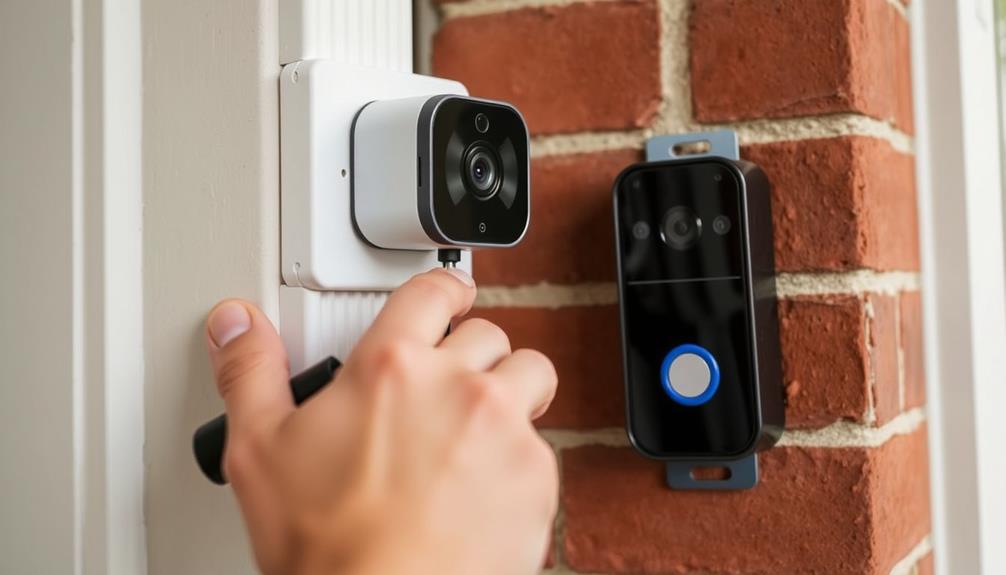
Next, gather the necessary tools for installation. You'll need a screwdriver, a level tool, a pencil for marking, and a masonry drill bit if you're working with hard surfaces like brick or stucco. If you're replacing existing doorbell wires, it's vital to turn off power at the circuit breaker. This keeps you safe while handling any exposed wiring.
For best results, position the Ring doorbell at least 4 feet above the ground, as this height offers the best viewing angle. Once you've marked your spots and drilled any necessary holes, you can proceed to secure the doorbell to your wall.
Following these preparation steps will guarantee a smoother installation process and help you get your Ring doorbell operational in no time.

Ring Chime — Enhanced audio for real-time alerts you can hear from anywhere, easy plug-in setup, simple wifi & Bluetooth connectivity, sleek design, White
Hear when someone's there — Receive notifications when motion is detected by your cameras or someone rings your…
As an affiliate, we earn on qualifying purchases.
As an affiliate, we earn on qualifying purchases.
Power and Safety Precautions

Before you start installing your Ring Doorbell, make certain to turn off the power at the circuit breaker to keep yourself safe.
Installing security devices like this can enhance your home's safety, as studies show homes with security systems are less likely to be targeted by burglars, with a significant value of home security systems highlighted by many homeowners.
Handle any wiring with care and always check your local codes to confirm you're compliant.
If you're unsure about the process, consider hiring a qualified electrician to help you out.
Turn Off Power
Turn off the power at the breaker box to guarantee safety while working with the doorbell's wiring. If you have an existing doorbell, this step is essential to prevent any electrical hazards during installation.
It's also vital to be aware of safety features that can help protect you during DIY projects. Locate the correct breaker and verify it's switched off. For battery-operated models, you can skip this step since they don't require electrical connections.
Once you've turned off the power, it's wise to confirm that it's off by testing the old doorbell, if applicable. This extra precaution helps verify no electrical current is flowing through the wires. Always prioritize safety when dealing with electrical wiring; consult local laws and building codes if you're unsure about any regulations regarding electrical work.
To further protect yourself, consider using insulated tools and wearing rubber-soled shoes. These measures greatly reduce your risk of electric shock during the installation process.
Handle Wiring Safely
Handling wiring safely is essential to guarantee a smooth and secure installation of your Ring doorbell. Before you start, always disconnect power at the circuit breaker. This step is vital for your safety when dealing with electrical wiring. Use a voltage tester to confirm that the power is off; this helps you avoid any risk of electric shock when working with exposed wires.
If you have existing doorbell wiring, verify it's compatible with your Ring doorbell by checking that it operates on an 8-24 VAC system. You must handle wires carefully during the installation process—make sure they don't touch each other to prevent short circuits.
Here's a quick reference table to keep in mind:
| Safety Step | Description |
|---|---|
| Disconnect Power | Turn off the circuit breaker before working |
| Use Voltage Tester | Confirm power is off before handling wires |
| Check Compatibility | Verify existing wiring meets 8-24 VAC specs |
If you're unsure about handling electrical wiring, don't hesitate to hire a qualified electrician. It's always better to be safe than sorry!
Follow Local Codes
Familiarizing yourself with local building codes and regulations is key to ensuring your Ring doorbell installation meets safety standards. These codes dictate how to safely perform electrical work, so you need to prioritize compliance during your installation.
It's also essential to take into account factors such as the reputation of any service providers you may consult, as finding someone with reliable service can make a difference in your installation experience.
Here are some essential steps to follow:
- Always disconnect the power at the circuit breaker before starting.
- Use proper installation tools to handle doorbell wiring.
- Check local codes to avoid connecting your Ring device to DC transformers or intercom systems, which can cause wire damage.
- If you're unsure about electrical connections, it's wise to hire a qualified electrician.

WORX WX242L 4V Lithium Screwdriver – 30-Piece Accessory Kit – Cordless Electric Driver – Rechargeable Battery – Black/Silver – Home DIY, Assembly, Furniture Installation, Repairs, Professional Use
[Your multi-purpose tool] Equipped with a 30-piece accessory kit, it’s perfect for all furniture assembly, home repairs, and…
As an affiliate, we earn on qualifying purchases.
As an affiliate, we earn on qualifying purchases.
Mounting and Installation Steps

Before you start, make certain your Ring Doorbell battery is fully charged and you're ready to work safely. Embracing the preparation process can enhance your experience, much like how personal growth often follows relationship endings in the journey of life.
You'll need to prepare the mounting area and securely attach the doorbell to guarantee it functions properly.
Let's go through the key steps to get your Ring Doorbell installed correctly.
Preparing for Installation
To get started with your Ring Doorbell installation, gather all the necessary tools like a screwdriver, level tool, and pencil to mark screw hole locations. Having everything ready will streamline the process and guarantee a successful setup. Additionally, consider conducting thorough keyword research on related topics to enhance your content's discoverability, which can lead to increased organic traffic and authority in your niche keyword clustering enhances SEO.
Here's a quick checklist of what you'll need:
- Screwdriver
- Level tool
- Pencil
- Mounting bracket
First, determine the ideal location for your Ring Doorbell, aiming for at least four feet above the ground. Use the mounting bracket as a template to mark the screw hole locations with your pencil. If you're installing on hard surfaces like brick or stucco, be prepared to drill holes for the screws.
Once you've drilled the holes, secure the mounting bracket to the wall using screws. Make sure it's straight, using the level tool for accuracy. If needed, insert plastic anchors to provide added stability.
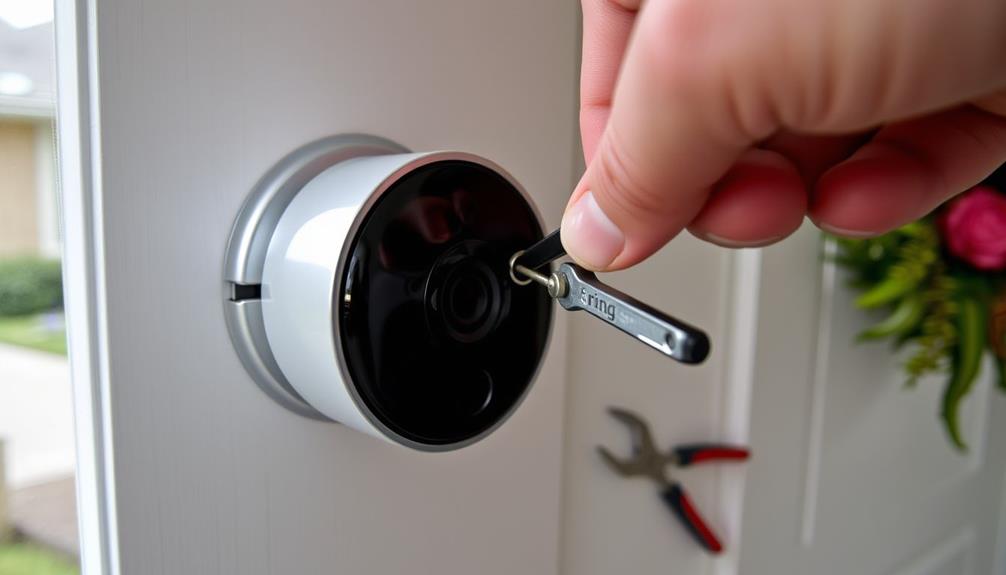
After the bracket is mounted, align the Ring Doorbell with the mounting plate and press down firmly until it clicks into place. Finally, use the included security screws to secure it properly before moving on to the next steps.
Securing the Doorbell
Once you've secured the mounting bracket, it's time to attach your Ring Doorbell for a stable and reliable installation. Start by positioning the doorbell at least four feet above the ground for ideal viewing. Align the device with the mounted bracket, pressing down firmly until you hear a click that indicates it's securely attached.
To guarantee your doorbell's stability, you'll need to tighten the security screws located at the bottom of the device. This step is essential for preventing theft and making sure everything is securely fastened.
If you're installing on hard surfaces, remember to drill pilot holes using the provided mounting bracket as a template. Use the included screws to mount the doorbell bracket, checking it with a level to confirm it's straight. If you have existing wires, carefully connect them according to the manufacturer's instructions.
Here's a quick reference table to summarize the key steps in securing your doorbell:
| Step | Action | Tools Needed |
|---|---|---|
| 1. Attach Mounting Bracket | Align and secure | Included screws |
| 2. Mount the Doorbell | Press until it clicks | None |
| 3. Tighten Security Screws | Use screwdriver | Screwdriver |

Luocute Picture Hanging Level Tool, Sturdy ABS Material Frame Positioning and Alignment Ruler with Built in Level for Accurate Hook Marking Wall Decor
Precision Hanging Tool: This frame hanging level tool ensures accurate positioning for picture frames, allowing you to mark…
As an affiliate, we earn on qualifying purchases.
As an affiliate, we earn on qualifying purchases.
Troubleshooting Common Issues

Troubleshooting common issues with your Ring Doorbell can help confirm it operates smoothly and efficiently. If you're facing any problems, don't worry; here are some tips to get everything back on track: Additionally, understanding the importance of data protection regulations can enhance your experience by confirming your device operates securely.
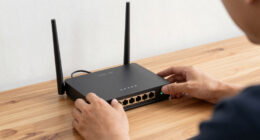
- Video Quality Issues: If you notice poor video quality, try moving your WiFi router closer to your Ring Doorbell.
- Check the Picture: Make sure to check the LED indicators. A solid green light means your battery is fully charged, while a red light indicates it's charging.
- WiFi Connection: If your doorbell fails to connect, double-check your network settings and confirm the app is updated to the latest version.
- Securely Attached: Inspect the mounting to confirm your doorbell is securely attached and level. Adjust as necessary for stability.
Additional Features and Accessories

Exploring the additional features and accessories available for your Ring Doorbell can greatly enhance its functionality and user experience.
One key offering is the Ring Protect subscription, which starts at just $4/month and allows for video recording and playback of past events. This feature provides extra security and peace of mind.
Using the Ring app, you can customize settings for motion detection zones, notification preferences, and night vision adjustments, tailoring the doorbell to fit your needs.
For improved positioning, the Wedge Kit helps guarantee ideal viewing angles, especially in tricky installations.
To enhance your indoor experience, consider the Ring Chime or Chime Pro. These devices serve as indoor alerts for doorbell notifications, with the Chime Pro doubling as a Wi-Fi extender, improving connectivity for your doorbell.
If you're concerned about battery maintenance, solar chargers are a great accessory that can minimize the frequency of charging for wireless models.
Benefits of Ring Doorbells

Ring Doorbells provide enhanced security and convenience, allowing you to monitor your home and communicate with visitors from anywhere using your smartphone. With features designed to keep your home secure, you'll feel confident knowing you can stay connected no matter where you are.
- Real-time video feeds allow you to see who's at your door instantly.
- Motion-activated alerts notify you of any activity, ensuring you're always aware of your surroundings.
- The two-way audio feature lets you talk to delivery personnel or guests without opening the door.
- With customizable motion zones, you can tailor alerts to focus only on important areas, reducing unnecessary notifications.
Additionally, Ring's subscription service, Ring Protect, enables you to store and review recorded video footage, giving you valuable evidence when needed.
Whether you want enhanced home security or just a bit more convenience, Ring Doorbells check all the boxes, making them a smart choice for any homeowner.
Frequently Asked Questions
What Is the Best Way to Install Ring Doorbell?
To install your device, start by charging the battery fully. Then, use the app to connect to Wi-Fi, secure the bracket, attach any wires if needed, and mount the doorbell while adjusting settings for ideal performance.
What Is the Best Way to Stick Ring Doorbell?
Think of it like hanging a portrait. You'll want to use the mounting bracket to mark holes accurately, ensuring it's at least four feet high, and secure it without over-tightening to maintain alignment.
Is There a Way to Install Ring Doorbell Without Drilling?
Yes, you can install a Ring Doorbell without drilling. Use heavy-duty adhesive mounts or VHB tape for a secure hold on smooth surfaces. Just make certain the area is clean and dry for the best bond.
Does Ring Doorbell Require Wiring?
The Ring Doorbell doesn't always require wiring. You can choose a wired model that uses existing doorbell wiring, or opt for a wireless model powered by rechargeable batteries, offering flexibility in installation.
What Are Some Tips for Installing a Ring Doorbell?
When learning how to install ring doorbell, make sure to choose a suitable location near your front door for optimal performance. Ensure the camera has a clear view of the entryway, and connect the device to your home’s Wi-Fi network. Follow the provided instructions carefully to complete the installation process.
Conclusion
Installing your Ring Doorbell is like setting up a welcoming lighthouse at your home's entrance. By following the steps outlined, you can guarantee a smooth installation process that enhances your home's security.
Remember, taking the time to prepare and double-check everything will save you headaches later.
With your Ring Doorbell in place, you'll not only feel safer but also enjoy the peace of mind that comes with knowing who's at your door, no matter where you are.