
To install a smart lock, start by make certain your door and frame are clean and properly aligned. Remove the existing hardware carefully, then position the new lock components according to instructions, making sure it fits snugly within the door. Secure all parts, check that the deadbolt moves smoothly, and connect power sources like batteries or wiring. Test the lock’s functions and troubleshoot any issues to make sure everything operates seamlessly. For detailed steps and tips, explore the full process.
Key Takeaways
- Remove existing hardware, ensuring door and lock fit properly and align with the strike plate.
- Install the mounting plate and secure it firmly to the door, verifying proper alignment with the deadbolt hole.
- Connect the lock’s mechanical components, ensuring smooth operation and correct cable routing.
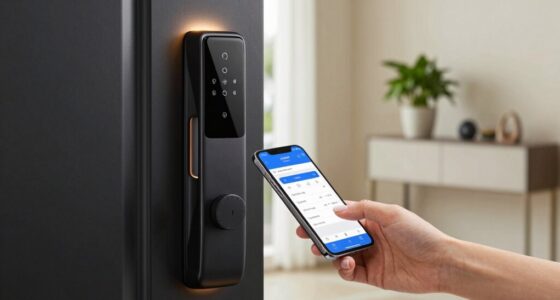
- Insert batteries or connect power sources, then test lock functions like locking, unlocking, and app connectivity.
- Perform final checks on door alignment, lock operation, and troubleshoot connectivity or mechanical issues.
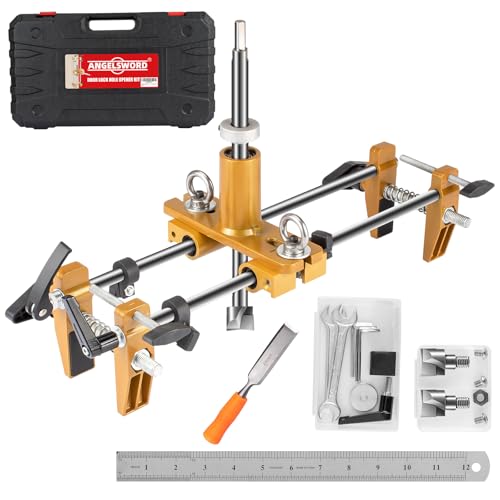
ANGELSWORD Door Lock Installation Kit, Door Lock Hole Opener Kit, Lock Mortiser for Wooden Doors, Mortise Jig with 3 Drill Bits
ANGELSWORD door lock hole opener Kit is designed for opening new lock hole on wooden doors to install…
As an affiliate, we earn on qualifying purchases.
As an affiliate, we earn on qualifying purchases.
Preparing for Installation

Before installing a smart lock, you need to prepare the door to guarantee a smooth process. First, make sure the door surface is clean and free of debris so the lock attaches securely. Use a level to check that the door and surrounding frame are properly aligned; this ensures even installation and proper operation. Examine the door to confirm it suits the smart lock’s design and that no obstructions could interfere with its function. Measure key areas with a tape measure and compare these measurements to the lock’s specifications to confirm compatibility. Additionally, inspecting your door’s wall organization systems can help ensure a clutter-free environment that facilitates easier installation. Incorporating knowledge about AI discoveries can also inspire innovative features for your smart lock, enhancing its security and functionality. For example, understanding sensor technology advancements can help you select a lock with improved detection and responsiveness. Being aware of potential installation challenges can help you troubleshoot issues early on and avoid common pitfalls. Moreover, considering the vetted 1st home theatre projector options can provide insights into reliable and efficient integration of electronic components during setup.
battery-powered smart lock
As an affiliate, we earn on qualifying purchases.
As an affiliate, we earn on qualifying purchases.
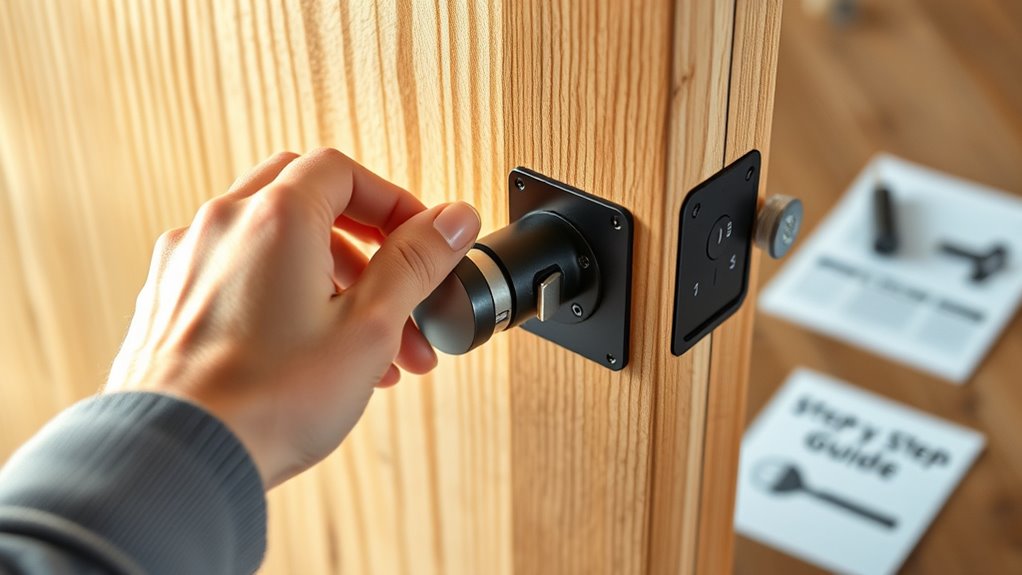
Removing the Existing Lock

Removing the existing lock involves gathering the right tools, such as a screwdriver and possibly a chisel, to carefully take apart the hardware. Start by unscrewing all screws on both sides of the doorknob, deadbolt, and strike plate. Be mindful of stuck screws caused by rust or over-tightening; use the correct screwdriver to prevent stripping. Once screws are removed, gently take off the doorknob and deadbolt. For the strike plate, unscrew it from the door frame. If the strike plate doesn’t fit the new lock, you might need to resize it using a chisel, rotary tool, or drill. Before proceeding, clean the surface of dirt and debris to ensure proper fit and function of the new lock. Additionally, inspecting the hardware condition can help identify any damage that might affect installation. Checking the material of the door is important to select the appropriate tools and techniques for removal. Understanding relationship dynamics can also help prevent future issues with the hardware. Always handle tools carefully to avoid damage. Ensuring the compatibility of components is crucial for a smooth installation process. Moreover, considering color accuracy and contrast ratio can be helpful when setting up any visual indicators or displays related to security systems.
wireless smart lock with app control
As an affiliate, we earn on qualifying purchases.
As an affiliate, we earn on qualifying purchases.
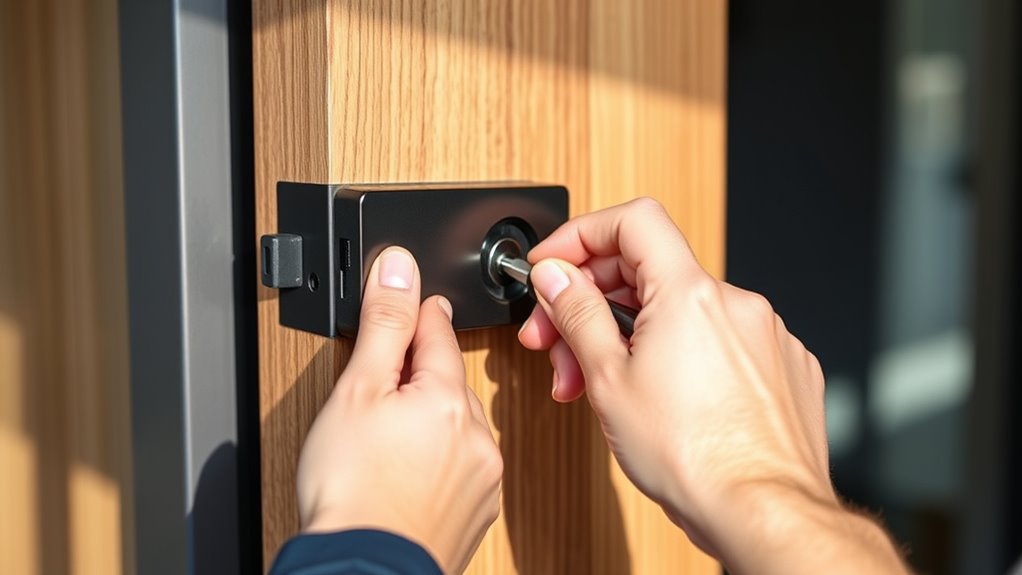
Installing the New Lock

To install the new smart lock, start by ensuring it’s properly aligned and centered in the existing door hole. Check the manufacturer’s labels for correct orientation, such as up/down indicators. Use a level to confirm the lock is horizontally aligned and adjust as needed. Make sure there are no obstructions, and the deadbolt moves smoothly. Attach the mounting plate on the interior side of the door, ensuring it’s flush and secure. If the strike plate needs replacing, install a new one, chiseling or carving out more material if necessary. Use long screws for added security, and make sure it’s flush with the door frame. Proper alignment now guarantees the lock functions smoothly and provides maximum security. Additionally, verifying the door frame’s stability can prevent future issues with the smart lock’s performance. Ensuring a stable door frame contributes to the overall durability and security of your smart lock. Regularly inspecting the door hardware can also help maintain proper operation and prevent misalignment over time. Incorporating advanced automation technology can further enhance your smart lock’s functionality and security features.

Philips Wi-Fi Door Lock, WiFi Smart Lock Keyless Entry Deadbolt for Front Door, Compatible with Alexa & Google Assistant, Remote Control, Built-in WiFi, APP Fingerprint Passcode Unlock, Auto Locking
𝐅𝐥𝐞𝐱𝐢𝐛𝐥𝐞 𝐖𝐚𝐲𝐬 𝐭𝐨 𝐔𝐧𝐥𝐨𝐜𝐤: Unlock the way you want: app, passcode, fingerprint, physical key, or voice via Alexa/Google…
As an affiliate, we earn on qualifying purchases.
As an affiliate, we earn on qualifying purchases.
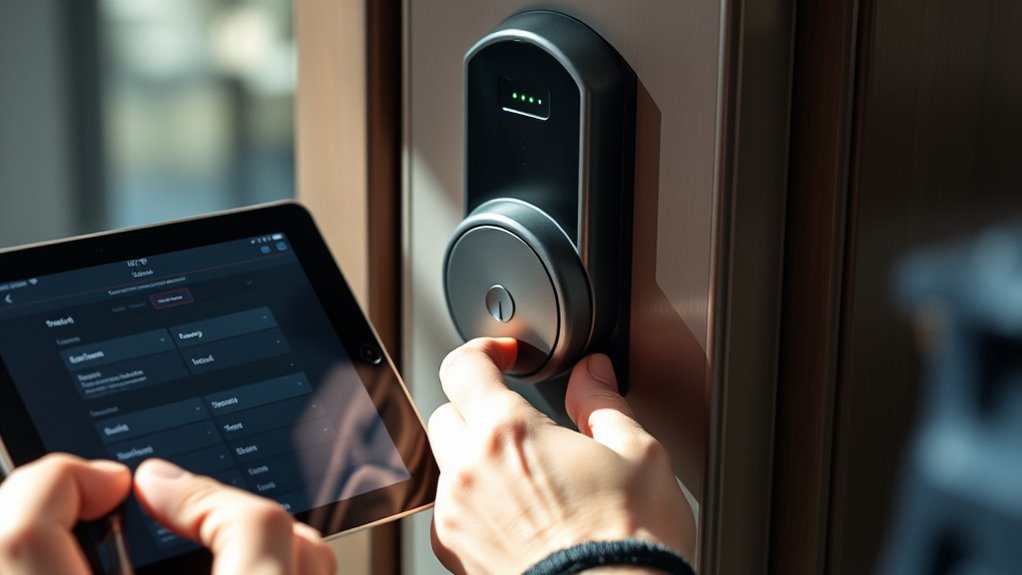
Setting Up Power and Connectivity

Setting up power and connectivity for your smart lock is essential to guarantee reliable operation and remote access. If your lock uses batteries, check and replace them regularly to prevent malfunctions. Rechargeable batteries can last several months but need periodic charging via USB. Hardwired locks require connection to your home’s electrical system, often with a transformer, and may need professional installation. Solar-powered locks reduce reliance on batteries but depend on sunlight exposure. For connectivity, ensure your lock has a stable internet connection through Wi-Fi or Bluetooth. Use the corresponding smartphone app to control it remotely. Compatibility with your home system and voice assistants enhances convenience. Proper wiring, power management, and regular maintenance help keep your smart lock functioning smoothly and securely. Regular maintenance and understanding filter replacement guidelines can prevent potential issues and ensure your smart lock stays operational. Additionally, staying informed about AI security developments can help you understand and mitigate potential cyber threats to your smart home devices. It’s also advisable to review manufacturer instructions for specific setup and troubleshooting tips to optimize your device’s performance. Remember that battery lifespan can vary depending on usage and environmental factors, so monitoring your device regularly is recommended. To further enhance security, consider implementing firmware updates promptly to protect against vulnerabilities.
Configuring Smart Lock Features

Once your smart lock is powered and connected, configuring its features allows you to customize its operation to suit your security needs. Set auto-lock intervals to guarantee your door locks automatically after a specific time, reducing the chance of forgetting to lock up.
Use motion detection or geofencing to trigger auto-locks when you leave or approach your home. Integrate your lock with your smart home system to activate lights or adjust the thermostat when the door unlocks.
Manage access by creating codes for family, friends, or service providers, and track entry history for added security. Enable tamper alerts to receive notifications of any suspicious activity.
Finally, customize notifications for lock/unlock events, keeping you informed and in control at all times. An understanding of smart home technology enhances your ability to optimize these features effectively.
Troubleshooting Common Issues
When your smart lock isn’t working as expected, identifying and resolving common issues can save you time and frustration. Start by checking the batteries; dead or low batteries can stop the lock from functioning. Replace them if needed.
Ensure power cables are securely connected and that Wi-Fi or Bluetooth signals are strong and stable. If connectivity problems persist, reboot both the lock and your mobile device.
Mechanical obstructions or debris can prevent the lock from operating smoothly—clear any debris or misaligned parts.
Update the firmware regularly to fix bugs and improve performance.
Check user permissions and ensure your credentials, like codes or fingerprints, are correctly registered.
Keeping your app updated and properly configured also helps prevent app-related issues.
Regular maintenance minimizes future problems.
Ensuring Proper Door Alignment

Proper door alignment is essential for your smart lock to work smoothly and reliably. Misaligned doors can cause the lock to bind, leading to frequent failures and reduced battery life. Environmental factors like heat, humidity, or cold can cause doors to swell or contract, affecting their position. Regularly check the door’s alignment by measuring the level and plumb of the frame, and inspect for warping or damage. Simple adjustments, such as shimming hinges, tightening or loosening screws, or planing the edges, can correct alignment issues. Guarantee the door fits snugly within the frame and that the deadbolt aligns perfectly with the strike plate. Ensuring proper door alignment, which involves understanding how environmental influences can impact door positioning, is also crucial for maintaining early parenthood confidence, as managing home improvements can be challenging during busy parenting schedules. Proper alignment assures your smart lock functions correctly and maintains long-term reliability, preventing unnecessary wear and tear that could lead to security vulnerabilities.
Final Checks and Testing
After confirming your door is properly aligned, it’s time to perform final checks and testing to confirm everything functions correctly.
Start by verifying the deadbolt is fully retracted before securing the assembly to the door. Ensure the exterior lock is securely in place, and the spindle moves smoothly. Check that cables are properly routed beneath the deadbolt and connected securely.
Align the mounting plate with the deadbolt hole on the interior side, then tighten all screws tightly to prevent loose parts.
Next, insert the batteries to power the lock on. Test the deadbolt’s extension into the strike plate and verify smooth mechanical movement.
Cycle the lock through various modes, test keyless entry, remote access, and alerts.
Finally, ensure biometric or voice commands work if available, and consult the user manual for troubleshooting.
Frequently Asked Questions
Can I Install a Smart Lock on a Rental Property?
You can install a smart lock on a rental property, but you’ll need to evaluate several factors. Make sure it’s compatible with existing locks and meets local regulations.
Obtain tenant consent and inform them about the new system. Check that the smart lock integrates with your property’s security setup, and update lease agreements if necessary.
Proper installation and clear communication help facilitate a smooth transition and secure access control for everyone involved.
What Should I Do if My Smart Lock Doesn’t Connect?
If your smart lock isn’t connecting, start by checking the batteries; low power can cause connectivity issues.
Confirm your device’s Bluetooth or Wi-Fi is enabled and within range.
Restart your phone or controller to fix glitches.
Try connecting with a different device to isolate the problem.
Also, verify that the lock’s firmware and app are updated.
Regularly monitoring power and signal strength helps prevent future connection problems.
Are There Any Security Risks With Smart Locks?
You’re right to contemplate security risks with smart locks. They can be vulnerable to cyber attacks via Bluetooth, Wi-Fi, or outdated software, and physical tampering is also possible.
To protect yourself, use strong passwords, enable two-factor authentication, keep firmware updated, and choose reputable brands. Securing your network and regularly maintaining your lock’s software minimizes these risks, helping you enjoy the convenience without compromising your home’s safety.
How Do I Reset My Smart Lock to Factory Settings?
Did you know that over 60% of smart lock users reset their devices due to connectivity issues or forgotten codes?
To reset your smart lock, first remove the batteries and locate the reset button inside the battery compartment or on the interior.
Press and hold that button for a few seconds, then reassemble.
Follow your lock’s specific instructions, and remember, a factory reset deletes all custom settings and access codes.
Can I Use a Smart Lock Without Wi-Fi or Bluetooth?
You can use a smart lock without Wi-Fi or Bluetooth, depending on the model. Many offer keyless entry through keypads or physical keys, so you can open your door without internet.
However, you won’t get remote access, notifications, or guest management features. To maximize offline use, choose locks like Yale Assure or traditional smart deadbolts, which work with physical keys or keypads, ensuring security without relying on Wi-Fi or Bluetooth.
Conclusion
Once you’ve installed and set up your smart lock, it’s like giving your door a high-tech upgrade, turning it into a trusted guardian. Just like a well-tuned instrument, your lock needs regular checks to stay in harmony. Think of it as tuning a guitar—small adjustments keep everything playing smoothly. With your new smart lock, you’ll enjoy the peace of mind knowing your home is secure and connected, ready to face whatever comes next.