To uninstall your Ring Doorbell, begin by getting a screwdriver, preferably a T15 Torx or flathead. Initially, remove the faceplate by loosening the security screw located at the bottom. For a more permanent uninstallation, unscrew the mounting screws and detach any wires if it is a wired model. Make sure your workspace is well-lit and organized so you don’t misplace any screws. If you are simply recharging the battery, press the lever to release it. Once you have completed the process, seal any openings with silicone to prevent harm. By following these instructions, you will ensure a seamless uninstallation process and may even discover some helpful tips along the way!
Key Takeaways
- Use a screwdriver from the Ring package to detach the faceplate and access the battery or mounting screws.
- For permanent removal, disconnect any wires for wired models and unscrew the mounting bracket.
- Seal any holes left after removal with silicone or filler to prevent leaks and pests.
- Ensure the device is powered off and follow safety precautions to avoid electrical hazards.

Video Doorbell Key Removal Tool Compatible with Ring Battery Doorbell 2024 Release, Wired Doorbell Pro (N ewest Model), Wired Doorbell Plus (N ewest Model) 2PACK
COMPATIBILITY: compatible with Ring Battery Doorbell 2024 Release,Compatible with Wired Doorbell Pro (Newest Model), Wired Doorbell Plus (Newest…
As an affiliate, we earn on qualifying purchases.
As an affiliate, we earn on qualifying purchases.
Reasons for Removal
There are several reasons you might decide to remove your Ring Doorbell, from upgrading to a new model to relocating to a different home.
If you're considering an upgrade, you may want to remove your Ring Doorbell to install a newer version that offers enhanced security features and improved functionality. This guarantees you're getting the most out of your investment in home security. Additionally, understanding the benefits of AI in Cybersecurity can help you select a doorbell that uses advanced technologies to better protect your home.
Moving to a new home is another common reason. You'll likely want to take your Ring Doorbell with you to maintain your security system in your new environment.
Additionally, routine maintenance, such as battery charging or cleaning, may require you to temporarily remove the doorbell to keep it operating at its best.
In some cases, if your doorbell is positioned in a vulnerable spot, you might choose to remove it to protect against theft or tampering. This proactive approach helps you maintain your home's security while you assess the best placement for your device.
Whether you're upgrading, relocating, or performing maintenance, understanding these reasons will guide you through the decision to remove your Ring Doorbell effectively.

Video Doorbell Screwdriver, Double-Ended T6 T15 Screw Driver Tool for Camera Video Doorbell Replacement, Battery Change, Wifi Password Reset
DOORBELL SCREWDRIVER: This video camera screwdriver is used for Wifi password reset access, battery replacement, charging and secure…
As an affiliate, we earn on qualifying purchases.
As an affiliate, we earn on qualifying purchases.
Tools Required

To successfully remove your Ring Doorbell, you need specific tools to make the process easier and safer.
Having the right equipment not only simplifies the task but also guarantees that you can do it without damaging your door or the device.
You'll want to gather the right screwdrivers and some materials to seal up any holes afterward.
Additionally, being prepared with a comprehensive cleaning kit can help you maintain the area around the doorbell after removal.
Let's go over the essential tools and the safety precautions you should consider before starting.
Essential Tools Overview
You'll need a few key tools to successfully remove your Ring Doorbell, guaranteeing a smooth and efficient process.
First and foremost, grab the screwdriver that came with your Ring package. This screwdriver is specifically designed for removing the security screw on your device. If you've lost the original screwdriver, don't worry; a small flathead screwdriver or a T15 Torx head screwdriver can serve as effective alternatives.
Additionally, having a strong organization technique can help you keep track of the screws and components during removal.
Next, make sure you have a well-lit and accessible workspace, as this will make the removal process smoother.
Familiarizing yourself with your specific Ring Doorbell model is also essential, as the tools required may vary depending on whether your device is wired or battery-operated.
Once you've removed the security screw, you'll be able to take off the removable faceplate, making it easier to detach the entire unit.
Finally, it's wise to have silicone or filler on hand to seal any holes left behind after the doorbell is removed, preventing leaks or pest issues.
With these tools and preparations, you'll be well-equipped to tackle the removal of your Ring Doorbell.
Safety Precautions Needed
Before starting the removal process, it's important to take necessary safety precautions to protect yourself and guarantee a smooth operation. Follow these steps to verify safety while you work on your Ring Doorbell.
| Precaution | Description | Purpose |
|---|---|---|
| Turn Off the Power | Switch off the power at the breaker for wired models. | Prevents electrical hazards. |
| Wear Safety Goggles | Use safety goggles to shield your eyes. | Protects against debris and slips. |
| Well-Lit Workspace | Verify your work area is bright and clear. | Reduces the risk of accidents. |
| Seal Holes | Use silicone or filler to close any gaps post-removal. | Prevents leaks and pest issues. |

Gorilla 100% Silicone Caulk, Waterproof Sealant, 2.8oz Squeeze Tube (Pack of 1) – Clear -10 Year Mold Resistant Kitchen, Window, Bath, Marine, Door and More
Waterproof sealant: This clear caulk seals out air, water, and moisture with 100% silicone as cured
As an affiliate, we earn on qualifying purchases.
As an affiliate, we earn on qualifying purchases.
Steps for Charging

Charging your Ring Doorbell starts with removing the faceplate to access the battery. First, locate the security screw at the bottom of the faceplate. Use the provided screwdriver to remove this screw. Once it's out, gently pull the bottom of the faceplate down and toward you to detach it from the device.
Now that you've removed the faceplate, you can access the battery pack. Look for a small silver lever inside the doorbell. Press this lever to release the battery, allowing you to take it out for charging. Be certain you use a compatible charger to power up the battery.
After the battery is fully charged, it's time to put everything back together. Reinsert the battery into the doorbell until it clicks into place. Next, reattach the faceplate by aligning it properly and pushing it back until it's secure. Finally, don't forget to secure the faceplate with the screw you removed earlier. This guarantees your Ring Doorbell is ready to go, fully charged, and functioning properly.

Ring Spare Parts Kit for Battery Doorbell
Everything you need to setup your Ring Battery Doorbell in just a few minutes.
As an affiliate, we earn on qualifying purchases.
As an affiliate, we earn on qualifying purchases.
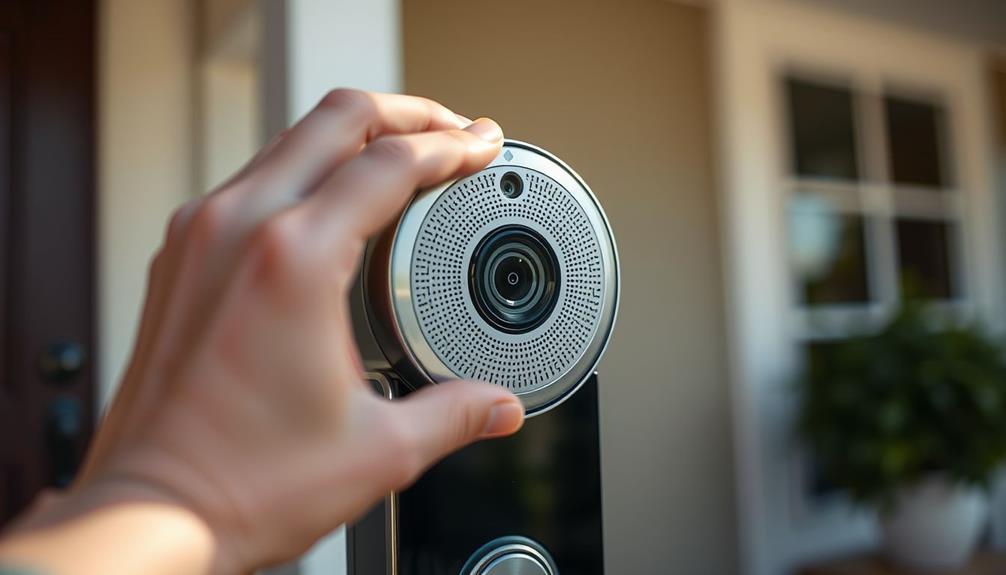
Permanent Removal Process

Once you've finished charging your Ring Doorbell, you can proceed with the permanent removal process by detaching the faceplate with the security screw tool.
Begin by unscrewing the screws behind the faceplate to access the mounting screws securing the device. Be certain you have the right screwdriver for your specific model to avoid any issues.
If your Ring Doorbell is wired, carefully disconnect the wires connected to the chime. It's crucial to take note of their arrangement for potential reinstallation later. Remember to handle these wires gently to prevent damage.
After you've unscrewed the mounting bracket and removed the Ring Doorbell, inspect the area for any remaining screws or components to guarantee you're removing the entire device completely.
Don't forget to seal any holes left in the wall with silicone or filler to prevent leaks or pest problems. This final touch will help maintain your home's integrity.
Double-check that everything is clear and properly disposed of, confirming the successful permanent removal of your Ring Doorbell.
Alternative Removal Methods

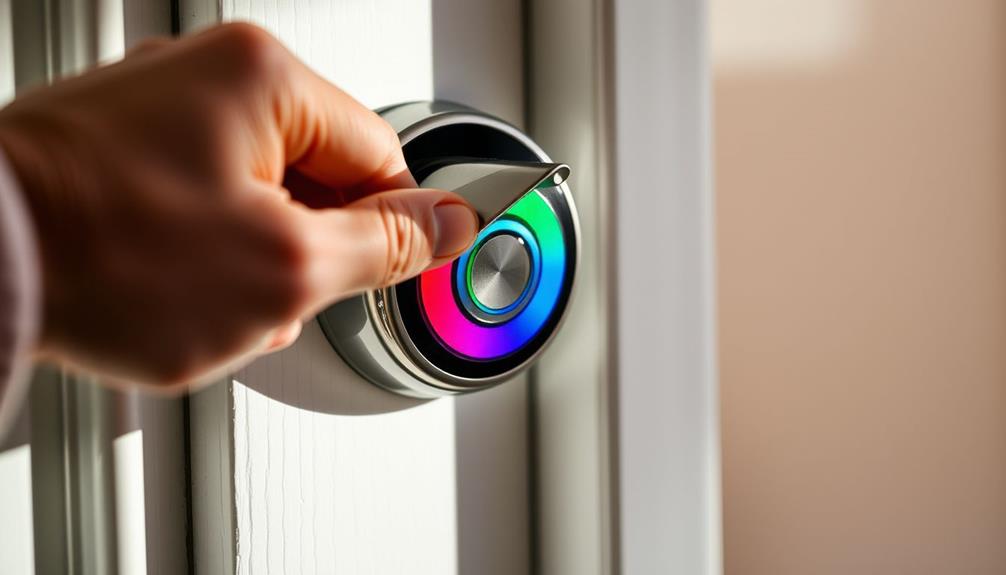
If you're looking for ways to remove your Ring Doorbell without tools, there are some effective alternative methods to contemplate.
Start by carefully examining the device. Look for any levers or tabs that might allow you to detach it more easily. If you don't find anything, you can use a dull-edged lever, like a paint scraper, to gently pry along the edges of the doorbell. This helps minimize the risk of damaging both the wall and the device itself.
Before you begin, verify the area around the doorbell is clear, giving you adequate space to maneuver safely. It's essential to make sure all security screws are fully disengaged to avoid applying unnecessary force during the removal process.
As you proceed with removing the device, practice patience and apply gentle pressure. Some models might require a bit of force to separate from the mounting bracket, so don't rush.
Following these steps for removing your Ring Doorbell without tools can make the process smoother and safer.
Troubleshooting Common Issues

If you're facing issues while removing your Ring Doorbell, there are a few common problems to address.
You might need to troubleshoot connectivity issues, fix app errors, or reset your device to get things back on track.
Let's take a closer look at these solutions to help you through the process.
Connectivity Troubleshooting Tips
To tackle connectivity issues with your Ring Doorbell, start by ensuring it's within a solid range of your Wi-Fi network, ideally no more than 30 feet from the router. A weak signal can lead to frustrating interruptions.
If you're still experiencing problems, try these troubleshooting tips:
- Restart Your Device: Remove the faceplate and press the reset button for 15 seconds. This can often resolve temporary connectivity glitches.
- Check for Updates: Open the Ring app and make sure you're running the latest version. Updates can enhance connectivity and overall performance.
- Router Compatibility: Confirm that your router's settings are suitable for the Ring Doorbell. The 2.4 GHz band should be enabled, as many older models don't support 5 GHz networks.
If issues persist, consider relocating your Wi-Fi router closer to the doorbell or using a Wi-Fi extender to boost signal strength.
App Error Solutions
Troubleshooting app errors with your Ring Doorbell can be straightforward if you follow a few key steps to guarantee everything runs smoothly.
First, make sure your Ring app is updated to the latest version. Outdated software can lead to error messages and hinder the ability to manage or remove Ring devices effectively.
Next, check that your smartphone is compatible with the Ring app; some older devices may struggle with newer app features.
If you're still facing issues, restart both the Ring app and your smartphone. This refreshes the connection and often resolves minor glitches.
Additionally, verify that you have a stable internet connection, as connectivity problems can impede communication with the Ring servers during the removal process.
If persistent error messages occur, you might need to reset your Ring device to factory settings. This can resolve unresponsive behavior and allow for successful removal.
Remember, resolving these app errors is essential for maintaining the functionality of your Ring Doorbell, ensuring a smoother experience overall.
Follow these steps, and you'll be back on track in no time!
Resetting Device Instructions
Resolving app errors often leads to the need for resetting your Ring Doorbell, especially when you're facing persistent issues or unresponsiveness. A reset can help restore your device to its factory settings, but you'll need to follow these steps:
- Power Check: Verify your Ring Doorbell is powered on and connected to Wi-Fi. This is essential for resolving connectivity issues.
- Locate the Setup Button: Find the setup button on the back of your device. Press and hold it for about 15 seconds until the front light starts to flash, indicating a factory reset.
- Reconfigure: After the reset, you'll need to set up the device again using the Ring app, as all previous settings will be removed.
If your Ring Doorbell is unresponsive, performing this reset can often fix minor glitches. Just remember, if your model has a battery, make sure it's fully charged before attempting the reset.
Following these instructions can help you maintain the best performance of your Ring Doorbell, guaranteeing it works effectively for your home security needs.
Device Management and Deletion

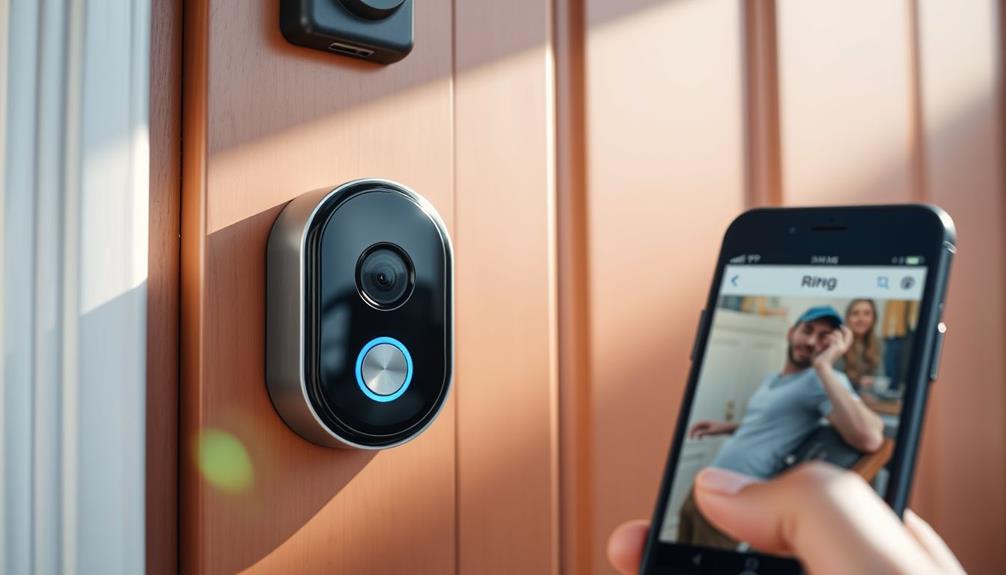
You can easily manage and delete your Ring devices through the Ring app, guaranteeing a smooth shift for new users. To remove your Ring Doorbell, start by opening the app and directing yourself to Device Settings. Once there, select "Remove This Device." This step is essential since deleting devices before transferring them allows the new owner to set them up without any restrictions.
If you skip this process, you may create complications for future users, including access issues or unauthorized notifications that could disrupt their experience. Remember, managing your devices effectively not only keeps your account secure but also helps maintain the functionality of the devices for new users.
In case you lose communication with your Ring Doorbell, you can still perform a remote device removal. This feature guarantees that your account remains secure, protecting your personal information while allowing the new owner to take over seamlessly.
Frequently Asked Questions
How Do You Remove a Ring Doorbell?
To remove your Ring Doorbell, you'll need to start by disconnecting the power for wired models or taking out the battery for battery-operated ones.
Use the included screwdriver to take out the security screw at the bottom of the faceplate, then gently pull it off.
Unscrew the doorbell from the mounting bracket, and for wired models, loosen the terminal screws to detach the wires.
How Do You Remove a Ring Doorbell Without a Special Screwdriver?
Imagine trying to access a treasure chest without the right key; it can be frustrating.
If you don't have that special screwdriver, grab a small flathead screwdriver and carefully twist it to manipulate the security screw. A T15 Torx head screwdriver works well too.
Make sure all screws are out before separating the doorbell from its bracket.
Pull upward on the doorbell while pushing down on the bracket for an easier release.
How Do You Remove a Ring Doorbell From the Backing?
To remove your Ring Doorbell from the backing, start by locating the security screw at the bottom of the faceplate.
Use the provided screwdriver or a compatible tool to unscrew it.
Once that's done, gently pull the bottom of the faceplate downward and away.
If it feels stuck, apply gentle upward pressure while checking that all screws are removed.
How Do You Unmount a Ring Doorbell to Charge?
To unmount your Ring Doorbell for charging, start by locating the security screw at the bottom of the faceplate.
Use the included screwdriver to remove it.
Then, gently pull the bottom of the faceplate down and away from the device to access the battery compartment.
Press the silver lever to release the battery, charge it separately, and once it's fully charged, reinsert it and reattach the faceplate securely.
Conclusion
To summarize, removing your Ring doorbell can be a straightforward task when you know what to do.
Did you know that over 70% of homeowners feel more secure with a doorbell camera?
By following the steps outlined, you can easily manage or permanently remove your device as needed.
Whether you're charging it or relocating it, understanding the process guarantees you get the most out of your Ring doorbell experience.
Enjoy your enhanced home security!