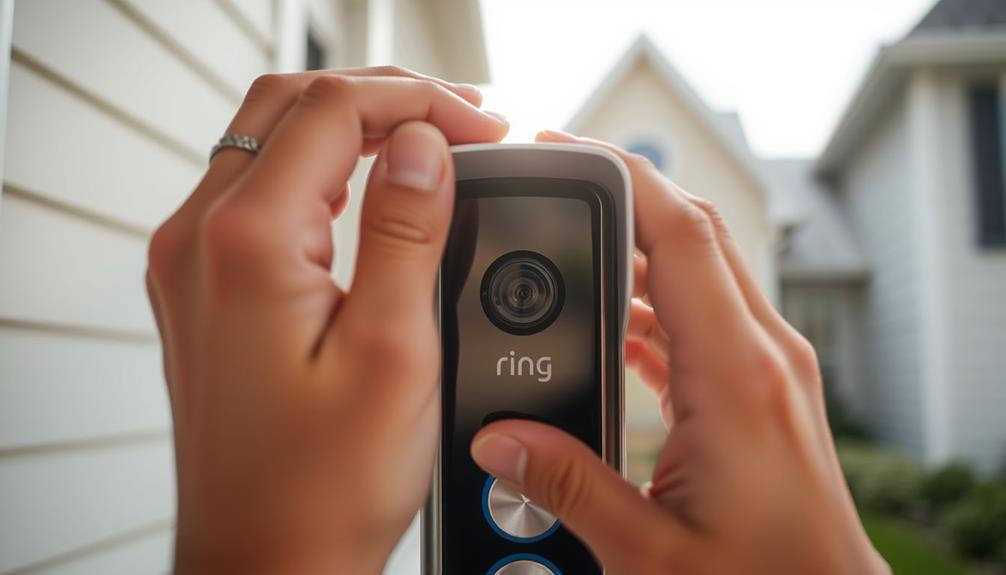
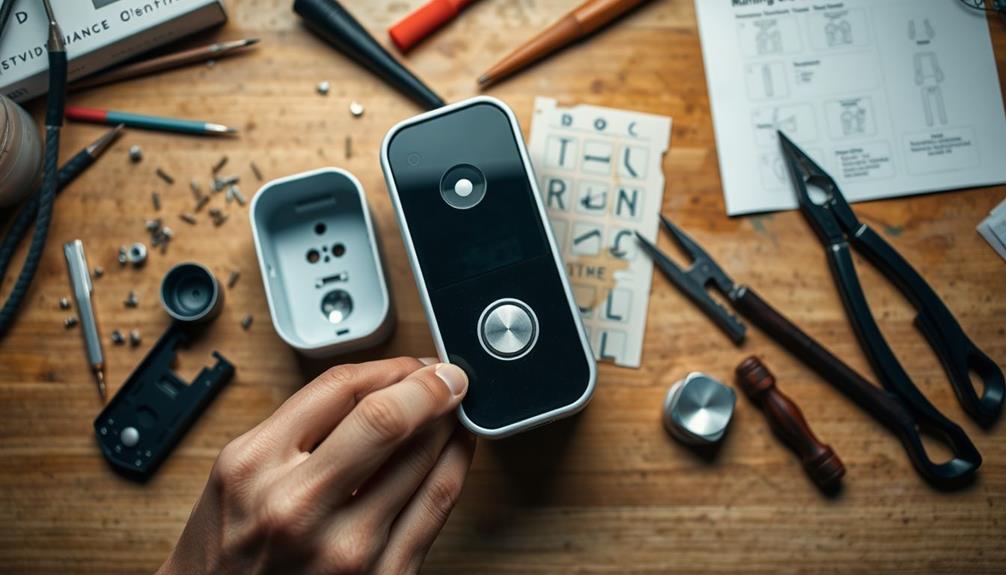
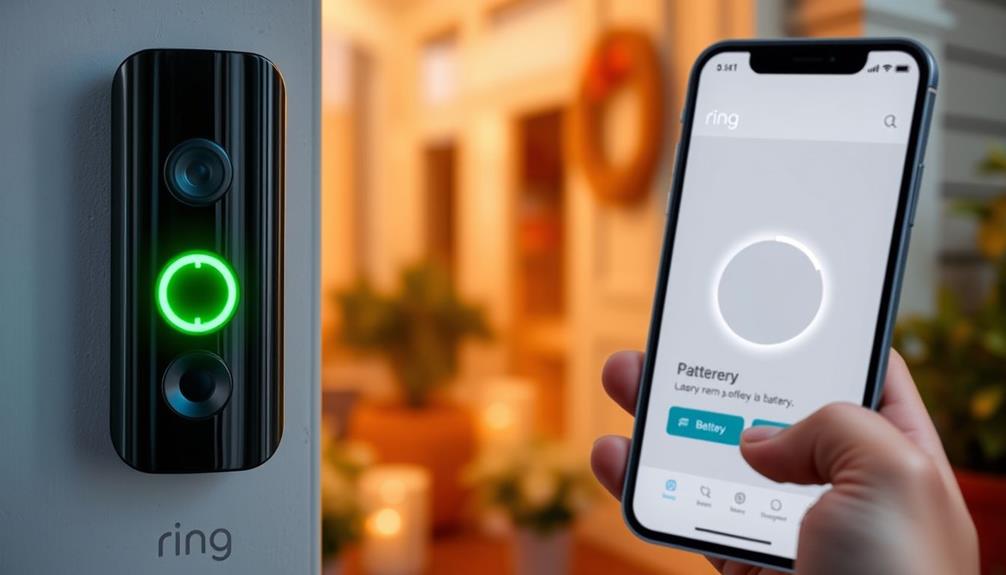
To access the battery on your Ring doorbell, you will need a star-shaped screwdriver. Begin by identifying the security screw at the bottom and loosening it. Gently lift the faceplate from the bottom, then locate the battery compartment and press the black tab to remove the battery. Carefully replace it with a new one, ensuring proper alignment. Reattach the faceplate by aligning the top hook and securing the screw. If you face any difficulties, there are numerous resources available to assist you further.
Key Takeaways
- Use a star-shaped screwdriver to loosen the security screw at the bottom of the doorbell.
- Gently pry the faceplate off using your thumbs or a flat tool, taking care not to damage it.
- Press down on the black tab in the battery compartment to detach the old battery.
- Insert the new battery, ensuring proper alignment before securing the faceplate back in place.
Tools Needed for Removal
To open the Ring Doorbell battery cover, you'll need a star-shaped screwdriver or a T6 torx-head screwdriver. If you've misplaced the original screwdriver that came with your device, don't worry—you can easily order a replacement through customer service or online.
Having the right screwdriver is essential, as the Ring Doorbell uses specific security screws that require this type of tool for removal. Additionally, ensuring a clean workspace not only helps in avoiding the loss of small parts like screws but also enhances your efficiency in handling tasks like maintaining air quality with air purifiers in your home.
Before you start, it's a good idea to prepare a clean workspace. This way, you can avoid losing small parts, like screws, during the process. If you happen to misplace any security screws, you can also order those in packs.
Once you have your screwdriver ready, you're all set to proceed with removing the battery cover. Remember, the battery needs to be accessed regularly for maintenance, so having the right tools on hand will make your life easier.
Removing the Faceplate

To remove the faceplate of your Ring Doorbell, you'll first need to handle the security screw at the bottom.
After loosening it with the star-shaped screwdriver, make sure to reflect on the layout of your doorbell installation as it may affect how you access the battery compartment.
Using some prying techniques, gently lift the faceplate, ensuring you don't apply too much pressure which could damage the device.
Remember to keep the faceplate in a safe spot while you access the battery compartment.
For those who appreciate sustainable home decor, maintaining your tech devices can also be an eco-friendly practice.
Security Screw Handling
Removing the faceplate of your Ring Doorbell starts with locating the security screw at the bottom and using the star-shaped screwdriver to turn it counterclockwise. It's also important to guarantee that your tools are in good condition, as using worn-out tools can lead to damage. This security screw is vital for the removal process, so make sure to keep it safe once you've taken it out. After loosening the screw, gently set it aside in a secure location to prevent misplacing it.
Next, apply upward pressure with your thumbs at the bottom of the faceplate while supporting the front with your index and middle fingers. If the faceplate doesn't detach easily, don't force it. Instead, use a flat and skinny object, like a butter knife, to gently pry it away from the body. Be careful while doing this; you want to avoid damaging the faceplate or the Ring Doorbell itself.
For those interested in maintaining their home security systems, understanding what to look for in a home cleaning service can help create a clean environment for your devices.
Throughout this process, handling the faceplate with care is essential. Once loosened, guarantee you have a firm grip to prevent dropping it. Following these steps will help you successfully remove the faceplate to access the battery compartment for your Ring Doorbell.
Faceplate Prying Techniques
Carefully prying off the faceplate of your Ring Doorbell requires a gentle touch and the right technique to avoid any damage. Start by locating the security screw at the bottom and loosening it with the star-shaped screwdriver. Once that's done, it's time to remove the faceplate.
- Use your thumbs to push up from the bottom of the faceplate, applying upward pressure to pry it free.
- If it feels stuck, grab a flat and skinny object, like a butter knife, to gently assist in prying it away from the doorbell body.
Once you've successfully detached the faceplate, make sure to place it in a secure location to avoid losing any small parts. Now, you can access the battery without any hassle.
Accessing the Battery

Accessing the battery on your Ring Doorbell is straightforward once you remove the faceplate by unscrewing the security screw at the bottom.
Use the provided star-shaped screwdriver for this step. After you've taken out the screw, gently pull the faceplate away from the device to expose the inner components.
Next, locate the battery compartment. You'll see a black tab at the bottom of the battery. To detach the battery, press down on this black tab while pulling the battery out towards the bottom.
It's important to make sure that the device is powered off before you attempt to remove the battery to avoid any electrical issues.
Once you've accessed the battery, you can proceed with your necessary tasks, whether that's replacing it or performing maintenance.
After you've completed your work, reinsert the battery by aligning it properly in the compartment.
Finally, secure the faceplate back on by aligning the top hook and snapping the bottom into place, confirming everything is firmly attached.
Now your Ring Doorbell is ready for continued use!
Battery Replacement Steps

When you're ready to replace the battery in your Ring Doorbell, you'll need a few basic tools to get started.
First, you'll go through the battery removal process, ensuring everything is safely detached.
Tools Needed for Replacement
To replace the battery in your Ring Doorbell, grab a T6 torx-head screwdriver or the special star-shaped screwdriver that came with your device. These tools are vital for accessing the battery compartment.
Before you start, make sure you have a few other items on hand:
- A flat and skinny object, like a butter knife, to help pry the cover if needed.
- A clean workspace to keep everything organized.
You'll need to locate the security screw at the bottom of the faceplate. Use your screwdriver to loosen this screw by turning it counterclockwise.
It's important to handle the screws carefully, as they're small and can easily slip away if you're not attentive.
If you happen to misplace the screwdriver or need a replacement, don't worry! You can order them through customer service or online, along with packs of security screws.
With these tools ready, you'll be all set to proceed with the battery replacement process efficiently and securely.
Battery Removal Process
After you've gathered your tools and loosened the security screw, you can now remove the faceplate to access the battery compartment of your Ring Doorbell.
Make sure the device is powered off to avoid any electrical issues before proceeding. Once the faceplate is off, locate the battery compartment, typically found at the bottom of the doorbell unit.
To begin the battery removal process, press down on the black tab on the battery while gently pulling the battery out toward the bottom. This action will detach the battery from the device. Be careful during this step, as you want to avoid damaging any internal components.
If you're simply replacing the battery, take your new battery and align it properly with the connectors inside the compartment. Push it in firmly until it clicks into place. Remember, the battery cover must be securely attached once you're done.
After replacing the battery, you can reattach the faceplate by aligning it with the top hook and snapping the bottom into place, followed by securing it with the same security screw you initially loosened.
Reassembly After Replacement
Begin by aligning the top hook of the faceplate with the corresponding hole on the doorbell body for a proper fit. Hold the faceplate at a 45-degree angle to make the alignment easier. Once you have it in place, snap the bottom of the faceplate back into position, guaranteeing it's fully seated against the device body.
Next, you'll want to:
- Check the alignment: Make sure everything lines up perfectly for that secure fit.
- Replace the security screw: Using the provided screwdriver, tighten it fully to hold the faceplate firmly in place.
After completing these steps, your Ring doorbell should be ready to go. By confirming the battery is securely housed within the faceplate, you can confidently rely on your doorbell to keep you connected and informed.
Reattaching the Faceplate

Align the top hook of the faceplate with the corresponding hole on the device body for a secure fit. Hold the faceplate at a 45-degree angle to make the alignment easier. This angle helps guarantee that you're positioning the faceplate correctly before you push it into place. Once the top hook is aligned, press down on the bottom of the faceplate until it snaps back into position. Make sure it's seated firmly against the doorbell.
After reattaching the faceplate, don't forget to replace the security screw at the bottom. Use the provided screwdriver to tighten it fully. This step is essential as it guarantees that the faceplate stays securely attached and won't come loose over time. A properly secured faceplate not only keeps your device functioning well but also protects the internal components.
Take a moment to double-check that everything is in place and that the faceplate is snug against the device. This attention to detail will help prevent any issues in the future. With the faceplate reattached securely, your Ring Doorbell is ready for use again!
Troubleshooting Common Issues

Even with the faceplate securely reattached, you might still run into some common issues when trying to access the battery cover of your Ring Doorbell.
Here are a few obstacles you may encounter:
- A tight security screw design that complicates battery removal.
- An orange plastic piece obstructing your path to the battery.
If you find that your battery needs aren't being met due to these complications, don't hesitate to reach out to customer service for guidance.
They often suggest unscrewing the doorbell from its mounting bracket to make battery access easier.
This method can help you avoid unnecessary frustration and may prevent damaging your doorbell.
Additional Resources and Support

For those seeking extra help with their Ring Doorbell's battery cover, there are several valuable resources available to guide you.
The official Ring website features an extensive FAQ section that addresses common issues related to accessing and maintaining the battery cover. This can be a great starting point for quick answers.
If you prefer visual guidance, check out the video tutorials online. These step-by-step guides provide clear instructions for safely opening the battery cover on different Ring Doorbell models. You'll find these videos incredibly helpful.
Additionally, if you need personalized assistance, don't hesitate to contact Ring's customer support through their website. They can offer tailored advice for troubleshooting any challenges you encounter.
Another fantastic resource is the Ring Community forum. Here, users like you share experiences and tips about battery cover access, fostering a sense of peer-to-peer support. Engaging with this community can provide insights that you mightn't find elsewhere.
Lastly, keep an eye on regular updates and announcements from Ring, as they often include helpful information and resources related to battery care and doorbell maintenance.
Frequently Asked Questions
How Do You Open a Ring Doorbell Battery?
To open your Ring Doorbell battery, you'll first need to locate the security screw at the bottom of the faceplate.
Use the star-shaped screwdriver to remove it.
Once that's done, push up on the faceplate with your thumbs until it loosens.
If necessary, use a flat object to help pry it off.
How Do You Take the Cover off a Ring Doorbell to Charge the Battery?
To take the cover off your Ring Doorbell for charging the battery, start by locating the security screw at the bottom of the faceplate.
Use the provided screwdriver to unscrew it.
Then, push up from the bottom of the faceplate with your thumbs to loosen it, or gently pry it away with a flat object.
Once it's off, you can access the battery for charging.
Just remember to reattach the faceplate afterward!
How to Open Ring Doorbell Cover?
To open your Ring Doorbell cover, start by finding the security screw at the bottom.
Use the star-shaped screwdriver provided to turn it counterclockwise until it's loose.
Once you've done that, push up from the bottom of the faceplate with your thumbs to loosen it.
If needed, gently pry it off with a flat object.
This will give you access to the internal components of the doorbell for maintenance or battery access.
How to Open a Doorbell Cover?
Imagine your doorbell's cover as a treasure chest, waiting to be opened.
To access it, you'll first look for a small screw at the bottom.
Grab your screwdriver, turn that screw counterclockwise, and feel the satisfying click as it loosens.
Then, gently push up with your thumbs to release the cover.
If it's stubborn, a flat object can help.
Once it's off, access your "treasure" inside, whatever it may be!
Conclusion
Now that you've successfully navigated the ins and outs of your Ring doorbell's battery cover, you're ready to keep your home secure with a fully charged device.
Remember, it's just a little upkeep to keep your virtual watchdog running smoothly.
If you encounter any pesky hiccups along the way, don't hesitate to reach out for support.
With a bit of care, your doorbell will continue to ring true for years to come.


