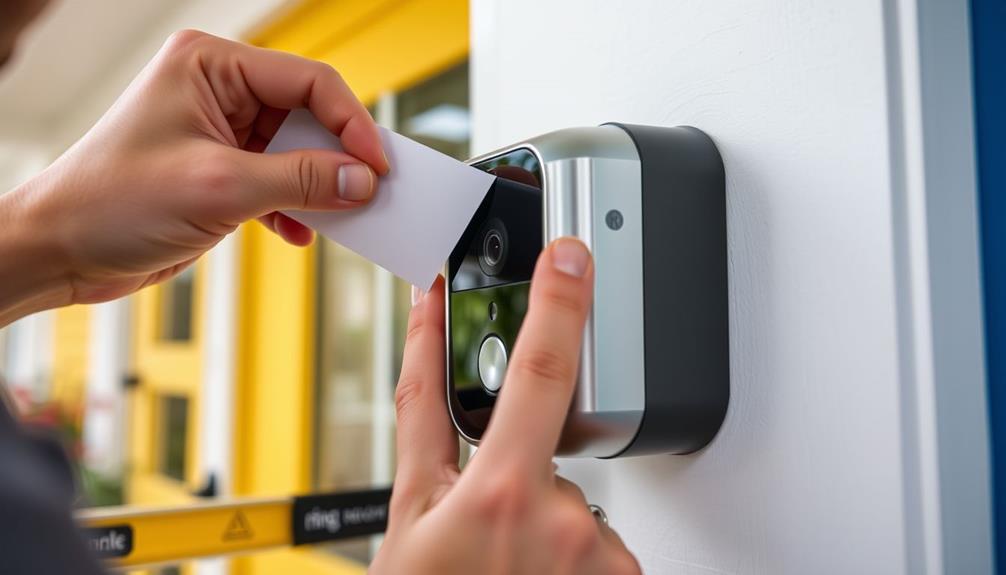
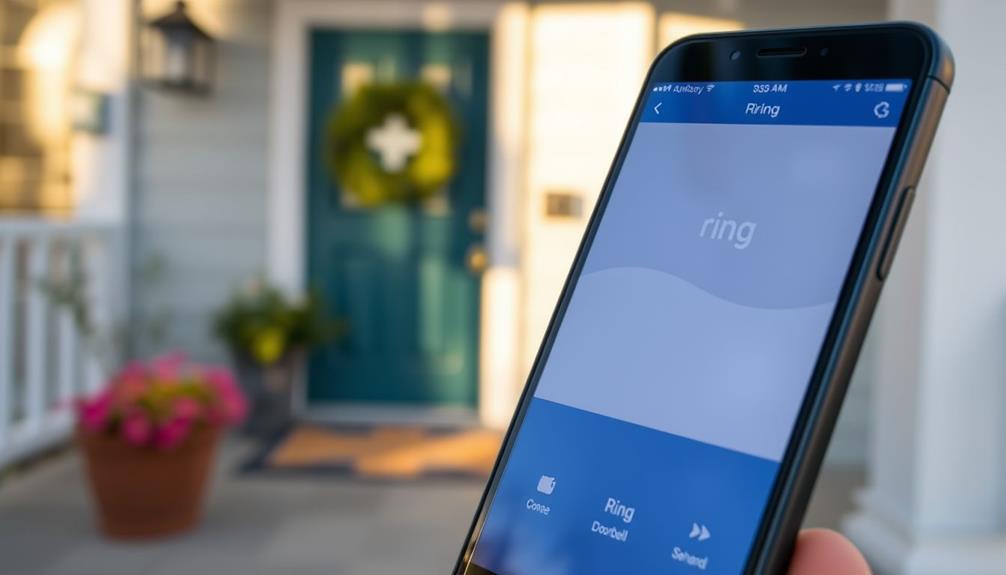
To install your Ring Doorbell Wired, start by gathering the necessary tools and hardware. Disconnect power at the circuit breaker for safety. Connect the provided Jumper Cable between the "Front" and "Trans" terminals, ensuring secure connections. Next, mark screw holes on a sturdy surface, then mount the doorbell using the supplied screws. After that, restore power and attach the faceplate securely. Test the functionality by pressing the button or using the Ring app. If you encounter any issues, there's more to explore to help you troubleshoot and optimize your setup for better performance.
Key Takeaways
- Ensure compatibility with your existing doorbell chime and confirm voltage is between 10-24 volts AC before installation.
- Disconnect power at the circuit breaker to prevent electric shock during the installation process.
- Attach the Jumper Cable securely between the "Front" and "Trans" terminals, then restore power.
- Mark screw hole locations for mounting, secure the doorbell with screws, and avoid over-tightening.
Installation Preparation
Before you start, make certain you've got all the necessary hardware and tools ready for a smooth installation of your Ring Doorbell Wired.
Check that your package includes the doorbell, screws, and mounting bracket. You'll also need some basic tools like a screwdriver and drill. If you're installing on tough surfaces like stucco, brick, or concrete, gather wall anchors to secure everything properly.
Additionally, confirming your home is clean and organized will provide a more efficient workspace, much like how choosing a cleaning service can streamline the process of maintaining a tidy home.
Safety's essential during this installation.
Disconnect the power at the circuit breaker to avoid any risk of electric shock while you're working with wires. It's also wise to consult local laws to see if you need any permits for this electrical work.
Identify your existing doorbell chime by listening for its sound; this will help confirm compatibility with the Ring system.
Once you've confirmed that you have all the hardware and tools, and that the power is disconnected, you'll be ready to proceed with the installation.
Taking these steps won't only make your installation smoother but also enhance your safety throughout the process.
Jumper Cable Connection

To connect the Jumper Cable, attach one end to the "Front" terminal and the other to the "Trans" terminal on your Ring Video Doorbell Wired. This connection will effectively bypass the existing doorbell chime, allowing your doorbell to function without it. Before you proceed, verify that your doorbell system operates on a voltage between 10-24 volts AC for compatibility.
Here's a quick reference table to guide you through the process:
| Step | Action |
|---|---|
| 1. Safety First | Turn off power at the circuit breaker |
| 2. Jumper Cable Setup | Connect Jumper Cable to terminals |
| 3. Secure Connections | Tighten terminal screws |
| 4. Check Wiring | Double-check all wiring connections |
| 5. Restore Power | Turn power back on |
Always follow safety precautions to avoid electrical hazards. After tightening the terminal screws and verifying the Jumper Cable is secure, you can restore power. This guarantees your Ring Video Doorbell Wired operates correctly, providing peace of mind and security for your home.
Mounting the Doorbell

When it comes to mounting your Ring Doorbell, start by marking the screw hole locations for precise placement.
Confirm that your mounting surface is sturdy enough to support the device, similar to how a pellet stove installation requires a solid foundation for safety.
Next, secure the doorbell with the provided mounting screws, making sure not to over-tighten them, as that could damage the device.
This step confirms your doorbell is firmly in place and ready for use.
Marking Screw Hole Locations
Use the Ring Video Doorbell as a template on your wall to mark the screw hole locations for accurate installation. Verify that the doorbell is level when you're marking the holes. This will help avoid a crooked installation and achieve proper alignment.
Keeping your environment clean can enhance the installation experience, as air purifiers reduce allergens that may affect your focus and comfort during the process.
Here's how to make the marking process easier:
- Identify the surface: Determine if you're installing on wood, siding, stucco, brick, or concrete.
- Drill pilot holes: For tougher surfaces like stucco or brick, drill pilot holes at the marked locations to facilitate wall anchor installation.
If you're installing on wood or siding, you can directly mark the holes without needing wall anchors.
Taking the time to accurately mark the screw hole locations will make your installation smoother and verify that your doorbell is securely fastened.
Securing With Mounting Screws
After marking the screw hole locations, secure the Ring Doorbell Wired to the wall with the provided mounting screws from Bag A. These screws are specifically designed for this installation, so it's essential to use them to avoid damaging the device.
To create a cozy entryway that complements your home, consider incorporating elements like a farmhouse front door which can enhance the overall aesthetic. Utilize the doorbell as a template for a precise installation, ensuring your screw holes are accurately placed.
If you're mounting on tougher surfaces like stucco, brick, or concrete, consider installing wall anchors for added support. This step helps keep the doorbell securely in place. As you attach the mounting screws, be mindful to avoid over-tightening, which can lead to damage to both the doorbell and the wall.
While securing the doorbell, make sure to feed any excess wiring into the wall. This step not only helps maintain a clean appearance but also prevents any strain on the connections, ensuring your doorbell functions correctly.
Avoiding Over-Tightening Issues
To guarantee a secure installation without damaging your Ring Doorbell, tighten the screws just enough to hold it in place without applying excessive force. Over-tightening can strip the screw holes or crack the mounting bracket, leading to misalignment and functionality issues.
It's important to verify that you're using the correct airless paint sprayer techniques for ideal results in your projects, as similar principles apply to careful installation tasks.
Here are a few tips to help you avoid over-tightening:
- Use the provided screws: Stick to the mounting screws from the installation kit to verify proper fit and avoid damage.
- Check alignment: Before fully tightening, verify your doorbell is flush against the wall. This will help maintain the aesthetics and functionality of the device.
Final Steps

Securing the doorbell to the wall is the last critical step before restoring power and testing its functionality. Start by using the provided screws to fasten the Video Doorbell, but be careful not to over-tighten them. Once it's firmly in place, reattach the faceplate and fasten it with the included security screw from bag B.
Next, it's time to restore power at the circuit breaker. When you do this, the doorbell should illuminate and announce it's ready for action.
After power restoration, you'll want to check functionality. Open the Ring app or simply press the doorbell button to verify everything's operating smoothly.
Finally, monitor the device closely to confirm all connections are secure and meet the transformer requirements.
| Step | Emotion |
|---|---|
| Fasten the Doorbell | Confidence |
| Restore Power | Anticipation |
| Check Functionality | Excitement |
| Monitor Device | Peace of Mind |
With these final steps, your installation is complete, and you're now ready to enjoy your new Ring Doorbell!
Power Restoration

Now that you've finished the installation, it's time to restore power at the circuit breaker.
After verifying that everything is correctly wired, you can also consider hydration strategies to optimize performance during the setup process.
Once you do, look for the doorbell to light up and make a sound, confirming it's working.
If it doesn't power on, you'll need to troubleshoot the wiring connections to ascertain everything's set up correctly.
Restoring Circuit Breaker Power
Restoring power to your Ring Doorbell Wired is an important step that confirms it operates correctly after installation. First, locate your home's circuit breaker. Before you flip the switch, make certain all wiring connections are secure to prevent any electrical hazards.
Here's what to do:
- Check that your connections meet the transformer specifications (8-24 VAC).
- Follow safety guidelines to minimize the risk of electric shock.
After restoring power, you should see the Ring Doorbell light up, indicating it's powered on and functioning properly. If it doesn't power on, double-check your wiring connections to verify everything is compatible and secure.
Remember that verifying secure connections is vital for your device's performance and your safety.
Confirming Device Functionality
Once you've restored power, check that your Ring Doorbell Wired lights up and responds with a welcome prompt to confirm it's operating correctly. This initial indication of device lighting up is essential for confirming device functionality.
If you notice any malfunction signs, such as the doorbell failing to power on or connect to the Ring app, it's important to troubleshoot further.
Before you restore power at the circuit breaker, verify all wiring connections are secure. Loose connections can lead to safety hazards or malfunction after power restoration.
If the device doesn't operate as expected, double-check the compatibility with the transformer specifications, which should be between 8 to 24 VAC. This compatibility is crucial for the proper functioning of your doorbell.
Monitoring your Ring Doorbell Wired after power restoration will help you identify any issues early. If everything works as it should, you've successfully completed the installation process. Enjoy the added security and convenience of your new doorbell, knowing it's set up correctly and ready to go!
Troubleshooting Power Issues
Troubleshooting power issues with your Ring Doorbell Wired is essential if the device fails to light up or respond after restoring power. Start by verifying that everything is connected correctly and meets the necessary specifications.
Here are some steps to help you troubleshoot:
- Check wiring connections: Make sure the doorbell wires are securely connected to the terminal screws.
- Verify transformer specifications: Confirm the transformer provides between 10-24 volts AC. An incompatible transformer can lead to power issues.
If you still don't see a light and voice prompt, it might be time to consult the installation diagrams for guidance.
Additionally, keep an eye on the device for any signs of malfunction after power restoration.
If problems persist, consider reaching out to community forums for shared experiences or customer support for professional assistance.
Addressing these power issues promptly will help you enjoy all the features your Ring Doorbell Wired offers!
Troubleshooting Common Issues

If your Ring Video Doorbell Wired isn't responding, start by checking the power supply to verify it's correctly connected and compatible with the device. It requires 10-24 volts AC. Ascertain that the Pro Power Kit and jumper cable are properly installed; any loose connections could lead to power issues during installation.
Next, review the wiring diagrams in the installation manual to confirm that the connections match the specified colors and terminals.
If you've confirmed everything is wired correctly but still face persistent issues, try restarting the device using the Ring app. This simple step can often resolve minor glitches.
If problems continue, don't hesitate to seek help. Community forums are a great resource where you can find additional troubleshooting tips and insights from other users who may have faced similar challenges. You can also consult the Ring Help Center for more guidance.
Wifi Optimization

To guarantee your Ring Doorbell Wired performs at its best, position it within 30 feet of your Wi-Fi router for ideal signal strength. If it's too far, consider using a Wi-Fi extender to enhance connectivity and reduce latency.
To further improve your setup, keep these tips in mind:
- Minimize interference: Keep your Ring Doorbell away from electronic devices like microwaves and cordless phones that can disrupt Wi-Fi signals.
- Update router firmware: Regularly updating your router's firmware guarantees compatibility and peak performance with connected devices like the Ring Doorbell.
Community Support

Once you've optimized your Wi-Fi for the Ring Doorbell Wired, tapping into the community support can enhance your installation experience even further. Engaging with fellow Ring device owners allows you to share installation experiences and seek advice on common issues. The community is a hub for active discussions on troubleshooting techniques and wiring challenges, where you can benefit from shared knowledge.
Here are some key aspects of community support:
| Feature | Description | Benefits |
|---|---|---|
| Installation Tips | Best practices shared by users | Streamlined setup process |
| Troubleshooting Tech | Solutions for common problems | Faster resolution of issues |
| Engagement Discussions | Interactive forums for advice and support | Build connections with other users |
| Wiring Challenges | Guidance on wiring setup and configurations | Confidence in installation |
| Shared Knowledge | Collective experiences and learning opportunities | Enhanced overall installation |
Frequently Asked Questions
Can You Install a Wired Ring Doorbell Yourself?
Yes, you can install a wired Ring Doorbell yourself if you've got basic electrical skills.
Just make certain to follow the instructions carefully.
You'll need to disconnect your existing doorbell, connect the wires to the Ring Doorbell's terminals, and verify your transformer's compatible.
Don't forget to turn off the power at the circuit breaker for safety.
If you feel unsure, it's best to call a qualified electrician for help.
How Do I Hardwire My Ring Doorbell?
Imagine you just moved into a new house and want to upgrade your security with a Ring Doorbell.
To hardwire it, start by ensuring your transformer's voltage is between 8-24 volts AC.
After cutting power at the circuit breaker, remove the old doorbell.
Connect the included jumper cable, loop the existing wires around the Ring's terminals, secure it to the wall, then restore power.
Check for lights to confirm it's working!
Do You Need an Electrician to Hardwire Ring Doorbell?
You don't necessarily need an electrician to hardwire your Ring Doorbell, but it can be a smart choice.
If you're comfortable with basic wiring and your existing doorbell setup meets the specifications, you might handle it yourself.
However, hiring an electrician guarantees safety and compliance with local codes.
They can also troubleshoot any issues that arise, giving you peace of mind during installation.
It's all about what you feel confident doing!
Can You Wire a Ring Doorbell to a Socket?
You can't directly wire a Ring Doorbell to a standard socket, as it requires a transformer to convert the voltage. The Ring Doorbell typically requires between 16-24V AC, while most standard sockets provide 120V AC, making a transformer necessary to step down the voltage safely. To hook up Ring Doorbell to power, you’ll need to either use the existing doorbell wiring and transformer or install an external transformer to provide the correct voltage. Always follow the manufacturer’s instructions and consult a professional if unsure.
Instead, you should use a Plug-In Adapter specifically designed for Ring devices. This adapter connects to a regular power outlet and provides the necessary low voltage.
Just make sure the adapter is compatible with your Ring model to avoid any issues.
Always follow safety guidelines when connecting power sources.
Conclusion
By following these steps, you'll have your Ring Doorbell Wired up and running in no time.
Imagine coming home after a long day, and as you approach the door, your doorbell lights up, giving you a sense of security and connection.
Just like Sarah, who installed hers in under an hour, you'll enjoy the peace of mind that comes with knowing who's at your door, even when you're not home.
Happy installing!


