You can easily install your Ring Doorbell 3 without drilling by using a no-drill mount. Start by ensuring the wall surface is clean and smooth for ideal adhesion. Then, firmly attach the no-drill mount with the strong double-sided adhesive tape provided. Once it's securely in place, align your Ring Doorbell 3 with the mounting plate and screw it in snugly. This method not only keeps your wall damage-free but also allows for easy removal later. For more tips on installation and maintenance, stick around to discover how to keep your system working smoothly.
Key Takeaways
- Ensure your Ring Doorbell 3 is compatible by using the Ring app before starting the installation process.
- Clean the wall surface thoroughly to guarantee optimal adhesion for the No-Drill Mount.
- Firmly attach the No-Drill Mount using the provided strong double-sided adhesive tape.
- Align your Ring Doorbell 3 with the mounting plate and secure it with the screw provided.
Overview of No-Drill Mount
The No-Drill Mount offers a convenient solution for renters who want to securely install the Ring Video Doorbell 3 without damaging their walls.
This innovative mount is specifically designed for use with the Ring Video Doorbell 3, 3 Plus, Battery Doorbell Plus, and Battery Doorbell Pro, making it perfect for your rental situation.
Utilizing strong double-sided adhesive, it guarantees a secure attachment to smooth surfaces like painted wood, stucco, and painted aluminum.
Additionally, incorporating elements like natural materials in your space can enhance the overall aesthetic, creating a cozy atmosphere that complements your new doorbell setup while also fostering productivity in your home office Cottagecore home office inspiration.
One of the standout features of the No-Drill Mount is its waterproof adhesive, which assures durability and effectiveness in inclement weather.
You won't have to worry about your doorbell coming loose during a storm.
Plus, when it's time to move, the design allows for damage-free removal, so you can take it with you without leaving a trace behind.
Step-by-Step Installation Guide

After confirming the No-Drill Mount is securely attached, you're ready to install your Ring Doorbell 3 with ease.
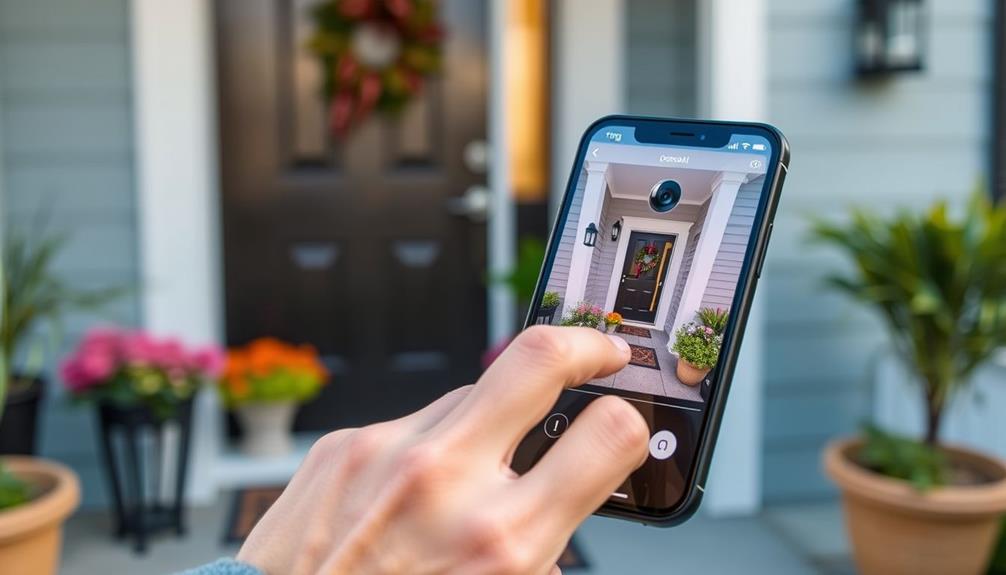
First, check the compatibility of your device using the Ring app. This step guarantees your doorbell will function correctly with your setup. Additionally, it's wise to evaluate the installation of other smart devices around your home, as proper placement can enhance security and connectivity energy-efficient appliances.
Next, make sure the wall surface is clean and smooth; this is essential for ideal adhesion of the No-Drill Mount.
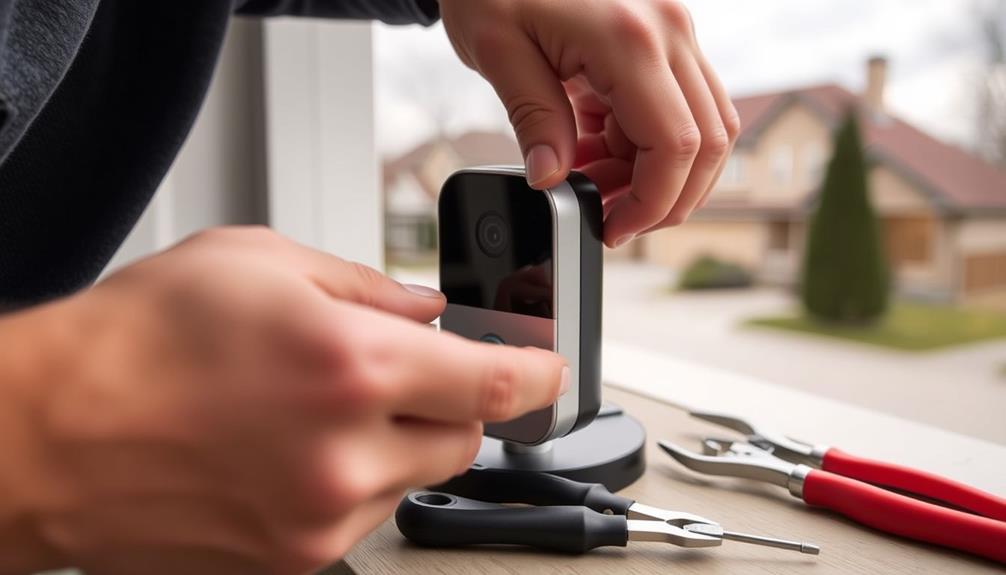
Once you've confirmed the wall's condition, firmly attach the No-Drill Mount using the provided double-sided adhesive tape. Press down to verify it adheres securely.
After the mount is in place, take your Ring Doorbell 3 and align it with the mounting plate. Carefully screw the doorbell into the plate until it's snug.
If you ever need to remove the device, gently pull both adhesive tapes downward simultaneously. This method helps avoid damage to the wall surface, keeping it pristine for future use.
Following these steps will help you complete the installation seamlessly, allowing you to enjoy the benefits of your Ring Doorbell 3 without any drilling hassles.
Troubleshooting and Maintenance Tips

Regularly checking your No-Drill Mount for wear and tear can help keep your Ring Doorbell 3 securely in place. Inspect the adhesive to guarantee it remains intact. If the mount feels loose, reinstallation with new adhesive tape included in the package may be necessary. It's also a good idea to verify that your home environment is clean and well-maintained, as this can contribute to the longevity of your doorbell installation. For more insights on home maintenance tips, consider looking into expert advice.
To maintain peak performance, consider these tips:
- Monitor weather conditions: Extreme temperatures and moisture can weaken the adhesive over time. Keep an eye on the weather to protect your mount.
- Check the wall surface: Ensure it's clean and smooth. Dirt or irregularities can compromise the mount's stability, leading to potential issues.
Frequently Asked Questions
Can the Ring Doorbell Be Installed Without Screws?
Yes, you can install the Ring Doorbell without screws.
The No-Drill Mount uses double-sided adhesive, allowing you to securely attach it without drilling holes in your wall.
This option is perfect for renters or anyone wanting to avoid wall damage.
Just make sure to clean the surface beforehand for the best adhesion.
Do You Have to Drill to Install a Ring Doorbell?
You don't have to drill to install a Ring Doorbell!
Imagine a world where you can hang your doorbell without damaging walls or worrying about screws—sounds like magic, right?
With the No-Drill Mount, you can securely attach your Ring Doorbell using double-sided adhesive.
Just clean the surface first, and you're good to go!
It's perfect for renters, and it withstands all kinds of weather, making it a smart choice for any home.
How to Hardwire Ring Doorbell 3 Without Existing Doorbell?
To hardwire your Ring Doorbell 3 without an existing doorbell, start by purchasing a compatible transformer that converts your household voltage to 8-24V AC.
Use a low-voltage wiring kit to connect the transformer, making certain the power's off for safety.
Follow the setup instructions in the Ring app to confirm correct wiring and power verification.
If you're unsure, consider hiring a licensed electrician to assist with the installation.
Test the doorbell once it's set up.
Can You Mount a Ring Doorbell With Command Strips?
You can't effectively mount a Ring Doorbell with Command Strips. While they might seem like a convenient option, they often fail under the weight and weather conditions the doorbell faces.
Instead, consider using the Ring No-Drill Mount, which features waterproof adhesive designed for stability in various temperatures.
This method guarantees your doorbell stays securely in place without risking damage to your walls or the device itself.
Conclusion
With the no-drill mount, you can enjoy the security of your Ring Doorbell 3 without damaging your home.
Imagine the peace of mind you'll feel knowing your front door is monitored, all while keeping your walls intact.
This simple solution lets you embrace technology while preserving your space.
So go ahead, elevate your home's security effortlessly—because your safety shouldn't come at the cost of your home's beauty. With the best 360degree cameras for security, you can achieve a perfect blend of advanced protection and sleek design. These innovative devices not only provide comprehensive coverage but also seamlessly integrate into your home’s aesthetic. Invest in technology that prioritizes both your peace of mind and your décor.
Enjoy your new setup and stay connected!