To fix a Ring Doorbell to a composite door, start by choosing the right installation method. You can use self-tapping screws or a no-drill adhesive mount for the best results. First, clean and dry the surface, then mark a height of about 48 inches. If you opt for screws, drill pilot holes; otherwise, apply double-sided tape firmly for a secure bond. Verify everything's aligned and test the doorbell's functionality using the Ring app. Regular maintenance is key, and there's plenty more to explore about optimizing your setup and troubleshooting any issues.
Key Takeaways
- Use self-tapping screws or a no-drill adhesive method to securely attach the doorbell to the composite door.
- Clean and dry the surface thoroughly before applying adhesive or screws for optimal bonding.
- Mark the installation height at approximately 48 inches for the best viewing angle and functionality.
- Ensure the mounting bracket is level and stable to enhance motion detection and visual performance.
Understanding Installation Options
When you're installing a Ring Doorbell on a composite door, it's crucial to choose the right method for a secure fit. For composite surfaces, self-tapping screws are often the best option. These screws can penetrate the material without needing a pilot hole, making it easier to install the doorbell securely. If you decide to use screws, make sure your installation kit includes components compatible with composite materials.
Additionally, reflecting on the importance of essential items for a home cleaning kit can help you maintain your entryway's cleanliness after installation.
Alternatively, if you prefer a non-invasive approach, you might want to think about a no-drill mount that uses strong adhesive. Just be sure the surface is clean and dry before you apply the adhesive for ideal bonding. This method allows you to install the doorbell without making any permanent changes to your door.
Regardless of the method you choose, remember to position the doorbell approximately 48 inches from the ground. This height guarantees an ideal field of view, allowing for better monitoring of visitors.
Tools and Materials Required

To install your Ring Doorbell on a composite door, you'll need a few essential tools and materials.
A T6 screwdriver, self-tapping screws, and a drill (if you're going for a screw installation) are key, along with outdoor adhesive if you prefer a no-drill method.
Additionally, verify you have a level for accurate placement, as achieving the right angle can enhance both functionality and aesthetics, similar to how a living room transformation can elevate your home's appearance.
Don't forget a pencil to mark your installation height for accurate placement.
Necessary Installation Tools
Installing a Ring Doorbell on a composite door requires specific tools and materials to guarantee a secure and precise setup.
First, you'll need a T6 screwdriver, which comes with the included T6 screws necessary for mounting. If you're going for a screw-based installation, having a drill on hand is essential. Make sure to grab a 1.7 mm drill bit to create pilot holes for easier screw insertion.
It's important to take into account the benefits of modern technology in home security, such as how garage door openers enhance protection and convenience, similar to the functionality provided by a Ring Doorbell smart features for remote access.
A level is also vital; it helps confirm your doorbell is perfectly aligned, providing an ideal view. Don't forget a pencil for marking the installation height, which should be around 48 inches from the ground for the best camera angle.
If you choose the no-drill adhesive option, verify you have outdoor adhesive designed for composite surfaces to create a strong bond.
It's wise to gather additional materials like a hammer and self-tapping screws, just in case you face any challenges with the standard installation kit.
With these tools ready, you'll be well-equipped to secure your Ring Doorbell to the composite door efficiently.
Recommended Adhesive Options
Choosing the right adhesive is key for securely attaching your Ring Doorbell to a composite door, especially if you opt for a no-drill installation method.
Start by selecting an outdoor-rated adhesive specifically designed for composite materials. This guarantees a strong and weather-resistant bond that can withstand various environmental conditions, much like the therapeutic benefits of essential oils derived from plants.
Before applying the adhesive, make certain the surface of your composite door is clean and dry. This step is essential for ideal adhesion. You might also consider using double-sided mounting tape that can support the weight of the Ring Doorbell while adhering firmly to the composite surface.
For extra security, some users recommend applying a silicone sealant around the edges of the doorbell after the adhesive application. This helps prevent moisture ingress, further protecting your device.
Lastly, be sure to allow the adhesive to cure for the recommended time specified on the product label before attaching the Ring Doorbell. This guarantees maximum strength, giving you peace of mind that your doorbell will stay securely in place.
Choose wisely, and your installation will be both durable and effective.
Step-by-Step Installation Process

Now that you've gathered your tools and materials, it's time to get started on the installation.
To guarantee a smooth process, consider the environment around your doorbell and any potential obstacles, such as air purifiers that may affect the placement of your device.
You'll need to choose the right mounting technique for your composite door, whether that involves drilling or using adhesive.
Following a clear step-by-step process will make sure your Ring Doorbell is securely attached and ready to use.
Additionally, keeping your indoor air quality in mind can enhance your overall experience air purifiers improve indoor air quality considerably.
Required Tools and Materials
To successfully mount your Ring Doorbell on a composite door, you'll need a few essential tools and materials to guarantee a smooth installation process. Here's a handy list to get you started:
| Tools/Materials | Purpose |
|---|---|
| Screwdriver | To tighten screws if you choose that option |
| Drill | To create pilot holes for screws |
| Level | To confirm the doorbell is straight |
| Pencil | For marking the installation height |
| Adhesive (suitable for composite) | To attach the doorbell without screws |
You'll need to decide whether to use self-tapping screws or adhesive mounts. If you opt for screws, drill pilot holes into your composite door frame at the marked height, generally around 48 inches from the ground. If you choose adhesive, confirm the surface is thoroughly cleaned before applying the adhesive mount. Once you've secured the doorbell, connect it to the Ring app for functionality testing. Don't forget to make any necessary adjustments to the angle or position to optimize your camera view.
Mounting Techniques for Composite
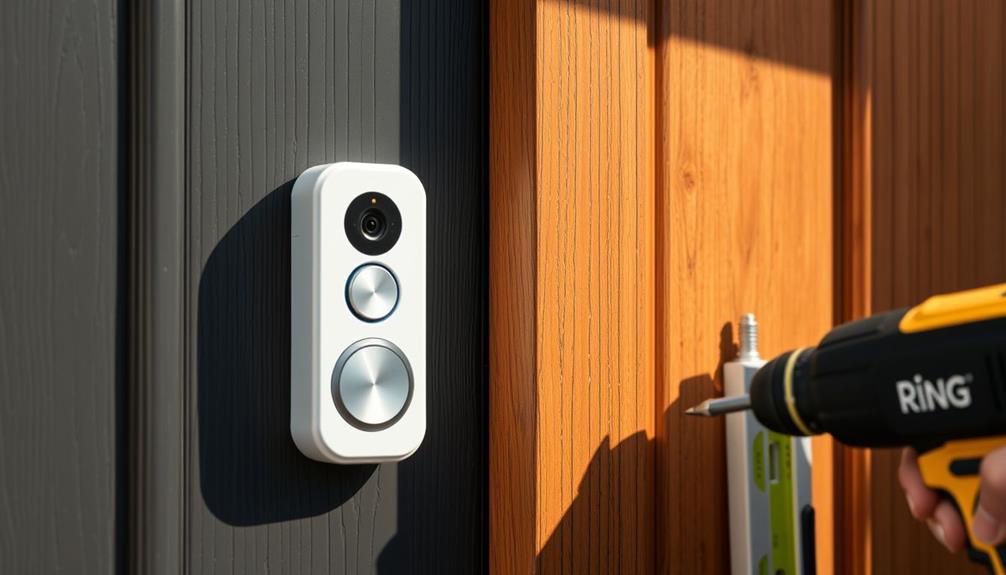
Follow these steps to securely mount your Ring Doorbell on a composite door for excellent performance.
First, determine the installation height by marking approximately 48 inches from the ground. This height guarantees optimal camera view and functionality. To enhance the durability of your installation, consider using well-draining materials behind the mounting bracket, as this can prevent moisture buildup in the door structure, which is significant for maintaining the integrity of composite doors and avoiding rot preventing root rot.
Next, if you're using self-tapping screws, position the mounting bracket on the door and drill the screws into the composite material. These screws provide a secure attachment, especially important for one-sided access situations. Make sure to tighten the screws adequately to prevent any wobbling, guaranteeing a stable fit for your doorbell.
If you prefer the no-drill mount option, clean the surface thoroughly where you'll attach the doorbell. Apply the double-sided adhesive and press firmly for at least two minutes to create a strong bond.
Once the doorbell is mounted, it's essential to test its functionality. Check video streaming and motion detection to confirm everything's working properly.
Following these steps will help you achieve a secure and efficient installation of your Ring Doorbell on a composite door, enhancing your home's security.
Troubleshooting Common Installation Issues

Troubleshooting common installation issues with your Ring Doorbell on a composite door can save you time and guarantee peak performance.
First, verify that the installation surface is clean and dry, especially if you're using adhesive methods. A dirty or damp surface can hinder effective bonding.
If you're using traditional mounting hardware, verify that your composite door frame is compatible, as these screws mightn't perform well on certain composite materials.
If you have the option to drill, utilize self-tapping screws for a more secure attachment. These screws create a solid hold in composite surfaces, making your doorbell installation more reliable.
Position your Ring device at approximately 48 inches from the ground for ideal camera view and motion detection.
After installation, if you encounter functionality issues, check to make sure the mounting is stable and that the doorbell is aligned correctly. Misalignment can lead to ineffective motion detection, impacting your device's performance.
Community Tips and Recommendations

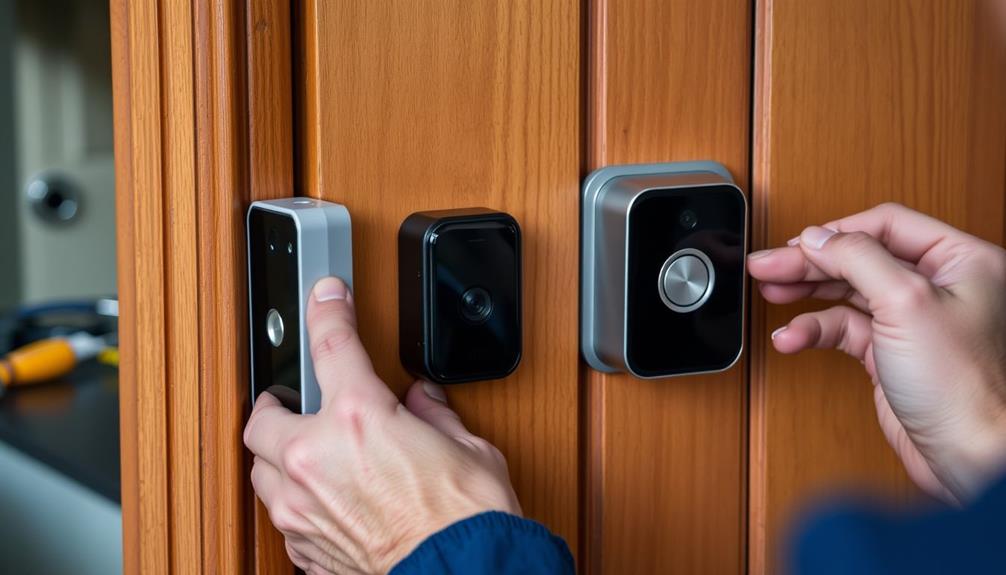
Many users have shared valuable tips and recommendations for successfully installing a Ring Doorbell on a composite door, drawing from their own experiences to help others avoid common pitfalls.
One of the most common suggestions is to use self-tapping screws for secure attachment. These screws are specifically designed for composite materials, ensuring a strong hold.
If you can't drill into your door, consider the no-drill mount with double-sided adhesive. Users emphasize the importance of cleaning the surface thoroughly before applying the adhesive for ideal bonding.
Positioning is key, too. Aim to mount your doorbell about 48 inches from the ground to achieve the best camera angle and field of view.
Many in the community recommend securing the device firmly to prevent theft, and some even suggest using silicone adhesive for extra weatherproofing.
Don't hesitate to engage with the Ring Community for more shared experiences and additional community tips. You'll find a wealth of information from those who've tackled similar challenges, helping you make the installation process smoother and more effective.
Safety Considerations and Best Practices

When installing your Ring Doorbell on a composite door, it's crucial to choose adhesives and screws that won't damage the material while guaranteeing a secure attachment.
Look for adhesives specifically designed for composite materials, as using the wrong type can weaken the bond and cause damage. Self-tapping screws are a great option; they can provide a secure attachment without needing pilot holes, making installation easier and preserving the integrity of the door.
Always refer to the manufacturer's guidelines during installation. This guarantees that you're not voiding any warranties and that you're following best practices.
Additionally, position the doorbell at approximately 48 inches from the ground for maximum video capture and accessibility.
Once installed, it's important to regularly check the mounting area for signs of wear or loosening. Environmental factors can affect the durability of both adhesive and screw mounts on composite surfaces, so keeping an eye on them will help maintain your doorbell's functionality and safety.
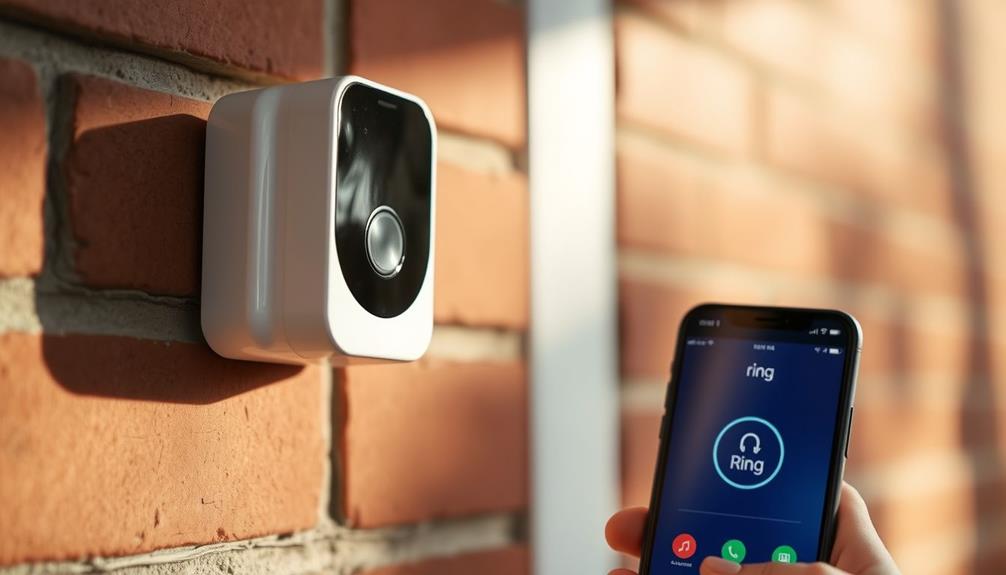
Enhancing Functionality With Features

Enhancing your Ring Doorbell's functionality with its advanced features can greatly boost your home security and convenience.
When you're installing a Ring doorbell, take advantage of its real-time video streaming. This feature lets you monitor your door activity directly from your smartphone or tablet, giving you peace of mind whether you're home or away.
The two-way audio functionality allows you to communicate with visitors at your door, adding an extra layer of security. You can greet delivery personnel or deter unwanted visitors without opening your door.
Additionally, motion detection alerts notify you of any activity, making sure you're always in the loop about potential visitors or intruders.
Don't forget the night vision feature, which provides clear visibility even in low-light conditions. This guarantees you can see who's at your door after dark, enhancing your safety.
Furthermore, integrating your Ring Doorbell with smart home systems allows for seamless control of your security devices, creating a cohesive home automation experience.
Maintenance and Care for Your Doorbell

To keep your Ring Doorbell functioning at its best, regularly check its battery level and clean the camera lens to guarantee clear video quality. A low battery can seriously affect performance and connectivity, so make it a habit to inspect the battery status through the Ring app.
Additionally, clean the camera lens and doorbell casing periodically with a soft, dry cloth. This simple maintenance step helps prevent dirt buildup that could obstruct your view.
It's also essential to inspect the mounting area for any signs of wear or damage, especially when installed on a composite door. Ensuring a secure attachment will maintain functionality and prevent future issues.
Don't forget to update the Ring app and device firmware regularly. These updates often include important security features and performance improvements that enhance your doorbell's reliability.
During extreme weather conditions, take a moment to verify the doorbell's placement and secure any loose wiring or components. By staying proactive with these maintenance tasks, you'll keep your Ring Doorbell in prime working condition, ensuring it serves you well for years to come.
Frequently Asked Questions
Can You Fit a Ring Doorbell to a Composite Door?
Yes, you can fit a Ring Doorbell to a composite door.
You'll need to choose between using compatible mounting brackets or adhesive solutions. If you can drill, self-tapping screws work great for a secure attachment.
Just make certain to install it at about 48 inches from the ground for the best functionality.
Always check the manufacturer's guidelines to guarantee you don't void any warranties or damage the door in the process.
How to Fix Ring Doorbell to Pvc?
To fix a Ring Doorbell to a uPVC door, start by using the no-drill mount that comes in the box.
This mount's double-sided adhesive works great on smooth surfaces.
Make sure you clean the area first for better bonding.
Position the mount about 48 inches from the ground, press it firmly for two minutes, then attach your Ring Doorbell with screws, tightening the security screw underneath the faceplate for stability.
How Do You Fix a Ring Doorbell on a Front Door?
To fix a Ring Doorbell on your front door, start by gathering the right installation kit, including screws or adhesive mounts. Ensure you have a compatible drill bit if you’re mounting on hard surfaces like brick, wood, or metal. If you need to fix the Ring Doorbell to UPVC, it’s best to use adhesive mounts or specific screws designed for plastic surfaces to avoid damage. Once secured, follow the app instructions to complete the setup and connect the device to your Wi-Fi network. After installing the Ring Doorbell on UPVC, carefully check its alignment to ensure the camera has a clear view of the area you wish to monitor. It’s important that the device is mounted at the recommended height for optimal motion detection. Finally, test the connection by triggering a motion event or pressing the doorbell to confirm it’s fully operational.
Position the doorbell about 48 inches from the ground for the best view.
If you're using screws, carefully drill pilot holes and tighten them to secure the device.
Alternatively, clean the surface and use a no-drill mount if you prefer.
How to Stick a Ring Doorbell Without Screws?
To stick your Ring Doorbell without screws, start by using the no-drill mount that comes with it.
Clean the area thoroughly to guarantee a strong bond.
Position the mount about 48 inches off the ground and mark it.
Remove the adhesive cover, then press the mount firmly against the surface for two minutes.
Once it's secure, attach your doorbell.
When it's time to remove it, gently pull the tapes to avoid damage.
Conclusion
In the end, securing your Ring doorbell to your composite door isn't just a task; it's weaving a thread of safety and connection into your home's fabric.
With each step you take, you're not just installing a device—you're embracing peace of mind, welcoming loved ones, and fending off the unexpected.
So grab your tools, harness your creativity, and let your doorbell stand as a vigilant guardian, ready to ring in joy and security every time someone arrives.