
To set up panic buttons effectively, place them in high-traffic, high-risk areas like entrances, hallways, and secluded spots, making sure they’re at chest level for easy access. Make certain they are clearly visible, distinguishable, and protected with tamper-proof covers. Connect the buttons seamlessly with your security system to trigger alarms and notify responders immediately. Good placement and integration help minimize response time. Keep reading to discover how to optimize your panic button system for maximum safety.
Key Takeaways
- Identify high-risk or high-traffic areas such as entrances, exits, hallways, and secluded spots for optimal placement.
- Install panic buttons at accessible heights, typically around chest level, ensuring easy reach for all users.
- Make buttons clearly visible and distinguishable from other controls, using labels or distinct designs.
- Use tamper-proof covers or protective casings to prevent false alarms and vandalism.
- Seamlessly integrate panic buttons with existing security systems to trigger alarms and alert responders immediately.

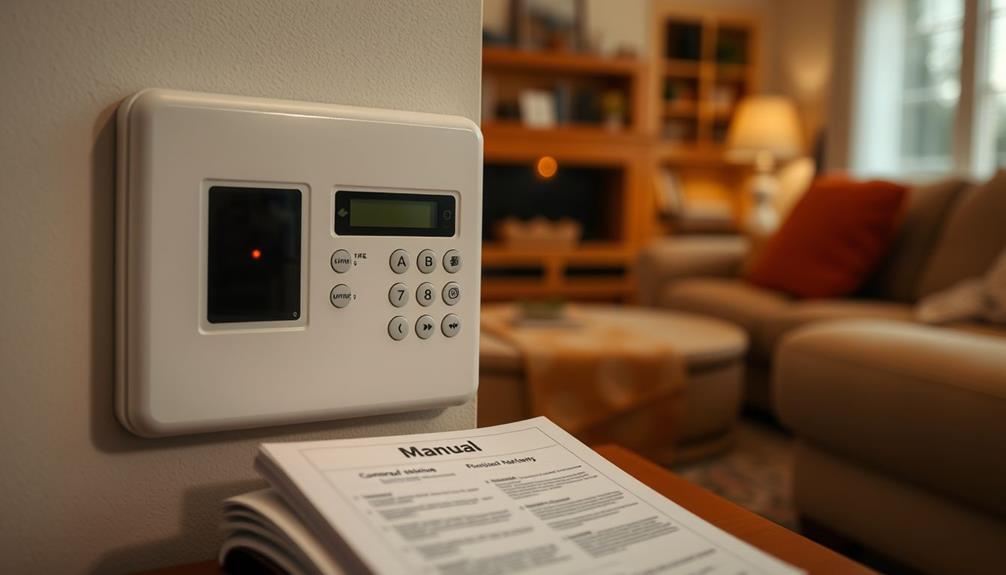
Setting up panic buttons is a critical step in enhancing safety and ensuring quick response during emergencies. These devices serve as a direct link between individuals in distress and emergency responders, making their proper placement and integration essential. When you plan your panic button setup, you need to consider how they fit into your overall emergency protocols. The goal is to create a seamless system that minimizes response time and maximizes safety. Proper alarm system integration is indispensable here; your panic buttons should connect smoothly with your existing security infrastructure, including alarms, surveillance, and communication networks. By doing so, you’ll guarantee that activating a panic button triggers an immediate, coordinated response, reducing chaos and confusion during critical moments.
Proper panic button placement and seamless alarm system integration ensure rapid, coordinated emergency responses and enhanced safety.
First, identify the areas where emergencies are most likely to occur or where quick access is necessary. High-traffic zones such as entrances, exits, hallways, or secluded spots are prime locations for installing panic buttons. You want these buttons to be easily reachable, even in high-stress situations. Make sure they’re mounted at accessible heights, typically around chest level, and that they’re clearly visible and distinguishable from other controls. When setting them up, consider the potential for vandalism or accidental activation—using tamper-proof covers or protective casings can help prevent false alarms or damage.
Integrate your panic buttons into your existing alarm system to guarantee they activate all necessary responses immediately. This integration allows the alarm to sound throughout the premises, alert security personnel, and notify emergency services if needed. Some advanced systems enable direct communication with police or medical responders, enabling a faster, more coordinated response. Be sure to test this integration regularly to confirm that pressing the panic button triggers all connected systems correctly, without delay. Additionally, understanding the role of inspiration in designing effective safety measures can encourage innovative solutions that enhance user confidence and system reliability.
In addition to physical placement, configure the system’s software to streamline responses. This includes setting up alerts for security staff and ensuring that emergency protocols are automatically initiated upon activation. Clear procedures should be in place so responders know exactly what steps to take once a panic button is pressed. Training staff and informing everyone about the locations and functions of these buttons can improve overall safety and confidence.
Ultimately, the success of your panic button setup hinges on thoughtful placement and seamless alarm system integration. When these elements work together, you create a reliable safety net that can be activated swiftly, giving you and your team peace of mind that help is just a button away. Properly implementing these measures guarantees that, during emergencies, every second counts, and your safety protocols are both effective and efficient.
wireless panic button alarm system
As an affiliate, we earn on qualifying purchases.
As an affiliate, we earn on qualifying purchases.
Frequently Asked Questions
How Long Does It Take to Install Panic Buttons Professionally?
Installing panic buttons professionally usually takes about 1 to 3 hours, depending on the complexity of your system. The installation time can vary based on technician availability and the number of panic buttons you need. If your setup is straightforward, it might be quicker. To guarantee a smooth process, schedule with a technician in advance and discuss your specific requirements, so they can allocate enough time for a proper installation.
Can Panic Buttons Be Integrated With Existing Security Systems?
Yes, panic buttons can be integrated with your existing security system. You need to check system compatibility and guarantee security integration is seamless. Most modern security systems support integration, allowing you to connect panic buttons easily. You might need professional help to set up the integration correctly, but it’s a straightforward process that enhances your safety. Confirm compatibility first, then work with a security expert to ensure smooth operation.
Are Wireless Panic Buttons More Reliable Than Wired Ones?
Wireless panic buttons can be reliable, but their wireless reliability depends on signal strength and interference, which may cause occasional issues. Wired panic buttons, on the other hand, offer wired stability, making them more consistently dependable. If you prioritize reliability and minimal disruptions, wired options might suit you best. However, if flexibility and easy installation are your goals, wireless panic buttons can still serve effectively with proper setup and maintenance.
What Is the Typical Maintenance Required for Panic Buttons?
Like a well-oiled machine, your panic buttons need regular checkups. You should perform routine testing to guarantee they work correctly, pressing the button and verifying the signal. Battery replacement is essential, typically every 1-2 years, depending on usage. Keep an eye on indicator lights or alerts that signal low power. Proper maintenance keeps your panic buttons reliable, so you can respond swiftly when needed.
Do Panic Buttons Have Battery Backup in Case of Power Outage?
Yes, panic buttons usually have a battery backup to guarantee they work during a power outage. When the main power source fails, the backup battery kicks in, maintaining functionality. This feature is vital for safety and security, especially in emergency situations. Make sure your panic button system has a reliable, regularly tested battery backup to guarantee it operates effectively whenever needed, even during power disruptions.
tamper-proof panic button cover
As an affiliate, we earn on qualifying purchases.
As an affiliate, we earn on qualifying purchases.
Conclusion
By thoughtfully placing your panic buttons, you create a silent safeguard that’s always within reach, offering peace of mind when life’s uncertainties arise. These discreet signals act as gentle reassurance, allowing you to seek help without alarm or hesitation. With careful positioning, you guarantee that support is just a touch away, transforming precaution into a quiet promise of safety. Remember, a well-placed panic button isn’t just a device—it’s your subtle guardian in moments of need.
high-traffic area panic buttons
As an affiliate, we earn on qualifying purchases.
As an affiliate, we earn on qualifying purchases.
emergency alarm system with police notification
As an affiliate, we earn on qualifying purchases.
As an affiliate, we earn on qualifying purchases.