
Installing your Ring Doorbell without wires is easy. Start by fully charging the built-in battery using the orange USB cable until the green light shows. Choose a mounting spot about 4 feet high and verify there's a good Wi-Fi signal. Use the mounting bracket to mark and drill screw holes. After attaching the bracket, hook the Doorbell onto it and secure the faceplate. Don't forget to set it up in the Ring app for full functionality. Regularly check the battery level to keep it operational. There's more to discover about maximizing your Ring Doorbell experience. If you’re interested in **installing a Ring Doorbell wired**, you’ll need to connect the device to your existing doorbell’s wiring for continuous power. This eliminates the need to recharge the battery, ensuring constant operation. Whether wired or wireless, optimizing your settings in the Ring app enhances both security and convenience.
Key Takeaways
- Charge the Ring Doorbell's built-in battery fully using the provided orange USB cable before installation.
- Select a mounting location about 1.2 meters (4 feet) above the ground for optimal visibility and connectivity.
- Use the mounting bracket template to mark screw holes, ensuring secure attachment without the need for wires.
- Install the fully charged battery into the Ring Doorbell after mounting it on the bracket for a wireless setup.

Ring Spare Parts Kit for Battery Doorbell
Everything you need to setup your Ring Battery Doorbell in just a few minutes.
As an affiliate, we earn on qualifying purchases.
As an affiliate, we earn on qualifying purchases.
Installation Preparation
Before you start installing your Ring Doorbell, make sure the built-in battery is fully charged using the provided orange USB cable until one LED lights up. Proper installation preparation is vital for a smooth setup process.
First, select a mounting location that's about 1.2 meters (or 4 feet) above the ground to guarantee the best visibility. Check that the area is free from obstructions and has a strong Wi-Fi signal, as this will enhance connectivity during the setup. Additionally, verify the air quality in your home is ideal, as air purifiers improve indoor air quality considerably and can contribute to a more comfortable environment for your installation.
Next, gather all the necessary tools and materials. You'll need your Ring Doorbell device, a Phillips or flathead screwdriver, a drill, and your smartphone. These tools will help you with the physical installation and the subsequent setup process.
Once you're ready, download the Ring app on your smartphone and create an account. This step is essential for connecting your Ring Doorbell to your home network and accessing its features. By confirming your battery is charged, your mounting location is suitable, and you have all tools ready, you'll set yourself up for a successful installation of your Ring Doorbell.

Quick Release Battery Pack — Compatible with all battery-powered Ring Cameras and Ring Doorbells
Get an extra rechargeable battery pack so you'll always have backup power ready to go.
As an affiliate, we earn on qualifying purchases.
As an affiliate, we earn on qualifying purchases.
Charging the Doorbell

To charge your Ring Doorbell, simply remove the battery from the device and connect it to a power source with the included orange USB cable. You'll notice a green light on the battery when it's fully charged, while the absence of an orange light indicates that charging is complete.
For those looking to enhance their home's exterior, incorporating elements like a farmhouse front door can add rustic charm that complements your Ring Doorbell beautifully.
The average battery life for your Ring Doorbell is about six months, so it's wise to think about having a second battery as a backup. This way, you can guarantee that your doorbell remains operational without any interruptions. After the battery is fully charged, reinsert it into the Ring Doorbell according to the provided instructions.
To maintain peak performance, regularly check the battery level using the Ring app. This app will help you monitor the battery status and remind you when it's time to charge again. Keeping an eye on your battery life will prevent unexpected downtimes and guarantee your Ring Doorbell is always ready to protect your home.
Ring Spare Parts Kit for Battery Doorbell
Everything you need to setup your Ring Battery Doorbell in just a few minutes.
As an affiliate, we earn on qualifying purchases.
As an affiliate, we earn on qualifying purchases.
Mounting the Device

After confirming your Ring Doorbell is fully charged, it's time to mount the device for best performance and security.
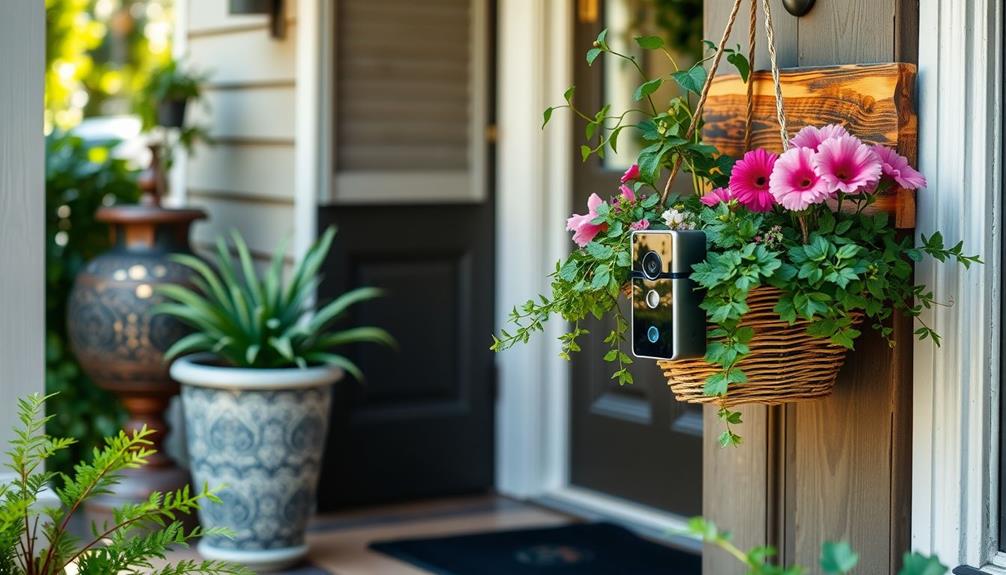
Start by selecting an ideal location, ideally around 4 feet off the ground, to maximize visibility and functionality. To make this process even more special, consider celebrating special occasions with the added security of your new device.
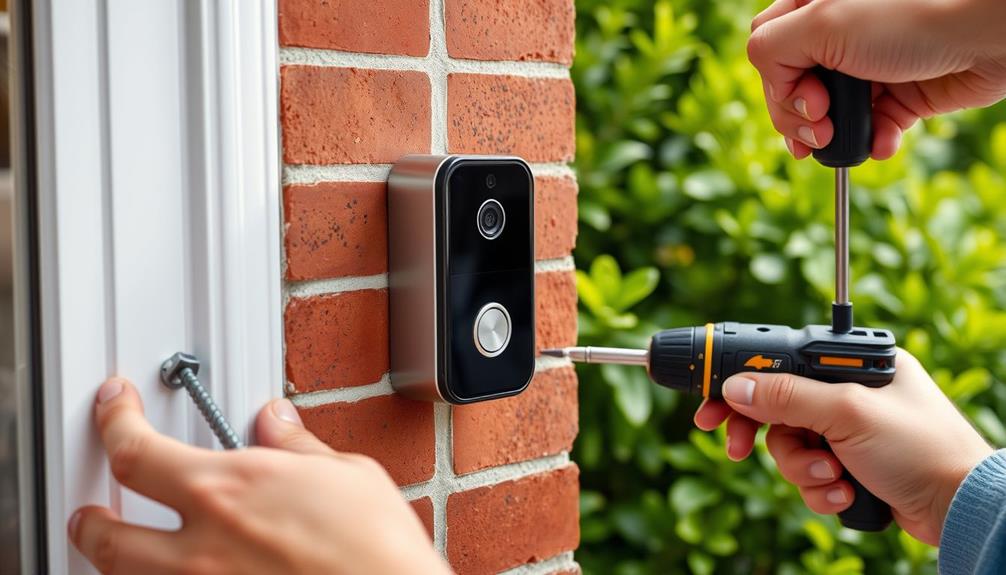
Use the provided mounting bracket as a template to mark the screw holes on the wall. Make sure they're level and accurately positioned.
Next, drill holes for the screws. If you're mounting on stucco, brick, or concrete, don't forget to install wall anchors to secure a firm fit.
Attach the mounting bracket to the wall using the provided screws, driving them until they're flush with the bracket for stability.
Once the bracket is mounted securely, it's time to attach the Ring Doorbell. Simply hook it onto the bracket tab and pivot it down gently. This guarantees a snug fit and proper alignment.
With the device securely mounted, you're one step closer to enhancing your home security. Take a moment to check that everything is in place before moving on to the next steps.
Ring Alarm Range Extender (2nd Gen) | Extend Ring Device Coverage Up to 250ft Range | Eliminate Dead Zones | Easy Plug-and-Play Setup | Base Station Required
Expand the reach of your Ring Alarm Base Station to your Ring Alarm components
As an affiliate, we earn on qualifying purchases.
As an affiliate, we earn on qualifying purchases.
Finalizing the Setup

Secure the faceplate by inserting the top at an angle and clicking it into place to finalize your Ring Doorbell setup. This step is essential, as it protects the internal components of your device.
Once the faceplate is secured, tighten the security screws located at the bottom of the doorbell using the provided star-shaped screwdriver. This guarantees that your installation is tamper-proof and your Ring Doorbell remains securely in place. Additionally, verify that your environment is free from any strong smells that could be distracting, as cats may dislike strong odors in the vicinity.
Next, use the Ring app to configure your settings. Open the app, create an account if you haven't already, and follow the prompts to connect your Ring Doorbell to your Wi-Fi network. Make sure you're connected to a stable Wi-Fi signal for peak performance.
After setting up your Wi-Fi connection, you'll want to monitor the battery level through the Ring app. Since your doorbell runs on a rechargeable battery, keeping an eye on its status will guarantee that it remains functional.
With everything in place, your Ring Doorbell is now fully installed and ready to enhance your home's security. Enjoy the peace of mind that comes with monitoring your front door.
Troubleshooting and Support

Even with your Ring Doorbell fully installed, you might encounter some troubleshooting issues that require attention. If you experience video quality problems, it's worth checking your device's connectivity. Use the Ring app to assess your device health and identify any connectivity issues. Sometimes, relocating your router or adding a Ring Chime Pro can greatly enhance your connection.
Additionally, understanding the importance of cybersecurity can help you secure your devices against potential threats, especially when using smart home technologies like your Ring Doorbell the role of penetration testing.
For further support, don't hesitate to access the Ring Help resources. These resources include FAQs and troubleshooting articles organized by product type, making it easy to find relevant information. If you still face challenges, contacting Ring customer support can provide personalized assistance. They're equipped to help you resolve specific concerns related to your installation or functionality.
Additionally, consider exploring community forums where other users share their experiences and solutions. You might find answers to common issues that can help you troubleshoot effectively.
Frequently Asked Questions
Can You Install a Ring Doorbell Without Wiring?
Yes, you can install a Ring Doorbell without wiring.
By choosing a battery-operated model, you've got the flexibility to place it wherever you want.
Just charge the battery using the USB cable until the green light shows it's full.
Then, reinsert the battery and follow the setup instructions in the Ring app to connect to your Wi-Fi.
Remember to mount it at about 1.2 meters for ideal video capture.
Does Ring Doorbell Work Without Hardwire?
Yes, the Ring Doorbell works perfectly without hardwiring!
You'll find it's powered by a rechargeable battery, so you can install it anywhere.
The battery typically lasts around six months, and you can easily recharge it using the provided USB cable.
Just keep an eye on the battery levels through the Ring app, and you'll receive notifications when it's time to recharge.
Enjoy the convenience of a wireless setup!
How Do You Install a Wireless Ring Doorbell?
To install your wireless Ring Doorbell, start by charging its built-in battery with the provided USB cable until you see a green light.
Next, choose a mounting height of about 1.2 meters for the best view.
Use the Ring app to set it up by selecting "Set Up a Device" and connecting to your Wi-Fi.
Is There a Way to Install Ring Doorbell Without Drilling?
Yes, you can install a Ring Doorbell without drilling!
Use a strong mounting adhesive or an adhesive doorbell mount that sticks to your door frame.
Some Ring models come with rechargeable batteries, so you won't need hardwiring.
If you want to angle the doorbell, a Wedge Kit works perfectly without any drilling.
Just make sure your adhesive method can hold the weight and withstand outdoor conditions for the best results.
Conclusion
You're all set to enjoy your new Ring Doorbell without any wires holding you back!
By following these steps, you've made installation a breeze.
Now, you'll always know who's at your door with just a glance at your phone.
If any hiccups arise, don't hesitate to seek help—you're not in this alone.
Remember, a little patience goes a long way, and soon you'll be reaping the benefits of your smart home upgrade!