To install your Ring Doorbell 2 with existing doorbell wiring, start by verifying your home's electrical system is safe. Confirm compatibility with a transformer rated between 8-24 VAC. Use the Ring app on your smartphone for guidance. Mount the doorbell at about 1.2 meters high, following the template for screw holes. Securely connect the wiring, then install the doorbell with short security screws. After restoring power, check for indicator lights to verify it's functioning. Finally, use the app to connect to Wi-Fi and customize settings. Stick around, and you'll discover more tips for maximizing your new doorbell's features.
Key Takeaways
- Ensure compatibility of existing doorbell wiring and use a transformer rated 8-24 VAC for connection to Ring Doorbell 2.
- Mount the doorbell at a height of approximately 1.2 meters for optimal functionality.
- Use the Ring app to set up and connect the doorbell to your home Wi-Fi after installation.
- Securely attach the Ring Doorbell using provided screws and check for indicator lights to ensure proper functioning.
Installation Overview
To kick off the installation of your Ring Doorbell 2, you'll need to gather the necessary tools and guarantee compliance with local electrical codes for a safe setup.
It's also essential to take into account the importance of a clean and organized workspace, similar to how you'd prepare for a home cleaning service to make sure everything runs smoothly.
Start by checking your existing doorbell wiring to confirm it's compatible with the device. You'll want to use a power transformer rated between 8 to 24 VAC, 50/60Hz, and 5VA to 40VA to avoid damaging your Ring Doorbell.
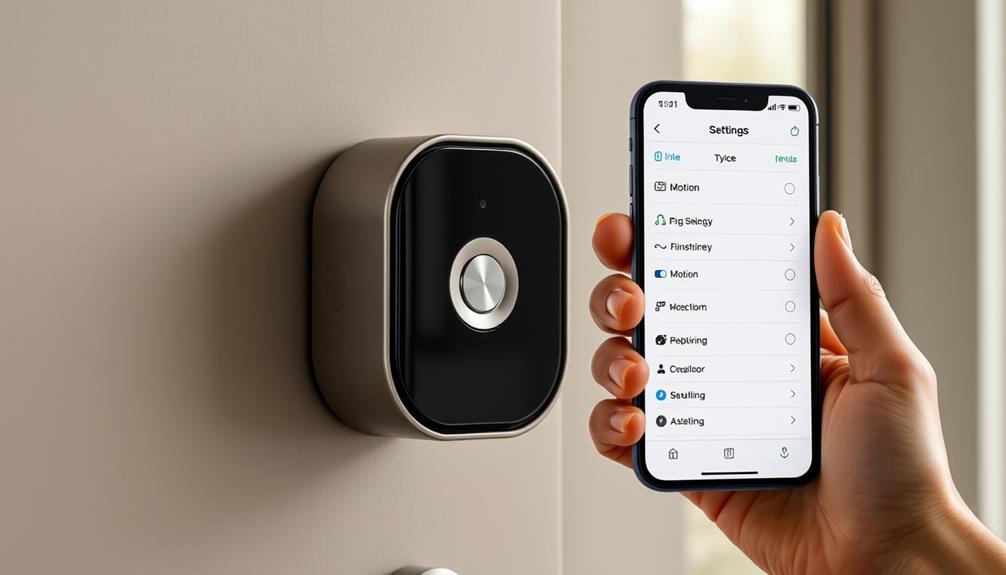
Before you begin mounting, it's helpful to install the Ring app on your smartphone. This allows you to set up the device's settings and connect wires efficiently.
Once you're ready to secure your Ring, use the installation hardware that comes with the doorbell. Make sure to use the provided mounting screws to guarantee a tight fit.
For peak performance, position your Ring Doorbell at an installation height of approximately 1.2 meters above the ground. This height allows for the best viewing angles and detection, ensuring your device functions effectively.
Following these steps will set you up for a successful installation and a well-functioning doorbell that enhances your home's security.
Power Connection

Connecting the power to your Ring Doorbell 2 is straightforward, whether you're using existing doorbell wiring or opting for a direct transformer connection.
It's important to guarantee that your home's electrical setup is safe and efficient, as neglecting aspects like HVAC maintenance can lead to higher energy bills and potential electrical issues.
If you choose to use existing doorbell wiring, make sure your transformer is rated between 8 to 24 VAC, 50/60Hz, and between 5VA to 40VA for compatibility. This guarantees a proper power connection for your doorbell.
Before installation, charge the built-in battery using the provided orange USB cable until one LED lights up, indicating that it's fully charged.
When connecting wires, the order doesn't matter, giving you flexibility as you install.
If you're going straight to a transformer without using an existing doorbell system, remember to add a 25 ohm, 50 W wirewound resistor to protect your device from damage.
Avoid using DC transformers or halogen lighting systems, as they aren't compatible with the power requirements of the Ring Doorbell 2.
Mounting Process

Mounting your Ring Doorbell 2 at the ideal height of about 1.2 meters (4 feet) guarantees maximum viewing and functionality.
Start by using the mounting bracket as a template to mark the screw holes on your wall. This guarantees accurate placement for installation. If you're working with stucco, brick, or concrete surfaces, make sure to install wall anchors to secure the mounting bracket properly.
It's important to verify that the area is free from any harmful plants or substances that could affect the installation, such as understanding toxicity to cats.
Next, drill holes where you marked the screws and insert the wall anchors as needed.
Once you've prepared the area, feed the wall wires through the hole in the mounting bracket. Position the bracket at the correct angle, then connect the wires to the Ring Doorbell.
To attach the doorbell, hook the top onto the bracket and pivot it down until it's secure.
Final Assembly

After securely attaching the Ring Doorbell to the mounting bracket, you'll need to fasten it in place with the included short security screws. These screws are vital for ensuring that your doorbell remains secure and stable. To do this, simply align the screws with the designated holes on the bottom of the device and tighten them using a screwdriver. Proper installation is important, just as maintaining other home fixtures is important to prevent issues like clogging remedies for toilets.
Once you've attached the Ring Doorbell, it's time to restore power at the consumer unit. This step is significant, as it allows the device to power on and become operational. After you've restored power, check for indicator lights on the Ring Doorbell. A solid light typically means it's receiving power and is functioning properly.
If the indicator lights are flashing or absent, double-check your connections, especially the existing doorbell wires. Make sure they're securely attached and that the mounting bracket is properly installed. Once everything looks good, you can feel confident that your installation is complete and your Ring Doorbell is ready for use, providing you with peace of mind and enhanced security for your home.
Post-Installation Setup

To get your Ring Doorbell 2 up and running, start by using the Ring app to connect it to your home Wi-Fi network for real-time monitoring and notifications. This setup is essential for enhancing user experience and guaranteeing seamless functionality, which can be further supported by effective content delivery.
Once connected, you can set up in-home chimes through the app, guaranteeing you receive alerts anytime someone rings the doorbell or motion is detected.
If you experience connectivity issues, adjust the video quality settings in the Ring app. Optimizing your router's placement or adding a Ring Chime Pro can help enhance performance. Regularly check the battery status in the app to guarantee your device remains charged and functional, especially if it's operating wirelessly.
You can also explore additional features within the Ring app, such as customizing motion zones to control the areas where the doorbell detects movement. This allows you to filter out unnecessary alerts.
Don't forget to review your event history; it helps you track who's been at your door and when. By utilizing these features, you can fully customize your Ring Doorbell 2's performance to fit your needs and enjoy peace of mind with real-time updates.
Frequently Asked Questions
Does the Ring Doorbell 2nd Gen Work With an Existing Chime?
Yes, the Ring Doorbell 2nd Gen works with most existing chimes.
You can connect it directly to mechanical chimes without needing any extra components.
If you're using a digital chime, just remember to install a diode to protect it from damage.
Make sure your transformer is rated between 8 to 24 VAC for the best performance, and check that your chime doesn't require a special transformer for compatibility.
Can I Connect a Ring Doorbell to an Existing Doorbell?
Imagine transforming your doorway into a high-tech welcome mat! Yes, you can connect a Ring Doorbell to your existing doorbell system.
Just make sure your current transformer's rated between 8 to 24 VAC and fits within the necessary power range.
You won't need to worry about the order of connections; either wire can dance with either screw.
If you're using a digital system, just remember those diodes for smooth functioning.
You're all set!
Does the Ring Doorbell Pro 2 Work With Existing Doorbell?
Yes, the Ring Doorbell Pro 2 works with existing doorbell systems.
You can connect it to your current wiring, and it'll function effectively as long as your transformer is rated between 8 to 24 VAC.
This setup guarantees you get continuous power, enabling features like two-way audio, HD video, and motion alerts.
Just make certain to follow the correct installation guidelines to enjoy seamless performance without relying solely on battery power.
How to Set up a Ring Doorbell That Has Already Been Installed?
Picture a sleek, glowing doorbell waiting to connect you to the outside world.
To set up your already installed Ring Doorbell, download the Ring app and create or log into your account. Once logged in, follow the in-app instructions to begin setting up your device. When prompted, select ‘Set up a Device,’ then choose ‘Doorbells’ to start configuring your specific model. If you’re installing Ring Doorbell 2, make sure your Wi-Fi connection is strong and that your device is properly powered to avoid any interruptions during setup.
Verify your doorbell's powered on and linked to your Wi-Fi.
In the app, tap "Set Up a Device."
Follow the prompts, scan the QR code if needed, and customize your settings for motion alerts and video recording.
You're ready to go!
Conclusion
Once you've followed these steps, your Ring Doorbell 2 should be up and running smoothly.
It's like having eyes on your front door, giving you peace of mind.
Remember to complete the post-installation setup to customize your settings and notifications.
With everything in place, you'll be all set to monitor your home, ensuring you never miss a visitor.
Enjoy the convenience and security that comes with your new doorbell!


