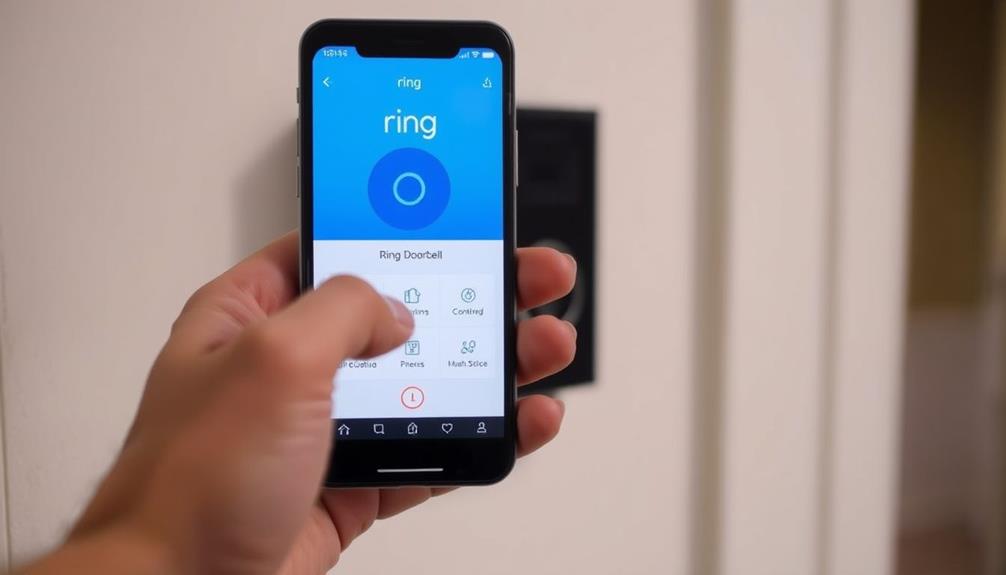
To remove the faceplate from your Ring Doorbell 2, start by grabbing a T6 torx-head screwdriver. Locate the security screw at the bottom and turn it counterclockwise to remove it. Next, use your thumbs to push the faceplate up while supporting it with your index and middle fingers. Lift it away smoothly to avoid damaging any connections. Once you've accessed the battery, don't forget to check its charge status. When reattaching the faceplate, verify everything aligns properly, and replace the screw. If you encounter any issues, there are tips that could help you out.
Key Takeaways
- Use a T6 torx-head screwdriver to remove the security screw located at the bottom of the faceplate.
- Push the faceplate up with your thumbs while supporting the front with your fingers for easy removal.
- Gently lift the faceplate away to avoid damaging any connections during the process.
- If the faceplate is stuck, use a flat, skinny tool to carefully pry it off.
Tools Required for Removal
To successfully remove the faceplate from your Ring Doorbell 2, you'll need a special star-shaped screwdriver or a T6 torx-head screwdriver if the original is missing.
This screwdriver is crucial for unscrewing the security screws that hold the faceplate in place. If you can't find the original screwdriver, don't worry; the T6 torx-head is a suitable alternative that should work just fine.
Keeping in mind the importance of proper tools, just as using the right equipment enhances activities like water sports, having the correct screwdriver will make your task much easier.
Additionally, it's a smart idea to have a clean cloth handy. This cloth will help you protect the surface of your doorbell from scratches as you work.
When you're ready to start the removal process, make sure you're in a well-lit area to avoid any mishaps. If the faceplate seems stuck, a flat, skinny tool, like a butter knife, can assist in gently prying it off without causing damage.
Lastly, consider ordering spare security screws online or through customer service. Having replacements available guarantees you won't be left with a faceplate that can't be secured properly if any screws are lost or damaged during removal.
Step-by-Step Faceplate Removal

Having gathered the necessary tools, you're ready to start removing the faceplate from your Ring Doorbell 2. First, locate the security screw at the bottom of the faceplate. Using the included security screwdriver, turn the screw counterclockwise until it's completely removed.
For a smooth and effective cleaning routine, consider how essential items for a home cleaning kit can enhance your overall home maintenance.
Once the security screw is out, use your thumbs to push the faceplate up from the bottom while supporting the front with your index and middle fingers. This technique helps maintain control and guarantees you don't damage any connections inside. Carefully lift the faceplate away from the device, keeping a fluid motion.
When you're ready to replace the faceplate, align the plastic hook at the top with the corresponding hole. Hold the faceplate at a 45-degree angle, then snap the bottom back into place. This guarantees a secure fit and prevents any gaps.
Accessing and Charging the Battery

Accessing the battery on your Ring Doorbell 2 is a straightforward process that begins after you've removed the faceplate.
Once the faceplate is off, look for the battery located in the device. To access it, press down on the black tab at the top of the battery and gently slide it out.
It's important to keep in mind that similar to maintaining an air purifier's efficiency, ensuring your battery is charged is essential for the ideal performance and functionality of your doorbell. You can check the battery life through the Ring app, which will help you keep track of when it needs charging.
After charging the battery, slide it back into the compartment until you hear a click, indicating it's secure.
This simple process allows you to maintain the efficiency of your Ring Doorbell 2, ensuring it's always ready to monitor your home.
Remember, regular checks and timely charging will prevent any interruptions in operation, keeping your doorbell functioning smoothly.
Securing the Faceplate Properly

Securing your Ring Doorbell 2's faceplate properly guarantees it stays in place and functions effectively. Start by aligning the plastic hook at the top of the faceplate with the corresponding hole in the device. Once you've pushed the faceplate down, you'll need to replace the security screw at the bottom. Use the included star-shaped screwdriver and turn it clockwise until it's fully tightened.
To confirm peak performance, check the tightness of the faceplate after securing it. If you find the security screw is lost or damaged, you can easily replace the security screw by ordering from customer service or online. Keeping spare screws handy is a smart move for maintaining your doorbell's security and functionality.
Here's a quick reference table for securing your faceplate:
| Step | Action |
|---|---|
| Align the hook | Confirm it fits into the hole |
| Push down the faceplate | Secure it in place |
| Replace the security screw | Tighten with the screwdriver |
Troubleshooting Common Issues

Even with the faceplate secured, you might encounter issues when trying to remove it from your Ring Doorbell 2. Here are some common troubleshooting issues you might face and how to resolve them: If you experience any plumbing-related difficulties, it's crucial to address them promptly to avoid further complications, as clogging remedies can often be applied to various household issues.
- Stuck Security Screw: Make sure you're turning the security screw counterclockwise. Using a T6 Torx screwdriver, verify it's fully loosened before trying to push the faceplate up.
- Faceplate Won't Budge: If the faceplate doesn't come off easily, try using a flat, skinny tool to gently pry it away. Just be careful not to damage the doorbell.
- Poor Grip on the Screw: If you're struggling to get a good grip on the security screw, consider placing a rubber band between the screwdriver and the screw. Alternatively, you can use needle-nosed pliers for extra leverage.
Frequently Asked Questions
How to Remove Ring Doorbell 2 Faceplate?
To remove the faceplate from your Ring Doorbell 2, start by finding the security screw at the bottom and unscrew it using the provided screwdriver. Once the screw is fully loosened, gently pull the faceplate away from the doorbell’s body. Be cautious not to apply too much force as the faceplate should detach easily. If you are removing Ring Doorbell Pro faceplate, the process is similar—locate the security screws, unscrew them, and carefully lift off the faceplate. After removing the faceplate from your Ring Doorbell 2, you’ll then have access to the battery compartment or other internal components for maintenance or replacement. Be sure to store the security screw in a safe place to avoid misplacing it. Whether you’re **removing faceplate from ring doorbell** models like the Ring Doorbell 2 or the Ring Doorbell Pro, always handle the components with care to avoid any potential damage.
Once that's done, leverage the faceplate by pushing it up with your thumbs while supporting it with your fingers.
Carefully lift it away from the doorbell.
Make sure you handle it gently to avoid any damage during the process.
How Do I Get the Mounting Plate off of My Ring Doorbell?
Imagine opening a treasure chest, revealing its valuable contents.
To get the mounting plate off your Ring Doorbell, start by locating the security screw at the bottom.
Use the special screwdriver to remove it, like finding the key to your chest.
Then, gently push the plate upwards with your thumbs while stabilizing it with your fingers.
Lift it away smoothly, ensuring you don't scratch your doorbell.
You're now ready for the next step!
How to Remove Ring Doorbell 2 From Mounting Bracket?
To remove your Ring Doorbell 2 from its mounting bracket, start by locating the security screw at the bottom.
Using the included star-shaped screwdriver, unscrew it.
Once that's done, use your thumbs to push the doorbell upward while supporting the front with your fingers.
Make sure you're holding it securely to avoid any drops.
After detaching it, you can access the faceplate and battery compartment as needed.
How to Unscrew Ring Doorbell Without Tool?
Did you know that nearly 30% of homeowners struggle with basic DIY tasks?
If you need to unscrew your Ring Doorbell without tools, you can get creative!
Try using a rubber band for better grip on the screw.
If that doesn't work, grab some needle-nosed pliers to help twist it out.
For stubborn screws, a little penetrating oil can make a big difference.
Just remember to be gentle to avoid damaging anything!
Conclusion
To sum up, removing the faceplate from your Ring Doorbell 2 isn't as intimidating as it seems.
With the right tools and a bit of patience, you'll have it off in no time.
Remember, "A stitch in time saves nine"—taking care of your doorbell now can prevent bigger issues later.
So, follow the steps, charge your battery, and keep your home security in top shape.
Happy doorbell maintenance!


