
To fix your Ring Doorbell 4 to the wall, start by charging the battery completely. Use a level tool to mark mounting holes at 48 inches high for ideal visibility. If you're mounting on brick or concrete, drill holes and insert anchors; for wood or vinyl, simply use screws without anchors. Secure the doorbell tightly using all four screws. Next, if you're wiring it, verify the power's off, connect the wires, and secure them with wire nuts. Finally, attach the faceplate. Follow these steps to verify your doorbell functions seamlessly, and there's more to uncover along the way.
Key Takeaways
- Charge the battery fully and set up the Ring Doorbell 4 in the app before installation.
- Mark mounting holes at 48 inches high, ensuring the device is level before drilling.
- Use a 6mm masonry drill bit for brick/concrete; skip anchors for wood/vinyl siding.
- Connect the existing doorbell wires, securing with wire nuts, and restore power to check functionality.
Installation Preparation Steps
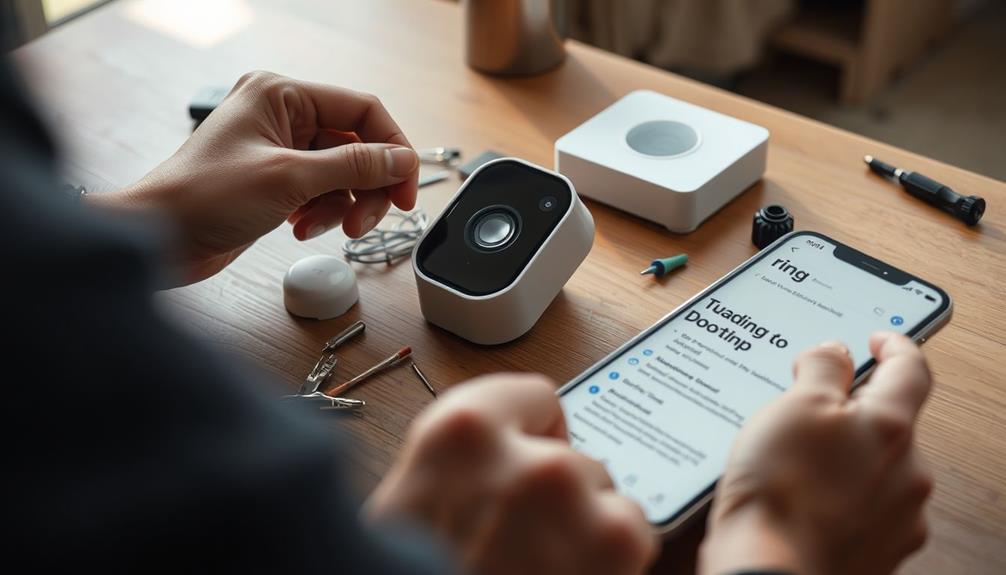
Before you start the installation of your Ring Doorbell 4, make sure to complete these essential preparation steps.
First, charge the provided battery using the orange USB cable until the indicator shows a solid green light. This confirms it's fully charged and ready for use.
Next, set up your Ring Doorbell 4 in the Ring app to guarantee it functions properly before you proceed with the physical installation. Understanding the key factors in choosing a home cleaning service can also be beneficial, as a well-maintained home can enhance the overall functionality and aesthetics of your space.
Gather the tools needed for installation, including a 6mm masonry drill bit and a PH2 Phillips screwdriver. These tools will make the mounting process smoother.
Mark the positions for the mounting holes with a pencil at a height of 48 inches from the ground for peak visibility. It's vital to use a level tool to make sure your doorbell will be straight once it's secured to the wall.
With everything ready, you're set to move on to the actual mounting of your Ring Doorbell 4. By following these preparation steps, you'll guarantee a successful installation and enjoy the benefits of your new doorbell.
Mounting the Doorbell

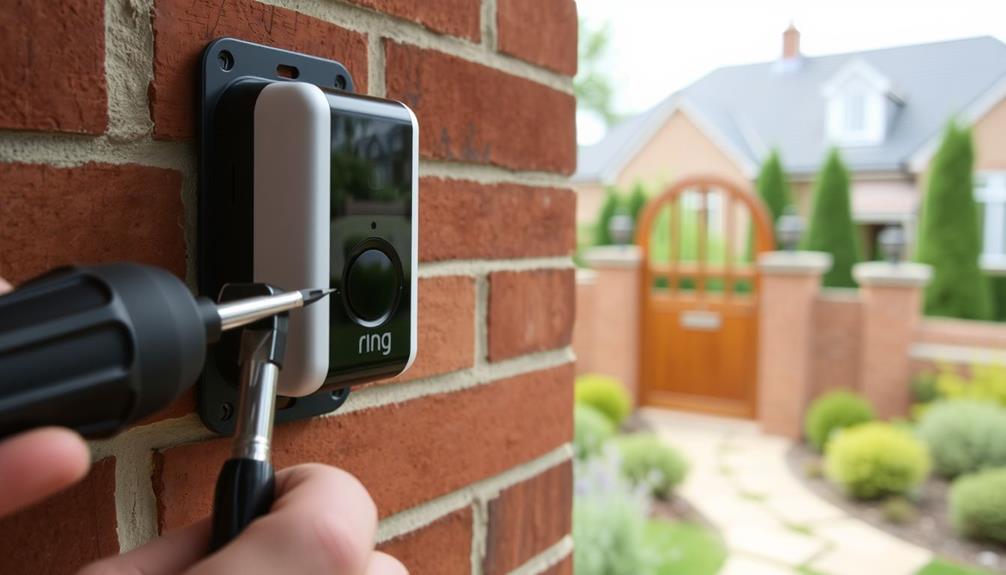
Now, it's time to securely mount your Ring Doorbell 4 at the marked positions for ideal performance. Start by guaranteeing the device is positioned at a height of about 48 inches from the ground. Use a level tool to confirm it's straight before marking the mounting holes with a pencil.
Depending on your wall type, follow these steps:
| Wall Type | Action | Notes |
|---|---|---|
| Brick/Concrete | Drill holes and insert plastic anchors | Provides secure mounting |
| Wood/Vinyl Siding | Skip drilling and use screws directly | No anchors needed |
| All Types | Align the Ring Doorbell 4 with the holes | Guarantee it's straight |
Once you've chosen the appropriate method, align the Ring Doorbell 4 over the drilled holes or directly onto the surface. Secure it tightly to the wall using all four included screws. This will guarantee that your doorbell stays firmly in place and functions correctly. After completing these steps, you're one step closer to enjoying the benefits of your new Ring Doorbell 4!
Wiring Connections

With your Ring Doorbell 4 securely mounted, it's time to focus on making the wiring connections for proper functionality.
First, verify you've followed safety precautions by shutting off power to the existing doorbell circuit at the breaker. This step is essential for your safety while working on the wiring. Additionally, it's important to have the right tools and materials on hand, as proper preparation can make installation smoother and more efficient. For those considering other home improvement projects, best airless paint sprayer options can help achieve professional results.
Next, if your existing wall wires aren't long enough, use wire extensions to reach the screws on your Ring Video Doorbell 4. You can connect either wire from the wall to either screw, giving you flexibility in your installation. Once you've made the connections, use wire nuts to secure them tightly, guaranteeing a solid fit.
Before securing the device to the wall, double-check that all wires and wire nuts are safely fed back into the wall to prevent any obstruction.
After you've finished, restore power to check for a solid white light on the device. This light indicates that the wiring connections are correct and that your Ring Video Doorbell 4 is receiving power properly. You're now one step closer to enjoying your new doorbell.
Final Assembly Instructions

Achieving a secure and polished installation of your Ring Doorbell 4 requires careful alignment and fastening. Start by positioning the device over the drilled mounting holes at a height of 48 inches from the ground. This is important to guarantee the best visibility and functionality of your doorbell, similar to the benefits of diversifying your investment portfolio. Remove any level tool for accuracy, then verify the doorbell is aligned properly.
Next, feed any exposed wires into the wall to keep your installation clean. Secure the Ring Doorbell 4 to the wall using all four included screws. It's vital to fasten it firmly to prevent any movement that could affect functionality.
Once the device is securely in place, take the provided faceplate and slot it in at the top. Press down until it clicks into place, assuring a snug fit. This step is essential for both aesthetics and security.
Frequently Asked Questions
How Do You Mount a Ring Doorbell 4 to the Wall?
To mount your Ring Doorbell 4, start by positioning it about 48 inches off the ground.
Use a level to mark where you'll drill holes.
If you're mounting on tough surfaces like brick, insert plastic anchors.
Secure the doorbell with included screws, using all four for stability.
If it's wood or vinyl, skip the anchors and just screw it in.
How Do You Fix a Ring Doorbell to the Wall?
Fixing a Ring Doorbell to the wall is like hanging a picture—precision matters.
Start by ensuring your device's charged and set up in the app.
Mark where you'll drill, keeping the height at 48 inches.
Use the right anchors for your wall type, then drill and align your doorbell with the holes.
Secure it with screws, and finish by attaching the faceplate.
Just step back and admire your handiwork!
How Does Ring Doorbell Stick to Wall?
The Ring Doorbell sticks to the wall using four screws that secure it to a mounting bracket.
If you're installing it on brick, concrete, or stucco, you'll need to use plastic anchors in drilled holes for support.
For wood or vinyl siding, you can attach it directly with screws.
Make certain to install it at about 48 inches off the ground for the best performance and accessibility.
Using a level tool helps guarantee it's straight.
How to Install Ring Doorbell 4 Without Screws?
To install your Ring Doorbell 4 without screws, use strong, outdoor-rated adhesive mounting tape.
First, clean and dry the surface where you'll attach the doorbell to guarantee a solid bond.
Position it about 48 inches from the ground and make sure it's level.
After applying the tape, wait around 24 hours for the adhesive to cure before attaching the doorbell.
Regularly check the bond to verify it remains secure over time.
Conclusion
Installing your Ring Doorbell 4 not only enhances your home security but also adds convenience to your daily life.
Did you know that homes with video doorbells experience a 55% decrease in package theft?
By following the steps outlined in this guide, you can guarantee your doorbell is securely mounted and fully operational.
So go ahead, take these steps, and enjoy peace of mind knowing you've got a vigilant eye on your doorstep!