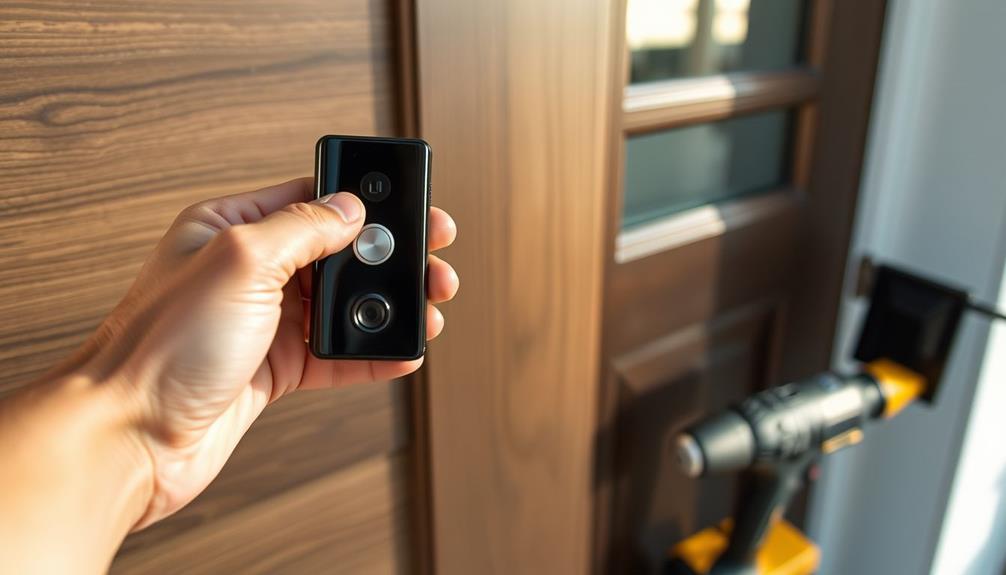

To disconnect your Ring Doorbell, start by ensuring the power is off for safety. Use the security screwdriver included with the device to remove the faceplate. Unscrew the security screw at the bottom, lift off the faceplate, and then unscrew the doorbell from the mounting bracket. For wired models, carefully disconnect the wires, noting their connections. Store all screws and components safely. Finally, seal any holes left on the wall to prevent moisture seepage. If you want more detailed steps and tips, there's plenty more to discover about managing your device effectively.
Key Takeaways
- Remove the faceplate using the included security screwdriver to access the doorbell's mounting screws.
- Unscrew the doorbell from the mounting bracket for battery-operated models or disconnect wires for wired models.
- Store all screws and components safely during the disconnection process to avoid losing parts.
- Seal any holes left from mounting screws with silicone or filler to prevent moisture and pest entry.
Overview of Ring Doorbell Removal
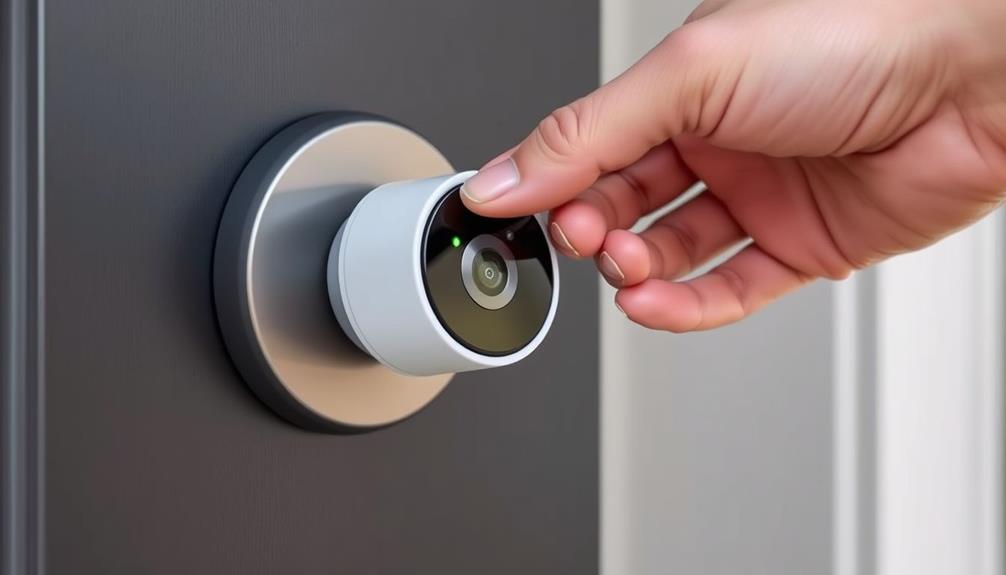
How do you easily remove a Ring Doorbell when you need to charge it, relocate it, or upgrade to a new model? To easily remove a Ring Doorbell, you’ll typically need the special screwdriver that came with your device, which is designed to loosen the security screws at the bottom of the unit. Once the screws are removed, gently slide the doorbell upward to detach it from the mounting bracket. By carefully detaching your Ring Doorbell this way, you can ensure the process is quick and doesn’t damage the device or its components, whether you’re charging it, relocating it, or upgrading to a newer model.
It's designed for straightforward removal. First, you'll need the included security screw tool to take off the faceplate. This step is essential, as it gives you access to the device settings and makes the process smoother.
Additionally, ensuring that your home is equipped with the right safety features can enhance your overall security while handling such devices.
If you're working with a wired model, you'll have to take a few extra steps. After you've removed the faceplate, unscrew the doorbell from its frame and carefully disconnect the wires.
Steps to Disconnect Doorbell
To disconnect your Ring Doorbell, begin by removing the faceplate with the included security screw tool. It's important to guarantee that you have the right tools on hand to avoid damaging the device.
Unscrew the security screw located at the bottom, and carefully lift the faceplate off. Once you've removed the faceplate, use a standard screwdriver to unscrew the doorbell from the mounting bracket.
If you have a wired model, you'll need to carefully disconnect the wires from the back of the doorbell. Make sure to remember which wire connects where to simplify reinstallation later if needed.
For battery-operated models, simply remove the battery after detaching the doorbell from the bracket.
After you've fully disconnected the doorbell, it's important to seal any holes left by the mounting screws. Use silicone or filler to prevent pests and leaks from entering your home.
This step guarantees your home remains secure and insulated, even after removing the doorbell. Keep in mind that maintaining a clean and secure environment is vital, and you might want to take into account hiring a cleaning service for regular upkeep range of services offered.
Charging the Ring Doorbell

Charging your Ring Doorbell is a straightforward process that guarantees it stays powered up and ready to go.
Regular maintenance of your devices, similar to how you'd for air purifiers, can help prevent issues.
You'll need a few tools to get started, and it's helpful to know some troubleshooting tips if you run into any issues.
Let's go through the charging procedure so you can keep your doorbell functioning smoothly.
Charging Procedure Overview
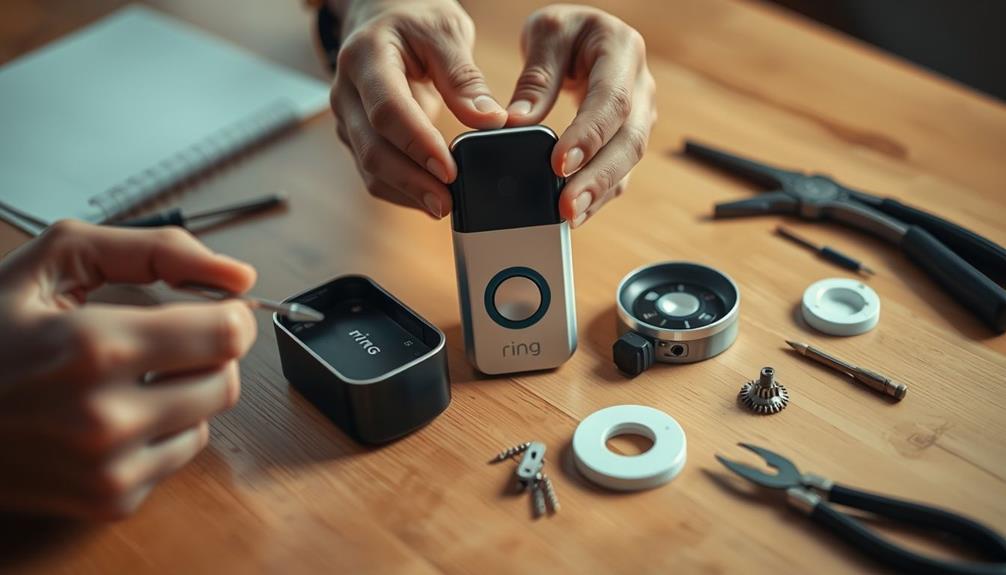
Removing the faceplate is the first step in charging your Ring Doorbell. To do this, grab the included security screw tool and unscrew the bottom security screw. Once you've done that, gently pull the faceplate down to expose the battery.
An effective home security system, such as the Ring Doorbell, can greatly enhance your safety and deter potential intruders, as noted in the effectiveness of home security systems.
Next, press the lever to release the battery from the device. You'll then be ready to charge the battery. For charging, simply use a standard USB charger. It typically takes about 5-10 hours for a full charge, so plan accordingly.
After the battery is fully charged, reinsert it back into the Ring Doorbell. Make sure it clicks into place securely. Finally, don't forget to reattach the faceplate by sliding it back on and securing it with the security screw again.
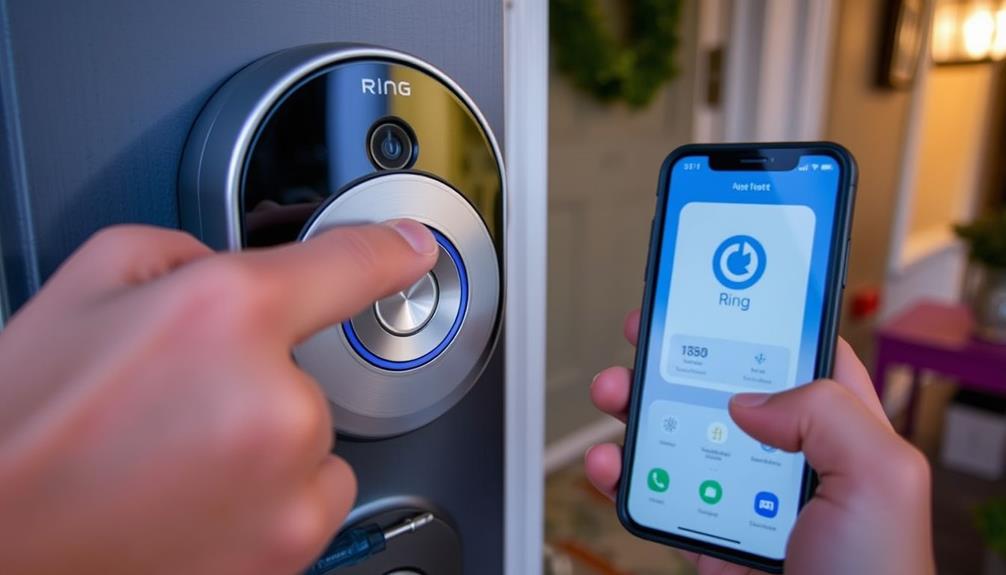
To keep your device operational, regularly check the battery level in the Ring app. This way, you'll guarantee that your Ring Doorbell stays charged and ready to protect your home. Following this charging procedure will help you maintain your device effectively.
Tools Needed for Charging
You'll need a few specific tools to charge your Ring Doorbell effectively. The most important tool is the security screwdriver that comes included in the package. This special screwdriver is designed to remove the faceplate, which is secured by a screw located at the bottom.
If you've misplaced this screwdriver, don't worry—you can use a small flathead or a T15 Torx screwdriver as alternatives to manipulate the screw. Additionally, make certain you have a clean and organized workspace to avoid losing any small parts during the process, similar to how proper projector maintenance can enhance your home theater experience.
Before you start, make certain the doorbell isn't connected to any hardwired power source. Once you've removed the faceplate using your security screwdriver, press the lever to release the battery for charging. This step is vital to guarantee you're safely handling the charging battery.
After the battery has charged, reinsert it back into the doorbell. Verify it's secure within the compartment, then attach the faceplate back, using the security screw to lock it in place.
Troubleshooting Charging Issues
If your Ring Doorbell isn't charging as expected, there are several common issues you can troubleshoot to get it back up and running. Start by checking the battery level in the Ring app; if it shows low, it's time to charge. Verify you've properly removed and reinserted the battery after charging, as a loose connection can cause charging issues.
Here's a quick reference table to help you identify potential problems:
| Issue | Solution |
|---|---|
| Battery isn't charging | Verify the charger is connected securely. |
| Low battery alerts in the app | Charge the battery for 5-10 hours. |
| Faceplate not aligned properly | Reattach the faceplate ensuring it's secure. |
If you've lost the special screwdriver, a small flathead or T15 Torx screwdriver can work. Remember, once fully charged, check the battery level again in the Ring app to confirm it's been restored. Following these steps should help resolve any charging issues and keep your Ring Doorbell functional.
Removing Without Special Tools
You can easily disconnect your Ring doorbell without special tools by using a small flathead or T15 Torx screwdriver to manipulate the security screw at the bottom of the faceplate. This process guarantees that you maintain the integrity of the device, much like the importance of transparency in AI algorithms for public trust.
Here's how to do it:
- Loosen the Security Screw: Carefully insert your screwdriver into the slot of the security screw. Turn it counterclockwise to loosen it, ensuring you don't strip the screw.
- Remove the Faceplate: Once the screw is loosened, gently pull the bottom portion of the faceplate down. This will release it from the doorbell unit.
- Access the Battery: After removing the faceplate, press the lever to release the battery for charging or any further removal steps.
Always exercise caution when using alternative tools, as they can damage the screw or the doorbell housing if mishandled.
Permanently Disconnecting the Device

To permanently disconnect your Ring Doorbell, start by removing the faceplate with the provided security screwdriver. Unscrew the security screw at the bottom and take off the faceplate. Next, unscrew the doorbell from its mounting bracket. If you have a wired model, be certain to disconnect the wires for complete disconnection.
After you've removed the device, it is crucial to seal any holes left in the wall with silicone or filler. This step prevents pests and water leaks from entering your home. Don't forget to verify all personal data is removed from the device. Follow the deactivation process in the Ring app to finalize the disconnection.
Here's a quick reference table to help you through the steps:
| Step | Action |
|---|---|
| 1. Remove Faceplate | Use the security screwdriver |
| 2. Unscrew Doorbell | Detach from the mounting bracket |
| 3. Disconnect Wires | Only for wired models |
| 4. Seal Wall Holes | Use silicone or filler |
Ownership Transfer Process
Transferring ownership of a Ring Doorbell involves a few important steps to guarantee a smooth changeover for both the previous and new owners.
It's crucial to verify that the device is properly deactivated to avoid any future complications in usage. Here's a quick guide to help you through the ownership transfer process:
- Deactivate the Device: The previous owner needs to deactivate the device through the Ring app. This step is permanent, so make sure you download any important videos from the Event History beforehand. You can also discover <a target="_blank" href="https://amazinglifetogether.com">heartfelt father-daughter quotes</a> that might inspire you during this change.
- Create Your Ring Account: If you're the new owner and don't have a Ring account yet, you'll need to create one. This step is vital for setting up the device after the transfer.
- Privacy and Data Removal: The previous owner should remove any personal data from the device to guarantee privacy and security for both parties. This includes unlinking any accounts or settings tied to their personal information.
Frequently Asked Questions
How Do I Disconnect My Ring Doorbell From Previous Owner?
To disconnect your Ring Doorbell from the previous owner, you'll first need to install the Ring app and create your own account.
If the previous owner is available, ask them to deactivate the device through the app by selecting "General Settings" and then "Remove Device."
If they can't help, reach out to Ring customer support for guidance.
Once deactivated, you can set it up and connect it to your Wi-Fi.
How to Detach a Ring Doorbell?
You've got a sleek device that keeps your home secure, but now it's time to detach it.
First, grab the special security screwdriver and remove the screw at the bottom of the faceplate.
Pull down gently to access the battery or wiring.
For a battery model, press the lever to release it.
For wired models, unscrew and disconnect the wires.
Don't forget to seal any holes afterward to keep unwanted guests out!
Can You Unplug a Ring Doorbell?
Yes, you can unplug a wired Ring Doorbell.
First, you've gotta turn off the circuit breaker that supplies power to it. This guarantees your safety while you work.
Once the power's off, you can unscrew the doorbell from its mounting bracket and disconnect the wires.
If it's a battery-operated model, you won't need to unplug anything; just remove the faceplate to access the battery for replacement.
Always follow safety guidelines!
Is There a Way to Turn off Ring Doorbell?
Imagine your Ring Doorbell is a hyperactive puppy, barking at every passerby! You can easily calm it down.
Just open the Ring app and hit the "Disarm" feature to stop those incessant notifications and recordings. If you want a complete shutdown, physically disconnect it by removing it from its mount or taking out the battery.
Adjusting motion settings can also help you regain your peace without fully silencing your doorbell buddy.
Conclusion
Disconnecting your Ring Doorbell can seem intimidating, but it's a straightforward process.
Even if you're worried about damaging the device, you don't need special tools—just follow the steps outlined above.
Remember, taking your doorbell down doesn't mean you're losing out on security; you can easily set it up again later or transfer ownership if needed.
So don't hesitate—disconnecting your Ring Doorbell is simple and can help you manage your home's security on your terms.