To fix your Ring Doorbell to the wall, start by gathering tools like a screwdriver, level, and wall anchors. First, mark screw holes using the mounting bracket, then drill as needed. Secure the bracket with screws and connect the doorbell wires. Position the Ring doorbell above the bracket and press down until it clicks. Verify power is off during electrical connections, then restore power to check functionality. Finally, configure your Ring app for alerts and live view. Need further tips on optimizing your installation? There's more to explore that could enhance your setup! If you’re having trouble with any step of the installation process, consider referring to the manufacturer’s instructions or online tutorials for additional guidance. Mounting ring doorbell 4 is similar to the previous models, but be sure to double-check the specific instructions for the new features and improvements. Taking the time to properly install and configure your Ring Doorbell will ensure that you get the most out of its security and convenience features.
Key Takeaways
- Ensure the mounting bracket is positioned at approximately 1.2 meters (4 feet) above the ground for optimal camera angle.
- Use a level tool to confirm the bracket is horizontal before securing it with screws.
- Connect existing doorbell wires to the mounting bracket, ensuring no contact between wires for safety.
- Align the Ring Doorbell above the mounted bracket and press down until a click is heard.

Kershaw Select Fire (1920); Multifunction Pocketknife with 3.4-Inch 8Cr13MoV Stainless Steel Blade, Black Glass-Filled Nylon Handle, 1/4-Inch Hex Drive, 2 Flathead Bits and 2 Crosshead Bits; 5 oz.
SELECT FIRE POCKET KNIFE: A blade-focused multi-tool, the Kershaw Select Fire Pocket Knife is a task-ready tactical knife...
As an affiliate, we earn on qualifying purchases.
Installation Overview
Before you begin, make sure you have a qualified electrician to help with the installation of your Ring Doorbell, as this will guarantee compliance with local laws and electrical codes.
Additionally, it's wise to confirm your home is clean and organized, as a tidy environment can make the installation process smoother and more efficient, especially if you need to access areas for wiring Key Factors in Choosing a Home Cleaning Service.
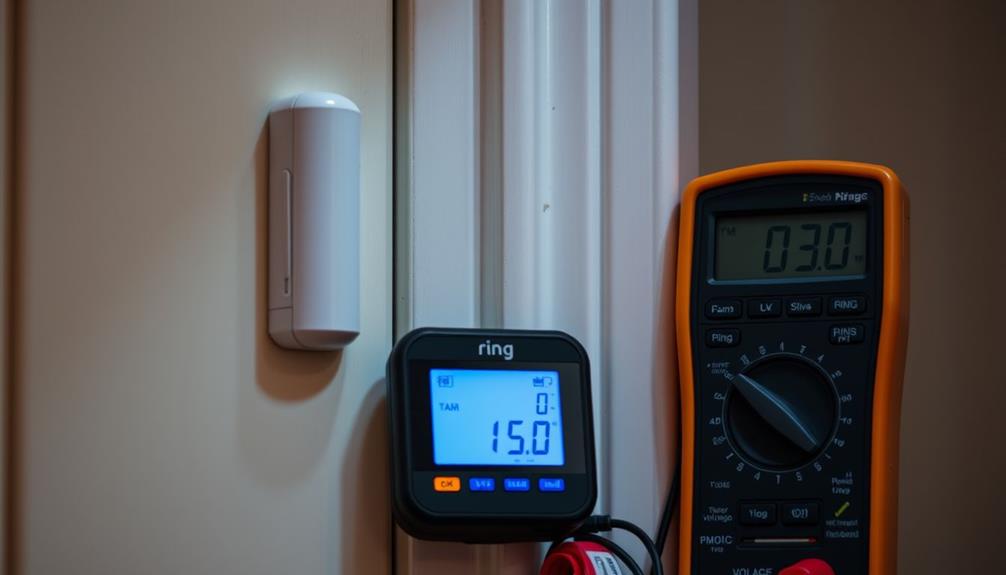
Start by verifying you have compatible power for the device, ideally using a transformer that operates between 8 to 24 VAC, 50/60Hz, and 5VA to 40VA. This step is essential to avoid potential damage or electric shock during installation.
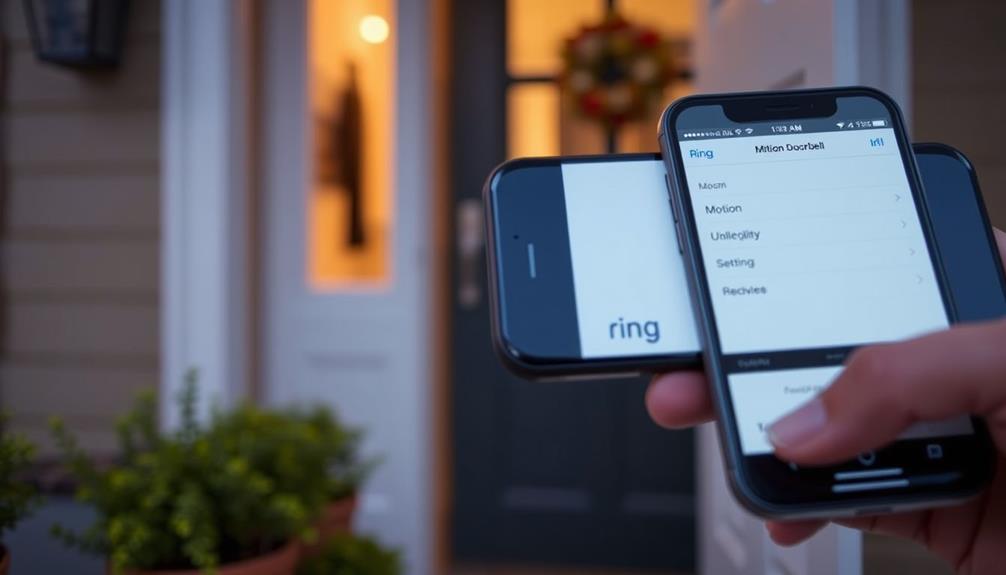
Next, download the Ring app to set up your device before any physical mounting.
The ideal height for mounting your Ring Doorbell is approximately 1.2 meters (4 feet) above the ground. If your existing doorbell wiring is positioned higher, consider using a Wedge Kit to achieve the correct angle.
Once you're ready, use the mounting bracket as a template to mark screw holes.
Secure the mounting bracket with screws from Bag A, and if you're working with stucco, brick, or concrete surfaces, don't forget to install wall anchors for added support.
Following these steps will help confirm a safe and efficient installation of your Ring Doorbell.

Gifts for Men Dad Him, Birthday Gifts for Man Husband Guy, Multitool Pocket Knife, Groomsmen Gift, Stocking Stuffers for Men, Christmas Fathers Day Mens Gift, Hunting Camping Knives for Outdoor
Christmas Gifts for Men: Our multitool knife offers men a helping hand in life, an ideal Christmas gift...
As an affiliate, we earn on qualifying purchases.
Required Tools

To successfully install your Ring Doorbell, gather the necessary tools, including a screwdriver, level, and pliers, to guarantee a smooth process. A well-organized workspace will help streamline your installation, much like creating a serene atmosphere in a Modern Farmhouse Bedroom.
Start with a screwdriver, which is vital for securing the mounting bracket and doorbell to the wall. If you're installing on a brick or stucco surface, a masonry drill bit might be required, and it's often included with certain Ring models.
Next, use a level tool to verify the mounting bracket is aligned correctly before you secure it. This step is essential for a properly functioning doorbell.
You'll also need pliers to handle and secure the existing doorbell wires to your new device. If you're replacing an old doorbell, having a box cutter or flathead screwdriver on hand can help you remove it easily.
Lastly, don't forget the wall anchors, which are important for a sturdy installation, especially if you're mounting to drywall or a similar material.
With these tools in your arsenal, you're set for a successful Ring Doorbell installation.

Bovgero Multitool Knife, 16 in 1 Pocket Knife, Handmade Multi Tool Knife, Birthday Christmas Gift for Men Women Him Her Boyfriend Girlfriend Dad Husband, Black
【Bovgero Multi Tool Knife】Premium and light multi tool knife is a good friend when we enjoy in traveling,...
As an affiliate, we earn on qualifying purchases.
Preparing the Doorbell

Start by verifying your Ring doorbell is fully charged if it's battery-operated, or check that the existing wiring is compatible for hardwiring to your current doorbell system. This step is essential in preparing the doorbell for installation.
Additionally, consider the air quality in your installation area, as poor indoor air can affect the overall comfort of your home. Using an air purifier can help create a healthier environment during the installation process.
Gather your tools for installation, which should include a screwdriver, a level tool, and wall anchors if you're working with a sturdy surface like stucco, brick, or concrete.
Next, position the mounting bracket at an ideal height of approximately 1.2 meters (around 4 feet) above the ground to achieve the best camera angle. Using the mounting bracket as a template, mark screw hole locations on the wall. This will help you accurately drill holes for secure attachment.
If you need to use wall anchors, drill the holes accordingly to guarantee a stable installation. Once everything is in place, you can proceed to attach the doorbell securely to the wall.
Taking these steps in preparing the doorbell will make the installation process smoother and assure your device functions effectively.

Multitool Gifts for Father, Dad Gift Set with 14 in 1 Multi-tool Pliers, Pocket Knife & Tactical Pen | Premium EDC Survival Kit for Camping, Car Emergency | Unique Practical Gift for Father Dad Him
Premium 3-in-1 Gift Set: Includes a 14-in-1 Multi-Tool Pliers, Folding Knife and Tactical Pen, all crafted from high-quality...
As an affiliate, we earn on qualifying purchases.
Removing the Old Doorbell

Before you start removing the old doorbell, gather the necessary tools like a screwdriver and box cutter.
It's also important to follow safety precautions, especially when dealing with electrical wires, as ensuring a safe working environment is vital for maintaining content credibility in your DIY projects.
Tools Needed for Removal
Gather the essential tools you'll need for removing the old doorbell, including a screwdriver, box cutter, and a level for proper alignment of the new installation. A flathead screwdriver can also come in handy, especially if your old doorbell has screws that require it.
If you're working on a brick or stucco surface, a drill is likely necessary, along with a masonry drill bit that may come with certain Ring models. Additionally, having a variety of home improvement tools is beneficial for tackling unexpected challenges during installation.
Pliers will be useful for securely connecting wires during the new doorbell installation. Before you start, verify you have a clean workspace to avoid losing small screws or parts.
Check the compatibility of your tools with your specific doorbell model and the type of wall you're working on. Having the right tools needed will make the removal process smoother and prepare you for a successful installation.
Safety Precautions to Follow
To guarantee safety while removing the old doorbell, always turn off the power at the breaker box to prevent electric shock from exposed wiring.
Before you begin, gather your tools and make certain your work area is organized to minimize hazards during installation. It's also wise to confirm that any nearby plumbing systems are clear of clogs, as plumbing issues can lead to unexpected surprises during electrical work; consider checking for clogging remedies as part of your preparation.
Start by carefully detaching the faceplate of the old doorbell using a screwdriver or box cutter, taking care not to damage the wall beneath.
Once the faceplate is removed, you can unscrew the old doorbell from the wall. As you loosen screws, be cautious and make sure the wires are completely free to avoid any accidents.
After unscrewing, gently pull the old doorbell away from the wall to access the power wires. It's vital to handle these wires with care since they may still be connected to the power source.
Once you've safely detached everything, dispose of components properly to keep your work area organized and free from clutter.
Following these safety precautions will help guarantee a smooth and safe removal process.
Proper Disposal Methods
Once you've safely removed the old doorbell, it's important to dispose of it properly to guarantee safety and minimize environmental impact.
Start by ensuring the unit is completely powered off and disconnected from any electrical supply. This step prevents any hazards during the disposal process. Additionally, consider the importance of responsible disposal methods to prevent environmental harm, similar to the way you should stop the spread of aquatic nuisance species by properly cleaning equipment.
Next, carefully detach the old doorbell. Use a screwdriver or box cutter to remove the faceplate, taking care not to damage the existing wiring.
Once you've exposed the power wires, gently pull the unit from the wall, then loosen the screws to detach the wires completely.
Now that you've disassembled the doorbell, you need to dispose of it according to local regulations on electronic waste.
Many components can be recycled, so consider this option to reduce the environmental impact. Electronic devices often contain materials that can be repurposed, making recycling a responsible choice.
Mounting the New Doorbell

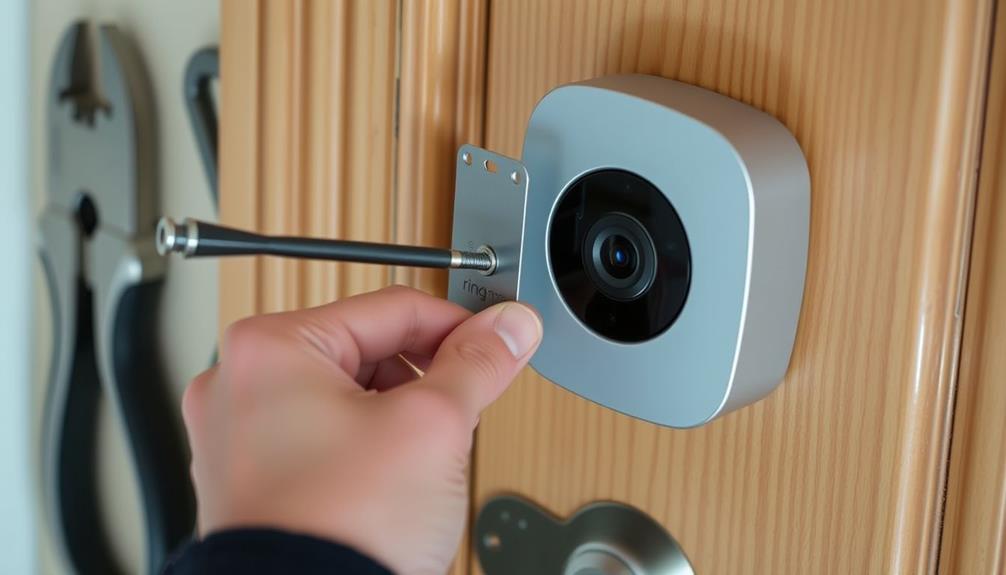
Position the mounting bracket over the old doorbell's location, guaranteeing it aligns with any existing screw holes for a seamless installation. Use a level tool to check that the mounting bracket is perfectly horizontal. If you find it's off, adjust accordingly and mark screw holes with a pencil for accurate drilling.
Next, drill holes where you've marked, and then secure the mounting bracket in place with screws. If the doorbell needs to be positioned higher than four feet, consider installing angled mounts to optimize the camera's view.
After this, connect the existing doorbell wires to the mounting bracket. Loosen the screws, wrap the wires securely, making sure they don't touch each other for safe operation.
Once everything is in place, align the Ring Doorbell above the mounted bracket and press down firmly until you hear a click, confirming that it's securely attached.
With the doorbell mounted, you can restore power back to the unit. Finally, remember to check the doorbell's functionality by testing it to verify everything is working as it should.
Connecting Power

With the Ring Doorbell securely mounted, it's time to connect the power to confirm your new doorbell functions properly.
First, make sure you turn off the power at the circuit breaker to avoid any electrical hazards during installation.
If you're using existing doorbell wiring, loosen the terminal screws on the Ring Doorbell, wrap the wires securely around the terminals, and then tighten the screws. This guarantees a solid connection for reliable power.
If you don't have an existing doorbell chime, use the included Jumper Cable. Connect one end to the Front terminal and the other to the Trans terminal on the Ring Doorbell to bypass the chime.
Once you've made all connections, restore power at the circuit breaker.
Check that your Ring Doorbell powers on by confirming the indicator lights are operational. If they light up, you've successfully connected the power! If not, double-check your wiring connections and the circuit breaker.
This step is essential for confirming your new doorbell functions correctly and is ready to provide you with peace of mind.
Testing Functionality

Once you've restored power to your Ring doorbell, it's time to test its functionality.
Start by checking the video quality and ensuring the chime works as expected.
This will help confirm that everything is set up correctly and ready for use.
Power Restoration Steps
After securing your Ring Doorbell to the wall, restore power at the breaker box to confirm it receives electricity. This step is vital for making sure your doorbell is operational.
Once you've restored power, wait for the doorbell to indicate it's on, typically through flashing lights or sounds.
To test its functionality effectively, follow these steps:
- Press the Button: Activate the doorbell by pressing its button. Observe if it activates notifications on your connected devices.
- Check Notifications: Confirm that your smartphone or other connected devices receive alerts. If they don't, there might be an issue with your settings or connections.
- Inspect Wire Connections: If a connected chime doesn't sound, double-check the wire connections. Make sure they're secure and correctly attached. If your chime still fails to activate, you might need to reverse the diode connections for digital chimes.
Testing Video Quality
To guarantee your Ring doorbell captures clear video, start by checking the strength of your Wi-Fi signal in the Ring app. A weak Wi-Fi signal can severely impact video quality and overall video performance.
If you notice issues, consider relocating your Wi-Fi router closer to the Ring doorbell or adding a Ring Chime Pro to boost connectivity.
Next, use the live view feature in the Ring app to assess the video clarity.
Position your Ring doorbell at approximately 1.2 meters above the ground for the best camera angle, ensuring you get a clear view of visitors.
If the angle isn't quite right, adjust it accordingly for better visibility.
Chime Functionality Check
Check the chime's functionality by restoring power at the breaker and listening for the sound it makes, confirming that your Ring doorbell is working properly. If you don't hear anything, follow these steps to guarantee everything is set up correctly:
- Secure Connections: Inspect the wiring on the mounting bracket. Make sure the connections are secure and not touching each other, as loose wires can prevent the chime from functioning.
- Digital Chimes: If you're using digital chimes, you might need to reverse the connections of the diode if one is installed. This guarantees compatibility with your Ring Doorbell.
- Ring App Test: Open the Ring app to test functionality. Trigger the doorbell and check if you receive the notification on your device.
If you're using a Ring Chime, verify that it's connected to the same Wi-Fi network as your doorbell. Press the doorbell again to confirm it rings appropriately.
Configuring the App

Begin by downloading and installing the Ring app from the Apple App Store or Google Play Store to set up your doorbell's configuration. Once you've got the app, create an account or log in to access essential features like live view and video recordings.
Customize your notifications to stay updated on doorbell presses and motion detection events, ensuring you never miss a visitor. Setting up shared access is also easy; invite family members through the app so they can monitor the doorbell's activity too.
To get the most out of your Ring doorbell, make sure to regularly check for app updates. Keeping the app current not only enhances its functionality but also boosts security.
Here's a quick overview of what you can do with the Ring app:
| Feature | Description |
|---|---|
| Live View | Watch real-time video from your doorbell |
| Notifications | Get alerts for doorbell presses and motion |
| Video Recordings | Access recordings of previous activity |
| Shared Access | Invite family to view activity |
With these features, you'll feel more connected and secure at home.
Frequently Asked Questions
Can You Just Stick on a Ring Doorbell to Wall?
You can't just stick a Ring doorbell to the wall; it needs a secure mounting.
If you rely on adhesive, the doorbell might fall, causing damage and malfunction.
For proper installation, drill holes and use the included screws to attach the mounting bracket securely.
This guarantees the doorbell stays flush against the wall.
Plus, installing it at about 1.2 meters high will optimize its performance, capturing the best angle.
How Does Ring Doorbell Connect to Wall?
Imagine you're setting up your Ring Doorbell at a friend's house.
It connects to the wall using a sturdy mounting bracket that you secure with screws.
You'll want to position this bracket over existing doorbell wiring or a marked area, ensuring it's about 1.2 meters high for the best view.
Depending on your wall type, you might need wall anchors for stability.
After securing it, don't forget to restore power at the circuit breaker!
Do You Have to Screw a Ring Doorbell Into the Wall?
Yes, you have to screw a Ring doorbell into the wall for stability and proper functionality.
It's essential to use the mounting bracket and follow the template for screw hole locations.
If you're mounting it on tough surfaces like brick or concrete, make sure to use wall anchors for a secure hold.
Just be careful not to over-tighten the screws, as that could damage both the doorbell and the wall.
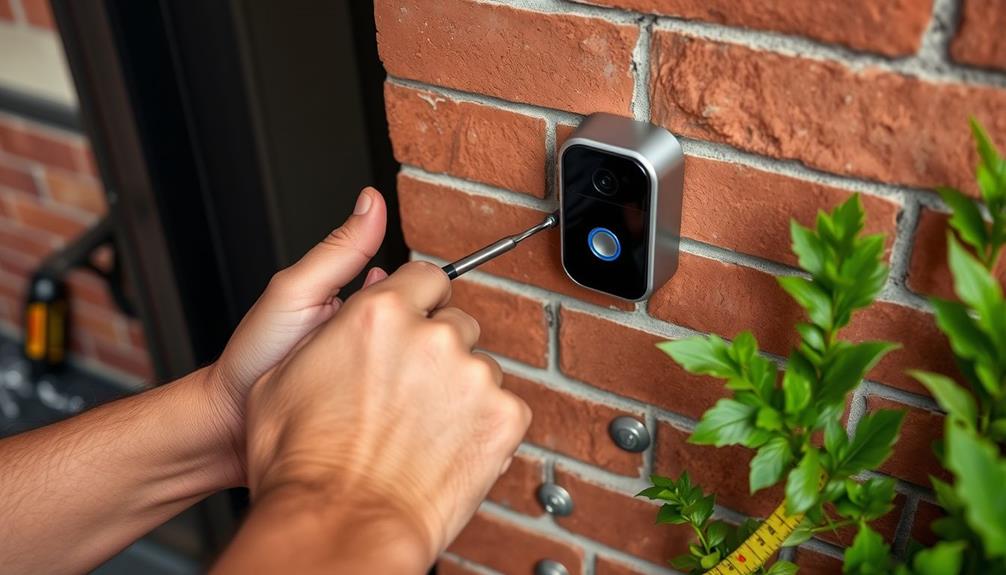
How Do You Fix a Ring Doorbell on a Brick Wall?
Installing your Ring Doorbell on a brick wall is like hanging a picture that guards your home.
First, grab a masonry drill bit and mark where you want to drill.
Create holes and use wall anchors designed for brick to secure the screws.
Aim for about 1.2 meters high for the best view.
Once the bracket's up, align your doorbell and press until it clicks in place.
Now, you're all set!
Conclusion
Now that you've transformed your entryway with a sleek, new Ring doorbell, enjoy the peace of mind that comes with modern security.
Just like a lighthouse guiding ships safely home, your doorbell stands vigilant, ready to alert you to visitors.
As the sun sets, illuminating your front porch, you can rest easy knowing that every knock is captured and every face recognized.
Embrace the harmony of technology and safety, turning your home into a fortress of comfort.