To uninstall the security screw on your Ring Doorbell, you will need a T6 or T15 Torx screwdriver depending on the model you have. If the screw is stuck or stripped, attempt using penetrating oil to loosen it. Enhance your grip by using a rubber band or utilize pliers for additional force. In the case of difficult screws, think about using an Exacto knife for leverage or a drill-driver for added power. Have patience, as these screws are made to resist tampering. The orange button must be accessible for the proper functioning of your doorbell, and you can discover more useful tips to ensure a smoother removal process. If you encounter issues with a stripped ring doorbell screw, try using a rubber band or a small piece of cloth over the screw head for a better grip. Another alternative is to carefully use a rotary tool to create a new slot on the screw head to make removal easier. There are several techniques to attempt when removing stripped ring doorbell screws, so be prepared to explore various options until you find one that suits your needs. If you are still struggling with stripped ring doorbell screw removal, consider seeking help from a professional. They may possess specialized tools or methods to remove the stubborn screw successfully without causing any harm to your doorbell. It is crucial to proceed with caution and patience throughout this process to avoid further complications. Take your time and evaluate all possible solutions before resorting to drastic measures.
Key Takeaways
- Use the appropriate T6 or T15 Torx screwdriver, depending on your Ring Doorbell model, for effective removal of security screws.
- Apply penetrating oil to stubborn screws and allow it to sit for a few minutes to help loosen corrosion.
- Employ a rubber band between the screwdriver and screw for improved grip on stripped screw heads.
- Utilize pliers to grip and turn stuck screws, applying additional torque for better leverage.
Common Issues With Security Screws
Security screws on Ring Doorbells often pose significant challenges, as they can spin endlessly without loosening, leaving you frustrated during removal. Many users experience stripped screw heads, which complicates accessing internal components. This issue isn't limited to just one model; both wired and battery-operated versions have reported similar problems.
When searching for solutions, it can be helpful to contemplate what to look for in a home cleaning service, as understanding reliable tools and methods can make a difference.
When you try to unscrew these security screws, you might find the thin screw heads make it nearly impossible to get a secure grip with pliers. This design flaw leads to increased frustration, especially during routine maintenance or battery charging. You might feel like you're stuck in a cycle of trying to grip the screw only to have it slip away repeatedly.
Moreover, some users have gone as far as to claim that these issues stem from manufacturer defects, prompting them to seek refunds. The difficulty in removing security screws can leave you feeling defeated, as what should be a simple task turns into a challenging obstacle.
Understanding these common issues can help you prepare for the hassle ahead and contemplate alternative methods or tools for removal.
Troubleshooting Techniques

When you're struggling to remove a security screw from your Ring Doorbell, it's essential to focus on effective tool selection.
Utilizing innovative tools and methods can enhance your troubleshooting process, allowing for effortless topic idea generation within the community.
You might find that alternative removal methods and techniques shared by the community can also make a difference.
Let's look at some practical troubleshooting techniques to help you get that screw out.
Effective Tool Selection
Selecting the right tools is essential for effectively removing security screws from your Ring Doorbell. Using the correct screwdriver not only guarantees a proper fit but also helps prevent stripping the screw heads, which can complicate the removal process. Additionally, having a solid understanding of the tools and techniques can save you time and frustration during the process.
Here are some key tools to take into account:
- T6 Torx screwdriver for standard Ring models
- T15 Torx screwdriver for the Ring Doorbell Pro
- Penetrating oil for loosening stuck screws
When dealing with a security screw, start with the appropriate Torx screwdriver. If the screw is stubborn, applying penetrating oil can work wonders; just give it a few minutes to seep in.
For stripped screw heads, placing a rubber band over them can enhance grip. If you need more leverage, flat-ended pliers can help grip the edges, allowing you to turn the screw gently.
As a last resort, a drill with an extractor bit can create a guide hole in the screw head, facilitating removal without damaging the surrounding components.
With the right tools, you'll be well on your way to removing that security screw! For additional efficiency, take into account tools that offer minimal overspray when tackling your projects.
Alternative Removal Methods
If you encounter a stubborn security screw on your Ring Doorbell, consider alternative removal methods to help you tackle the issue effectively. Here are some techniques you can try:
| Method | Description | Tips |
|---|---|---|
| Exacto Knife | Wedge it under the head of the screw for leverage. | Use caution to avoid damage. |
| Razor Blade | Grip and turn the screw with the blade. | Guarantee a firm grip for better torque. |
| Drill-Driver | Apply increased torque to loosen stuck screws. | Use a low speed to avoid stripping. |
| Flat-ended Pliers | Enhance grip on slightly raised screw heads. | Turn slowly for better control. |
| Check for Stripping | Diagnose issues by inspecting threads. | Replace screws if they're damaged. |
Using these techniques, you can effectively remove the screw without damaging your Ring Doorbell. Remember to be patient and gentle with your tools, as excessive force may cause further complications. With these methods in hand, you'll have a better chance of successfully removing that pesky security screw.
Community Shared Techniques
Many users have shared effective troubleshooting techniques for removing security screws on Ring Doorbells that can simplify the process. If you're facing a stubborn screw and don't know where to start, try these methods:
- Use an Exacto knife to wedge under the screw heads for easier removal.
- Apply pressure with a small screwdriver while turning the screw to help loosen it.
- Employ flat-ended pliers for a better grip on thin screw heads.
These community-shared techniques address a common question many face: how to safely and effectively deal with security screws. By incorporating these tips, you can greatly increase your chances of success.
Remember, each doorbell may respond differently, so don't hesitate to mix and match these methods based on your specific situation.
If all else fails, consider seeking help from a professional to avoid damaging your device.
With patience and the right tools, you'll be able to tackle those tricky security screws and get your Ring Doorbell up and running in no time.
User Experiences and Feedback

Users frequently express frustration over security screws on Ring doorbells that spin endlessly, making removal a formidable challenge. Many have encountered stripped screws during their attempts, which often leads to broken screwdriver bits and even more complications.
It's not uncommon for you to read about instances where users feel stuck, unable to access the internal components of their devices. This has prompted some to hardwire their Ring doorbells instead, hoping to avoid the hassle of removal altogether.
Complaints about manufacturer defects have also surfaced, particularly regarding spinning inserts that prevent screw removal. These experiences highlight a significant design flaw, leaving you to wonder why such issues persist.
The collective dissatisfaction is evident in numerous requests for refunds from frustrated customers, further emphasizing the need for improvement in the screw design and removal process.
If you find yourself facing these challenges with your Ring doorbell, you're not alone. Many users share your struggle, and the feedback surrounding stripped screws and spinning security screws comes from a community keen for a better solution.
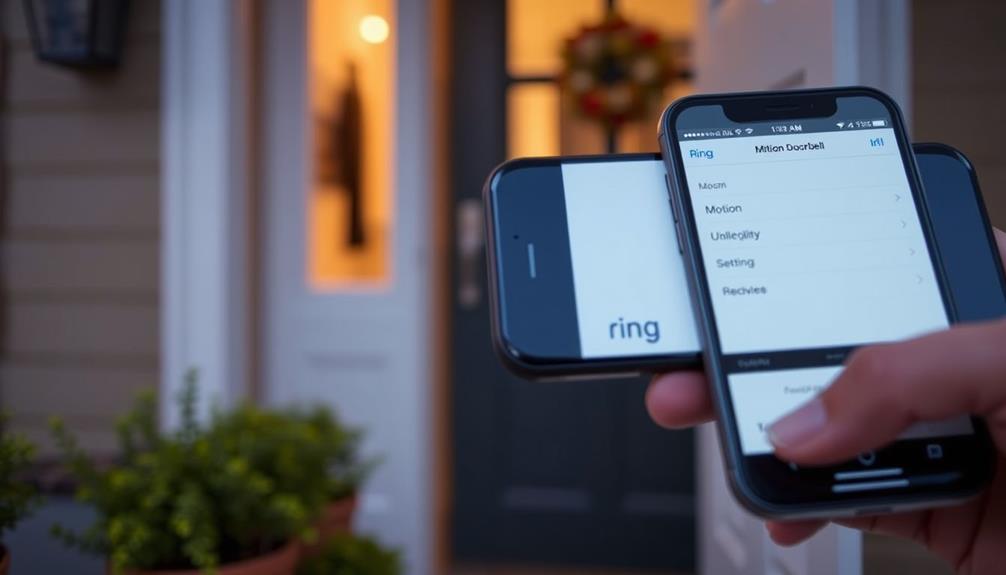
Importance of Accessing the Orange Button

Accessing the orange button on your Ring Doorbell is essential for keeping it connected to Wi-Fi, which guarantees you can monitor your home remotely.
You'll also need to reach this button to charge the battery in models that aren't hardwired, preventing any downtime.
Without this access, your doorbell's functionality could be seriously compromised.
Wi-Fi Reconnection Necessity
The orange button on your Ring Doorbell is essential for reconnecting to Wi-Fi and must be easily reached for any troubleshooting or battery charging needs. If you find yourself unable to access this button, you may face several challenges:
- Wi-Fi Reconnections: Initiating a connection to your home network requires pressing this button.
- Troubleshooting Issues: Without access, you won't be able to diagnose or fix connectivity problems.
- Battery Charging: For battery-powered models, you need to reach the orange button to charge the battery effectively.
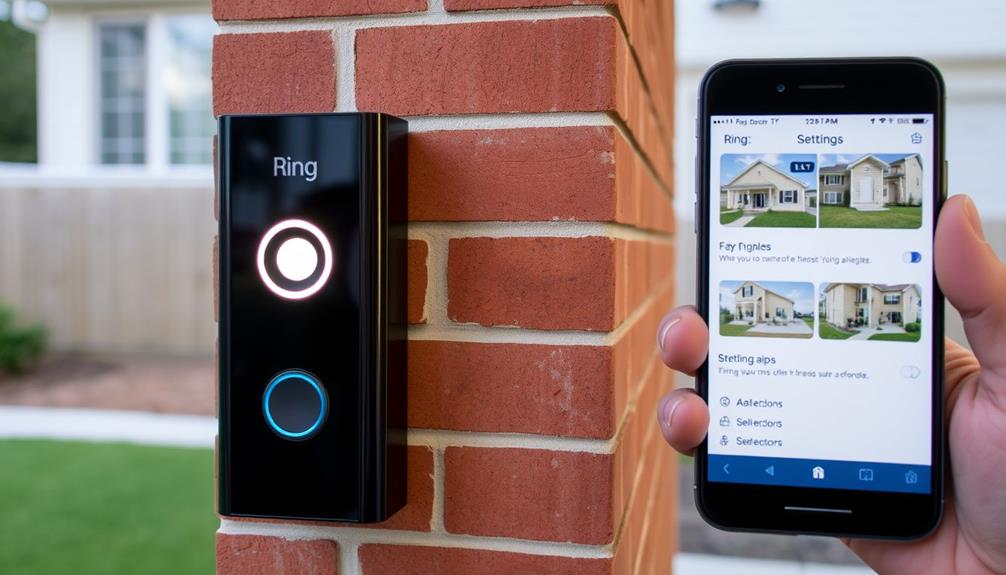
To access the orange button, you often need to remove the doorbell from its mount, which can be complicated by stubborn security screws. This makes the removal of those screws necessary for any maintenance.
If you can't press the orange button, you risk compromising the functionality of your Ring Doorbell, leaving you without a reliable security solution. So, make sure you have the right tools handy to tackle those security screws, and keep your device working smoothly.
Battery Charging Access
Reaching the orange button on your Ring Doorbell is essential for effective battery charging and guaranteeing ideal device performance. This button plays a key role in maintaining your doorbell's functionality, especially when it comes to battery-operated models.
To access the orange button, you'll need to remove the doorbell from its mount. This step is important not only for charging the battery but also for reconnecting to your Wi-Fi network, which keeps the device operational and integrated into your smart home.
If you can't access the orange button, you risk your Ring Doorbell going offline, leaving it unable to send notifications or record footage. Some users have discovered that solar chargers won't work effectively without access to the unit, further highlighting the significance of this button for battery management.
Regularly accessing the orange button guarantees your Ring Doorbell remains charged and connected, providing you with peace of mind and reliable security coverage.
Community Support and Resources

Joining the Ring Community connects you with other users who share tips and solutions for removing security screws from your Ring doorbell. By engaging in this vibrant community, you'll find a wealth of knowledge and support that can make your task easier.
Here's what you can expect:
- Experience Sharing: Learn from others who've faced similar challenges.
- Troubleshooting Tips: Access a variety of practical solutions for stubborn screws.
- Official Guidance: Benefit from advice directly from Ring representatives.
The Ring Community is more than just a forum; it's a valuable resource where you can post questions and get answers from fellow users.
You'll discover common problems and solutions that others have shared, which can save you time and frustration.
Engaging in discussions with other Ring users not only enhances your understanding but also builds trust through shared experiences.
Types of Security Screws

Various models of Ring doorbells use different types of security screws to enhance protection against tampering.
For instance, the Ring Doorbell and Ring Doorbell 2 utilize T6 (Torx 6, 1.70mm) screws. These screws are specifically designed to prevent unauthorized removal, guaranteeing your doorbell remains securely in place.
On the other hand, the Ring Doorbell Pro employs T15 (Torx 15, 3.27mm) screws, which indicate a higher level of security and reflect its unique design features.
Torx screws, like the ones used in Ring doorbells, are engineered to resist tampering and theft. This makes them a common choice for home security devices.
Each model corresponds to its specific screw type, which means you'll need the correct tool for both installation and maintenance.
Using the proper tools, such as a Torx screwdriver, is essential for effective installation and removal. This not only guarantees the security of your doorbell but also helps avoid damage to the screw heads.
Methods to Unscrew Stuck Screws

When dealing with stuck screws on your Ring doorbell, a few effective methods can help you successfully remove them without causing damage. Here are some strategies you can try:
- Use a T6 Torx screwdriver, applying firm pressure while turning counterclockwise.
- If the screw's stripped, grip the edges with pliers for extra torque.
- Enhance grip by placing a rubber band between the screwdriver and the screw.
Start with your T6 screwdriver, ensuring it fits snugly in the screw head. If you encounter resistance, try using pliers to get a better grip. For screws that seem stubborn, don't hesitate to add a rubber band for improved traction. If you suspect corrosion, applying penetrating oil can work wonders—just make sure to allow it to sit for a while before attempting to remove the screw again.
If you've exhausted these options and the screw still won't budge, consider using a screw extractor. Drill a small hole in the screw head and use the extractor bit in reverse to finally remove it.
Recommendations for Future Users

To guarantee a smoother experience with your Ring doorbell, familiarize yourself with potential issues related to security screws before installation. Knowing what to expect can save you time and frustration. Here are some recommendations to keep in mind:
| Action | Benefit |
|---|---|
| Research common issues | Prepare for screw removal challenges |
| Join in the discussion | Gain insights from other users' experiences |
| Keep tools handy | Facilitate emergency repairs |
| Assess alternative options | Avoid frequent maintenance hassles |
Make sure to read user reviews and community forums for practical advice on handling security screws. Many users share their screw removal techniques and solutions to common problems. By being proactive and having a T6 Torx screwdriver and pliers ready, you can tackle any emergency repairs that may arise. If you anticipate frequent maintenance on your doorbell, consider whether a different doorbell model might better suit your needs, reducing the hassle of security screw removal.
Frequently Asked Questions
What to Do if the Screw in My Ring Doorbell Is Stuck?
If the screw in your device is stuck, first, grab a T6 Torx screwdriver and apply firm pressure while turning it counterclockwise.
If that doesn't work, try applying some penetrating oil like WD-40 and let it soak for a few minutes.
You can also use needle nose pliers to grip any raised edges gently.
If all else fails, consider using a rubber band or even a screw extractor tool for stubborn screws.
How to Remove a Broken Security Screw?
To remove a broken security screw, start by using a T6 Torx screwdriver.
If the screw head is stripped, place a rubber band over it to improve grip.
For stubborn screws, try needle nose pliers to grip the edges and turn counterclockwise.
If the screw remains stuck, apply penetrating oil and wait a few minutes.
As a last resort, drill a small hole in the screw head and use a screw extractor.
What Are the Security Screws for Ring Doorbell?
Imagine trying to open a treasure chest without the right key—frustrating, right?
The security screws for the Ring Doorbell are designed specifically to deter tampering and theft. Depending on your model, you'll encounter T6 Torx screws for standard versions and T15 Torx screws for the Pro.
These durable screws can rust or strip over time, so using the correct tools and handling them carefully is essential for maintenance.
How to Get Out a Rung Screw?
To get out a stubborn screw, start by ensuring you've got the right screwdriver.
If it's stuck, try applying some penetrating oil and wait a few minutes.
You can also use a rubber band for better grip if the screw head is stripped.
If you can't turn it with pliers, consider using flat-ended pliers for better leverage.
If nothing works, drilling a small hole for a screw extractor can save the day!
Conclusion
Removing security screws from your Ring doorbell may seem intimidating, but with the right techniques, it's totally doable.
While you might worry that you'll damage your device, using the proper tools and methods can prevent that.
Remember, accessing the orange button is essential for setup and troubleshooting, so don't hesitate to seek help from community resources if needed.
With a little patience and the right approach, you'll have your doorbell up and running in no time!