To remove your old Ring Doorbell, start by gathering the necessary tools like a screwdriver and T15 Torx head screwdriver. Detach the faceplate by removing the security screw, then unscrew the unit from its mounting bracket. If it's wired, carefully disconnect the wires and make a note of their connections for future reference. After you've completely removed the doorbell, inspect the area and seal any holes to prevent leaks or pests using silicone caulk or wall filler. Once done, you'll want to unlink it from your Ring account to streamline your device management. There's more you can learn to make the process even easier.
Key Takeaways
- Use a T15 Torx screwdriver to remove the faceplate and screws securing the Ring Doorbell to its mounting bracket.
- For wired models, carefully disconnect the wires using a voltage tester to ensure safety during removal.
- Seal any holes left behind with silicone caulk or wall filler to prevent leaks and pest entry.
- Confirm the device is removed from the Ring app by selecting "Remove this Device" in the settings menu.
Reasons for Doorbell Removal
There are several compelling reasons you might decide to remove your old Ring Doorbell, from upgrading to a newer model to simply relocating to a new home. If you're looking for enhanced features, like improved camera quality or battery life, upgrading to the latest Ring Doorbell can greatly boost your home's security. Additionally, considering the best options for garage door openers can further enhance your home's safety. You could also be moving, and taking your Ring Doorbell with you not only maintains your security but also saves you from purchasing a new one.
Routine maintenance is another reason you may need to remove your Ring Doorbell. Temporary removal for battery charging or general upkeep can help guarantee the device functions at its best over time. Additionally, if your doorbell is no longer in use, you might want to take it down to prevent theft or vandalism. It's always better to safeguard your equipment, especially in less secure areas.
Each of these reasons reflects the importance of your Ring Doorbell in maintaining home security, making it vital to manage its presence effectively. Whether upgrading, relocating, or performing maintenance, understanding these motivations can guide your decision to remove the device.
Tools You Will Need

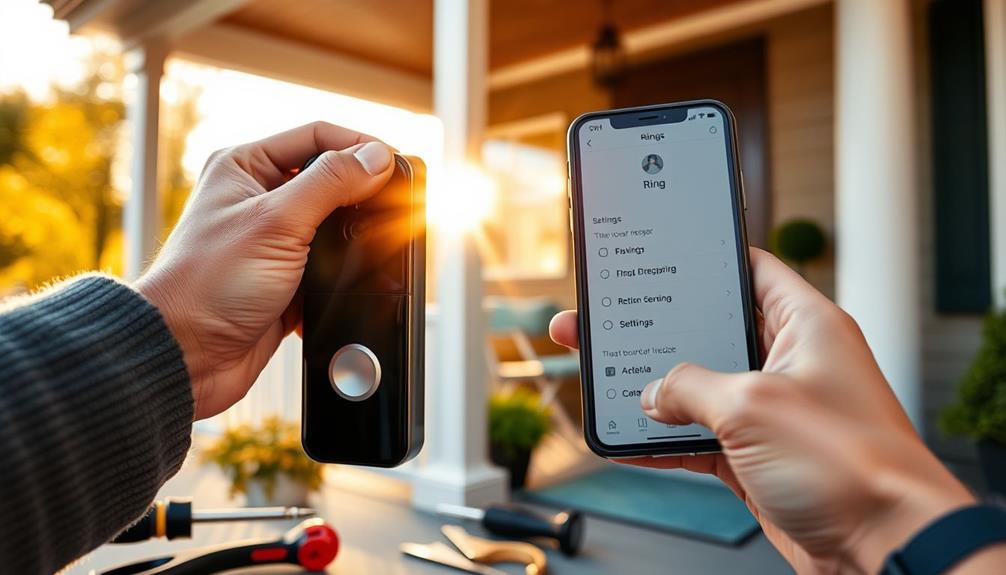
Gathering the right tools is vital for a smooth removal of your old Ring Doorbell. Start by locating the screwdriver that came with your Ring package; if it's missing, a small flathead screwdriver can work as an alternative. Removing the Ring Doorbell 2 requires a Phillips head screwdriver to unscrew the mounting screws. In addition to the screwdriver, a small ladder or step stool may also be necessary to reach the height of the Doorbell. Taking the time to gather the right tools beforehand will make the removal process much easier and help prevent any potential damage to the Doorbell or its mounting hardware.
For security screws, have a T15 Torx head screwdriver handy as a backup option. It's also important to confirm that your pets are safe while you work, as some tools and materials might pose a risk to them, similar to how certain safe foods for dogs can contribute to their health.
If your doorbell is wired, make certain you have tools to disconnect the wires safely. A voltage tester is essential to confirm there's no electrical current before you handle the connections.
You'll also want silicone or filler to seal any holes left behind after removing the doorbell. This helps prevent leaks and keeps pests out.
As you work, find a safe place to store the screws and hardware you remove; you'll need these if you decide to reinstall the doorbell later.
Once you've got all your tools ready, you're well on your way to successfully removing your old Ring Doorbell. And don't forget, if you're setting up a new device afterward, you'll need to create your Ring account to get started.
Steps to Charge Your Doorbell

To charge your Ring Doorbell, you'll first need to locate the security screw at the bottom of the faceplate.
Once you remove the faceplate carefully, you can access the battery pack for charging.
It's important to verify that the area around your doorbell is free from allergens and pollutants, as air purifiers improve indoor air quality considerably.
Let's walk through the steps to verify your doorbell is powered up and ready to go.
Locate Security Screw
Begin by finding the security screw at the bottom of your Ring Doorbell's faceplate. This screw is essential for accessing the battery pack. To remove it, grab the screwdriver included in your Ring package or a small flathead screwdriver. Carefully insert the screwdriver into the slot of the security screw and turn it counterclockwise until it's completely detached.
Once the screw is out, gently pull the bottom portion of the faceplate down and away from the device. Make sure to do this slowly to avoid damaging the faceplate or the Ring itself. This step will reveal the battery pack, which you'll need to access for charging.
After you have the battery pack in sight, look for the small silver lever on it. Press this lever to release the battery. From here, you can proceed to charge your battery. Remember, handling your Ring Doorbell with care will guarantee its longevity and proper function.
After charging, you'll be ready to reattach the faceplate, securing it once more with the security screw you initially removed.
Remove Faceplate Carefully
Carefully detach the faceplate by pulling the bottom portion down and towards you, guaranteeing you don't apply too much force. If you do this right, the faceplate will come off smoothly without damaging the device.
Before proceeding, make certain you've removed the security screw at the bottom using the provided screwdriver. This step is vital, as it keeps the faceplate secure.
Once the faceplate is off, you'll gain access to the battery pack. Keep in mind that handling your Ring Doorbell indoors minimizes exposure to outdoor elements that could damage it.
Follow these steps:
- Locate the small silver lever: This is essential for releasing the battery.
- Press the lever gently: This action will help you remove the battery pack easily.
- Store the faceplate safely: Guarantee it's in a spot where it won't get scratched or damaged while you charge the battery.
Charge Battery Pack
Charging your Ring Doorbell's battery pack is a straightforward process that guarantees your device remains powered and functional.
To begin, locate the security screw at the bottom of the faceplate and use the included screwdriver to remove it. Once that's done, gently pull the bottom portion of the faceplate down and towards you to access the battery compartment.
Next, identify the small silver lever inside the compartment. Press it to release the battery pack for charging. After removing the battery pack, connect it to a power source using the appropriate charger. It typically takes a few hours to fully charge, so keep an eye on the charging indicator if your model has one.
Once charging is complete, simply reinsert the battery pack by sliding it back into the compartment. Confirm it clicks into place securely to avoid any issues.
Finally, reattach the faceplate by aligning it with the top and pushing it back into position. Don't forget to secure it with the previously removed security screw.
Removing Without Special Tools

Removing your Ring Doorbell without special tools is possible by using common household items like a small flathead screwdriver or a T15 Torx head screwdriver. Here's how to do it effectively:
- Small Flathead Screwdriver: If you don't have the original security screwdriver, a small flathead screwdriver can help you manipulate the security screw. Just be cautious not to strip it while applying pressure.
- T15 Torx Head Screwdriver: If the security screw proves difficult to remove, a T15 Torx head screwdriver can be a great alternative. It fits snugly, making it less likely to slip.
- Contacting Ring Support: If you find yourself without any appropriate tool, consider reaching out to Ring customer support. They can provide you with a replacement screwdriver if the original is lost or unavailable.
Carefully handle the security screw during the removal process to avoid damaging it. Once you've successfully removed the screw, you can follow the standard removal steps to detach the doorbell from its mounting bracket. This approach guarantees a smooth and efficient removal experience.
Permanent Removal Steps

To permanently remove your old Ring Doorbell, you'll need specific tools and materials to guarantee a smooth process.
We'll guide you through a step-by-step removal that covers everything from detaching the device to sealing any holes left behind.
Required Tools and Materials
Before getting started, gather the necessary tools and materials, including a screwdriver, a T15 Torx head screwdriver, and a small flathead screwdriver for any tricky screws. Having the right tools on hand will make the removal process much smoother and prevent frustration.
Here's a list of the required tools and materials you'll need:
- Screwdriver: Preferably the one included with your Ring package for standard screws.
- T15 Torx head screwdriver: Essential for tackling stubborn screws that may not budge with a regular screwdriver.
- Small flathead screwdriver: Useful as an alternative for manipulating the security screw if the original tool gets misplaced.
If your Ring doorbell is wired, don't forget to have a voltage tester to verify no power is present before disconnecting any wires.
After you've successfully removed the doorbell, sealing any holes left behind with silicone or filler is important. This step prevents leaks or pest issues from arising once the doorbell is fully removed.
With these required tools and materials, you're all set to proceed!
Step-by-Step Removal Guide
With the necessary tools gathered, you're ready to follow these straightforward steps for permanently removing your old Ring doorbell.
First, use the security screw tool to detach the faceplate from the doorbell. Be sure to use the correct tool to avoid damaging the screw.
Once the faceplate is off, locate and unscrew the screws that secure the doorbell unit to the mounting bracket or wall.
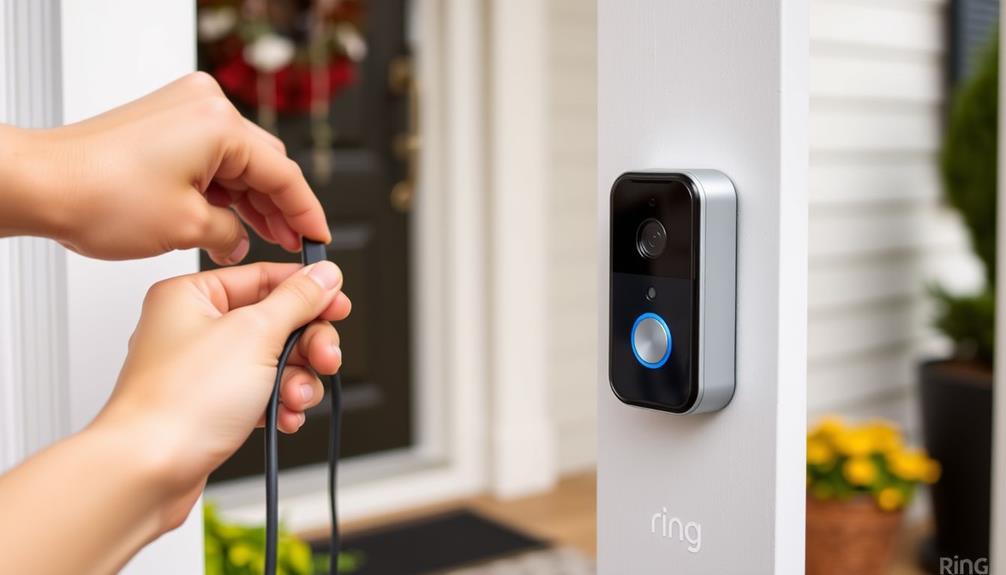
Next, if you have a wired model, carefully disconnect the wires attached to the chime. Make sure to note where each wire connects for future reference, especially if you plan to install a new doorbell later.
After removing the doorbell and any mounting hardware, confirm that everything is detached.
Sealing and Repairing Holes
After removing your Ring doorbell, inspect the area for any holes left behind that need sealing to prevent leaks and pests. It's important to address these holes promptly to maintain the integrity of your wall. Here's how to effectively seal and repair those holes:
- Choose the Right Material: For small holes, silicone caulk or wall filler works wonders. For larger holes, consider using a patching compound or a wall repair kit to guarantee a solid surface.
- Apply the Sealing Material: Use a putty knife to apply your chosen material, filling the holes completely. Confirm the surface is level and smooth for an even finish.
- Allow Drying Time: Follow the manufacturer's instructions for drying times. This step is essential for achieving the best results and confirming the seal is effective.
Once everything is dry, you might want to paint over the repaired area to blend it with the surrounding wall. This final touch will enhance the aesthetic appearance of your space while making sure that sealing and repairing holes keeps your home safe from moisture and pests.
Device Management in the App

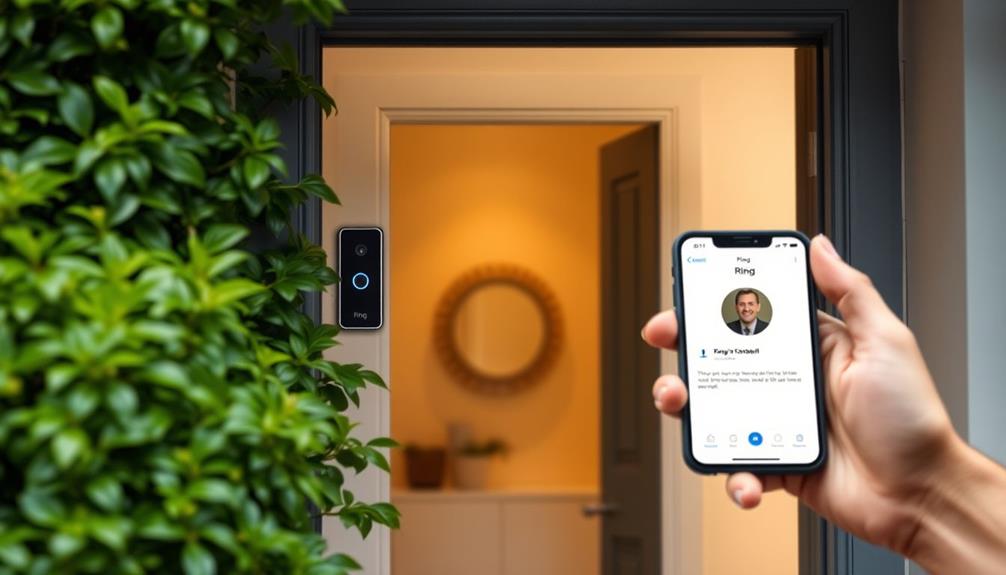
To manage your Ring devices effectively, open the Ring app and head to the Main Menu, where you'll find all your connected devices easily accessible. This includes both your indoor and outdoor Rings.
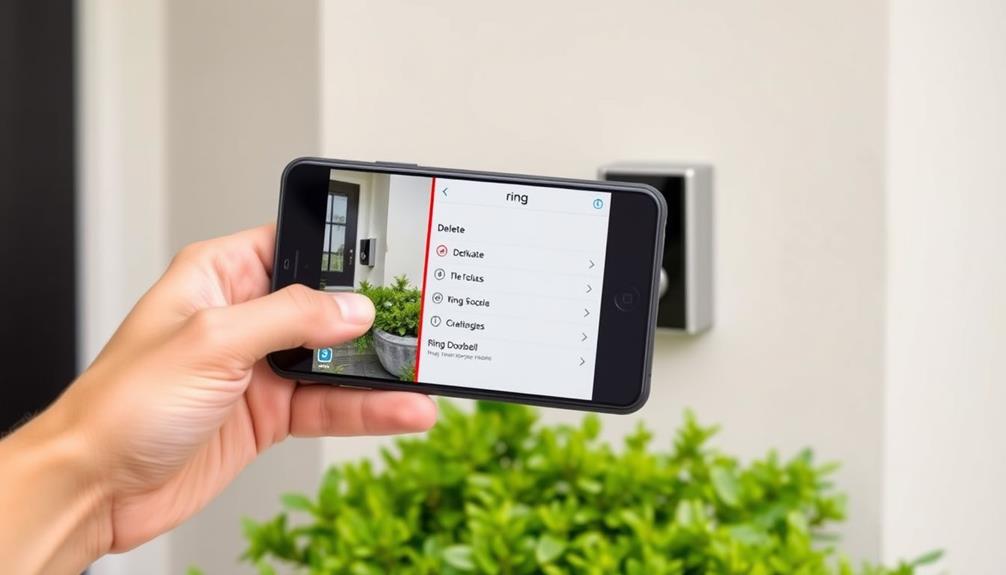
By selecting the specific device you want to manage, such as your old Ring Doorbell, you can easily access its settings and options. Once you're in the Device Settings section, look for the "Remove this Device" option. Selecting this will initiate the removal process, guaranteeing that you're only managing devices you actively use.
After confirming the removal, the old device will be unlinked from your account, meaning it won't appear in the app anymore.
It's important to remove unused devices to maintain clarity in the app. Having only active devices listed helps streamline your experience, making it easier to monitor and manage your home security.
Whether you're managing your indoor cameras or outdoor doorbells, keeping your device list tidy guarantees you know exactly what's connected and functioning. This way, you can focus on the devices that matter most to your security needs.
Transferring Your Subscription

Transferring your subscription is a straightforward process that guarantees your new Ring device remains fully operational without any service interruptions. When you delete your old Ring Doorbell from the app, the subscription usually transfers automatically. However, it's crucial to follow a few simple steps to make sure everything goes smoothly.
- Check the App: After removing your old device, open the Ring app to verify that your subscription is active for the new device.
- Log into the Website: If you need to manage your subscription, log into the Ring website to view and adjust your plan options as necessary.
- Follow Prompts: The Ring app will guide you through the prompts to manage your subscription seamlessly. Make sure you follow these to avoid any interruptions.
If you encounter any issues during this process, don't hesitate to post a question to Ring customer support. They can help resolve any discrepancies or concerns regarding your subscription transfer.
Community Support Resources

If you're looking for help with your Ring doorbell, the community forum is a great place to start.
You can engage with other users to exchange troubleshooting tips and get assistance with device management.
Community Forum Engagement
Engaging with the Ring Community Forum allows you to tap into a wealth of shared knowledge and experiences from other users facing similar challenges. By participating in this collaborative environment, you can enhance your understanding of removing your old Ring doorbell and gaining insights from others who've walked the same path.
Here are three ways to maximize your forum experience:
- Post Your Questions: If you're unsure about a specific step in the removal process, don't hesitate to post your question. The community thrives on helping one another, and you'll likely receive prompt responses from experienced users or support staff.
- Browse Existing Posts: Before posting, take some time to browse existing posts. You might find solutions to common issues related to device removal and management that can save you time and effort.
- Follow Community Guidelines: Remember to engage respectfully. The forum encourages constructive feedback, making it a safe space for everyone. Following these guidelines guarantees a positive experience for all participants.
Troubleshooting Tips Exchange
When tackling issues with removing your old Ring doorbell, turning to the community for troubleshooting tips can provide valuable insights and solutions.
The Ring Community is a great place to ask questions and share experiences with other users who've faced similar challenges. You can utilize the search function in the community forums to quickly find existing posts that address common problems related to removing old Ring doorbells.
Don't forget to keep an eye on community announcements for the latest updates regarding the Ring app and device management. Participating in discussions can help you discover best practices for device removal and learn about unique challenges others have encountered. Sharing your own experiences can also contribute to the collective knowledge.
If your problem with removing the doorbell persists, consider reaching out to Ring customer support through community channels for personalized assistance. They can offer targeted advice based on your specific situation.
Device Management Assistance
Accessing the Ring Community Forum gives you a wealth of support and resources for effectively managing your device removal process. When you join in the discussion, you can tap into the collective knowledge of fellow users and support staff. Here are three key ways to maximize your experience:
- Browse Existing Posts: Check out previous discussions for quick solutions and troubleshooting tips related to removing your old Ring Doorbell. You might find answers without needing to ask a question.
- Share Your Experience: If you've successfully removed a device, share your insights! Your experience can help others navigate their own device management challenges.
- Stay Updated: Regular announcements from Ring keep you informed about the latest app functionalities and device management enhancements. Make sure to keep an eye on these updates to leverage new features.
To access device management features, log into your Ring account. This gives you the ability to modify or remove devices from your profile easily. Engaging with the community not only helps you resolve issues but also fosters a sense of camaraderie among users.
Tips for New Doorbell Installation

Installing a new Ring doorbell can be straightforward if you confirm compatibility with your existing wiring and follow the manufacturer's guidelines closely. One of the key tips for new doorbell installation is to check whether your current wiring can support the new device. If you're unsure, consider opting for a battery-operated model, which simplifies the process.
Next, pay attention to the mounting height and angle. Following the manufacturer's recommendations will help guarantee peak performance. Use a level to mount the doorbell straight; this not only enhances aesthetics but also prevents potential functionality issues.
Before securing it completely to the wall, test the doorbell's functionality. This step allows you to check for proper alignment and connectivity, so you won't have to re-mount it later.
Lastly, after installation, don't forget to regularly check for firmware updates through the Ring app. Keeping your doorbell's features and security up to date is vital for maintaining its effectiveness.
If you have any questions during installation, consult the manufacturer's support resources for guidance. Following these tips will make your installation process smooth and successful!
Managing Your Ring Account

Managing your Ring account is essential for keeping your devices functioning smoothly and customizing your settings to fit your needs. To get started, log in to the Ring app or website with your registered email address and password. This gives you access to all device settings and management options.
Here are three key steps to effectively manage your Ring account:
- Access Devices: Navigate to the "Devices" section in the app to view all connected Ring devices. This is where you can manage updates and remove devices as needed.
- Adjust Settings: Within each device profile, use the "General Settings" option to modify device-specific settings, like notifications and privacy preferences.
- Check Subscriptions: Regularly review your subscription plans through the Ring website. Make sure you have the right coverage for your devices and manage any necessary changes.
Frequently Asked Questions
How Do You Physically Remove a Ring Doorbell?
To physically remove a Ring Doorbell, start by locating the security screw at the bottom of the faceplate.
Use the provided screwdriver or a suitable alternative to unscrew it.
Once that's done, gently pull the bottom of the faceplate down and towards you.
If it's hardwired, disconnect the wires after unscrewing any screws holding it in place.
Finally, remove the mounting bracket by unscrewing it from the wall.
Don't forget to seal any leftover holes!
How to Unscrew Ring Doorbell Without Tool?
If you need to unscrew your Ring Doorbell without a tool, you can try using a small flathead screwdriver to carefully twist the security screw.
Alternatively, a T15 Torx head screwdriver might fit the screws if you have one handy.
Just be cautious to avoid stripping the screws, as that'll make things harder later.
If you're struggling, consider reaching out to Ring customer support for assistance or a replacement tool.
How Do You Remove a Ring Doorbell Without a Drill Mount?
Picture your Ring Doorbell as a stubborn guest that needs to leave.
To remove it without a drill mount, grab the included screwdriver or a small flathead. Unscrew the security screws at the bottom, then gently pull the faceplate down.
If it's hardwired, turn off the power, disconnect the wires, and inspect for any wall screws.
Finally, patch those holes to keep your home safe from leaks and pests.
You've got this!
How Do I Remove a Doorbell?
To remove a doorbell, you'll want to start by locating the screws holding it in place.
Use the appropriate screwdriver to take them out.
Once the screws are removed, gently pull the doorbell away from the wall.
If it's wired, make sure to turn off the power first, then disconnect the wires carefully.
After removing it, patch any holes in the wall to prevent drafts or pests from coming in.
Conclusion
As you bid farewell to your old Ring doorbell, think of it as closing a chapter in a book filled with memories, each ding and notification a story of its own.
With the right tools and steps, you've gracefully shifted from the past to the promise of new beginnings.
Embrace the fresh perspective your new doorbell brings, connecting your home with a modern touch, while ensuring your Ring account is seamlessly managed—ready to capture the moments yet to come.