To install your Ring Doorbell 2, begin by gathering necessary tools such as a drill, level tool, and screws. Make sure to turn off power at the breaker for safety. Select a spot approximately 4 feet above the ground near the entrance, avoiding direct sunlight. Utilize the app to set up the doorbell before mounting it. Attach the mounting bracket, connect the existing wiring, and use plastic anchors for solid surfaces. Once it is securely mounted, restore power and test the device to ensure it is functioning properly. There are additional steps to effectively setting up your doorbell, so continue reading for useful tips and troubleshooting guidance.
Key Takeaways
- Gather necessary tools like a drill, level tool, and wire nuts before starting the installation process.
- Ensure the mounting height is around 1.2 meters (4 feet) for optimal viewing and access.
- Secure the mounting bracket using screws and plastic anchors for stability on hard surfaces.
- Connect existing doorbell wires to the Ring Doorbell 2, ensuring tight and secure connections.
Required Tools and Materials
To mount your Ring Doorbell 2, you'll need a few essential tools and materials to guarantee a smooth installation.
First, grab a level tool to make certain your doorbell is mounted straight. A drill is critical for creating holes in your wall, especially if you're working with tougher surfaces like brick or concrete; in that case, plastic anchors will be necessary to secure your mounting bracket. Additionally, it's beneficial to take into account the layout of your space to ensure ideal visibility and accessibility, much like how smart organization techniques can reduce clutter and improve functionality in a kitchen.
Next, gather all the screws and wire nuts included with your Ring Doorbell 2. If you require a longer connection, you might want to have an optional wire extension handy. Before you start drilling, it's wise to use a voltage tester to confirm that power is off, ensuring your safety throughout the process.
Once you've mounted the device, you'll need a star-shaped screwdriver to tighten the security screw, keeping your doorbell securely in place.
With these tools and materials at your side, you're well-prepared for the installation process. It's all about being organized and having everything you need within reach for a hassle-free setup.
Preparing for Installation

Before you start, make sure you've gathered all the necessary tools and materials for installation.
Understanding the importance of energy-efficient alternatives can also help you make informed choices about your home setup.
It's also vital to prioritize power safety by disconnecting the power supply to avoid any hazards.
Taking these steps will set you up for a smooth and successful installation process.
Required Tools and Materials
Gathering the right tools and materials is essential for a smooth installation of your Ring Doorbell 2. Having everything ready will save you time and guarantee a successful setup. For ideal results, consider using a reliable home cleaning service to keep the area around your doorbell tidy before installation.
Here's what you'll need:
- Drill and Level Tool: A drill is necessary for creating holes for mounting screws, especially on tough surfaces like brick or concrete. A level tool guarantees your Ring Doorbell is mounted straight.
- Screwdriver and Security Screws: Use a screwdriver with a star-shaped bit to securely fasten the provided security screws. This will help keep your doorbell secure.
- Charging Cable and Wire Extensions: Don't forget the orange charging cable to charge the built-in battery fully before installation, guaranteeing the green light indicates it's ready. If your existing doorbell wiring is too short, optional wire extensions may be required for a secure connection.
With these tools and materials at hand, you'll be well-prepared to mount your Ring Doorbell 2 effectively, guaranteeing it functions properly and enhances your home security.
Power Safety Precautions
Disconnecting power at the breaker is essential to prevent any electrical hazards while you prepare for the installation of your Ring Doorbell 2. Start by confirming you disconnect power completely to avoid any mishaps.
Next, check your existing doorbell transformer; it should supply voltage within the compatible range of 8 to 24 VAC for your Ring Doorbell 2 to function properly.
Always use the provided screws for securing the device. This helps avoid damaging the doorbell and prevents potential safety issues.
Familiarize yourself with local laws and building codes concerning electrical work before you proceed. Compliance with these regulations is important for safety and legality.
If you're uncertain about how to handle electrical wiring or the installation process itself, don't hesitate to contemplate professional installation. This can save you time and guarantee that everything is done correctly, minimizing any risk of electrical hazards.
Prioritizing power safety precautions is critical as you prepare for the installation, so take the necessary steps to confirm a safe and successful setup.
Charging the Device

To get your Ring Doorbell 2 up and running, you need to charge the battery first.
Use the orange USB cable provided and plug it into a power source until the solid green light shows that it's fully charged.
Initial Battery Charging
Before installing your Ring Video Doorbell 2, make certain to charge it using the provided orange USB cable until the LED light turns green, indicating a full charge. The initial battery charging process takes about 5 to 10 hours to fully charge the built-in battery.
To guarantee ideal results, follow these guidelines:
- Power Off: Make sure the device is powered off during charging to prevent any potential damage.
- Stable Temperature: Charge the battery in a location with a stable room temperature for the best performance.
- Check Status: After charging, confirm the battery status through the Ring app before proceeding with the installation.
Charging Cable Usage
Once your Ring Video Doorbell 2 is fully charged, you can utilize the provided orange charging cable to confirm your device remains powered and ready for use.
To charge, simply connect the cable to a power source. The built-in battery will take approximately 5 to 10 hours to fully charge, indicated by a green indicator light. For peak performance, make it a habit to check the battery status in the Ring app, especially if it shows low power.
If you prefer not to charge frequently, consider hardwiring your Ring Video Doorbell 2 to an existing doorbell system that supplies 8 to 24 VAC. This setup will keep your device continuously powered, eliminating the need for periodic charging.
Remember, once the battery is fully charged, it's vital to disconnect the charging cable to avoid overcharging, which can lead to potential battery damage.
Mounting Location Selection

Selecting the right mounting location for your Ring Doorbell 2 guarantees peak performance and security. To maximize its functionality, consider these key factors:
- Height: Mount your doorbell approximately 1.2 meters (about 4 feet) above the ground for ideal viewing. This height guarantees that the camera captures faces clearly while minimizing obstructions.
- Proximity to Entrance: Choose a location near your entrance to monitor the path leading to your door. This enhances security by giving you a broader view of visitors and any potential threats.
- Avoid Direct Sunlight: Make sure the doorbell isn't placed in direct sunlight. This prevents overheating, which can damage the device and affect its performance.
Additionally, position your Ring Doorbell 2 within range of your Wi-Fi router. A stable connection is essential for smooth video streaming and timely notifications.
Finally, select a spot that offers a clear field of view, free from obstructions like plants or decorations, to make certain you capture everything happening at your entrance.
Physical Installation Steps

Before you start the physical installation, make sure you've got everything you need on your checklist.
Securing your Ring Doorbell 2 properly is key to its performance, so pay close attention to each step.
Let's get into the specifics of how to do this safely and effectively.
Installation Preparation Checklist
It's essential to guarantee the Ring Video Doorbell 2 is set up in the Ring app beforehand to make the installation process smoother. Follow this installation preparation checklist to make sure you're ready:
- Disconnect Power: Before you remove your existing doorbell, make sure to disconnect power at the breaker to avoid any electrical hazards.
- Charge the Battery: Use the provided orange cable to charge the battery fully. Wait for the green light to appear, confirming it's ready for peak performance.
- Gather Tools: Collect essential tools such as a level tool, drill, screws, wire nuts, and optional wire extensions to streamline the installation.
After you've completed these steps, align the doorbell at approximately 1.2 meters above the ground. Use the level tool to keep it straight before marking the mounting hole positions. This preparation will help you avoid any last-minute issues and guarantee a successful installation of your Ring Video Doorbell 2.
Securing the Device Properly
With the mounting bracket positioned and the holes marked, you can now proceed to secure the Ring Doorbell 2 properly to confirm a stable installation.
First, make certain you turn off the power at the consumer unit for safety. Using your drill, create holes in the marked positions, and if you're mounting on brick, concrete, or stucco surfaces, insert plastic anchors to secure the bracket effectively.
Next, feed the wires through the bracket and connect them to the screws on the back of the Ring Doorbell 2. Don't worry about which wire goes to which screw; either wire can connect to either screw.
Once connected, position the device over the bracket. Now, secure the Ring Doorbell 2 to the bracket using the provided short security screws. Make sure you use a star-shaped screwdriver to tighten the screws properly. This step is vital for confirming the device is firmly attached and won't wobble or fall.
With everything in place, you can restore the power and test the installation to confirm it's working correctly.
Wiring Connections

Connecting the existing doorbell wires to the Ring Doorbell 2 is a straightforward process that guarantees your device functions properly. To make sure everything goes smoothly, follow these steps:
- Connect the Wires: Attach the existing doorbell wiring to the screws on the back of the Ring. Either wire can connect to either screw, so you don't have to worry about which goes where.
- Use Wire Extensions if Needed: If your existing wires are too short, use wire extensions to make secure connections. This guarantees you can easily reach the device terminals without strain.
- Check for Secure Connections: Confirm that all connections are tight. Loose wires can cause power interruptions, so it's essential to double-check before you proceed.
Connecting to Wi-Fi

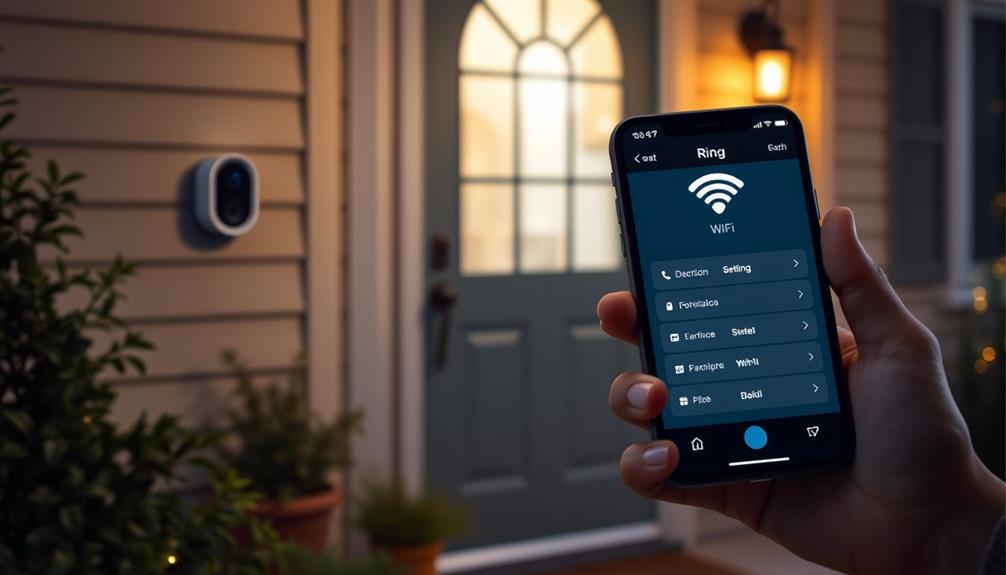
To guarantee a seamless setup, position your Ring Doorbell 2 close to your Wi-Fi router during the initial connection process. This ensures a strong connection, which is essential for ideal performance. Open the Ring app on your smartphone, and follow the prompts to connect your doorbell to your Wi-Fi network. You'll need to select your network and enter the password when prompted.
Make sure your Wi-Fi network operates on a frequency compatible with the Ring Doorbell 2; ideally, it should use the 2.4 GHz frequency for better range and reliability. If you encounter connectivity issues, consider relocating your Wi-Fi router or using a Wi-Fi extender to boost the signal strength in the area where the doorbell is installed.
Also, remember to regularly check for firmware updates in the Ring app, as these updates enhance the performance and connectivity of your Ring Doorbell 2. Keeping everything updated will help maintain a strong connection and minimize any potential disruptions, guaranteeing your doorbell works smoothly.
Testing the Device

Once you've mounted your Ring Doorbell 2 and powered it on, it's time to test its functionality. You want to verify everything is working as it should, so follow these steps for effective testing:
- Press the Doorbell Button: This action should activate the chime and allow you to stream video in the Ring app.
- Check Notifications: Make sure your smartphone is connected to the same Wi-Fi network used during setup. This will enable you to receive notifications and access the live view from the doorbell.
- Review Video Feed Quality: Open the Ring app and access the live view. If the image appears unclear, consider adjusting your router's placement or adding a Wi-Fi extender to improve signal strength.
Additionally, observe the LED light on the front of the doorbell. It should illuminate, indicating the device is functioning properly.
Troubleshooting Common Issues

Troubleshooting common issues with your Ring Doorbell 2 can help assure it's running smoothly and efficiently.
If your Ring Video Doorbell isn't powering on, check that your existing doorbell wiring is correctly connected to an 8-24 VAC transformer and confirm the power is restored at the breaker.
For problems with video quality, examine the Wi-Fi signal strength. If it's weak, try repositioning your router or consider using a Wi-Fi extender for better connectivity.
If you're having trouble removing the faceplate, make sure the small security screws aren't overtightened, as this can cause misalignment.
If you're experiencing inconsistent notifications, confirm that the Ring app settings are configured to allow notifications and that your device is connected to a stable internet connection.
Should the doorbell not respond to the app, press the reset button—black for the original and orange for the 2nd Gen—for about 15 seconds to re-establish the connection.
Additional Resources and Support

For effective installation and support, you can access a variety of resources tailored specifically for your Ring Doorbell 2. These tools will help you navigate any mounting challenges you may face. Here are three essential resources:
- Ring Help Center: This is your go-to for detailed installation guides and troubleshooting articles. It covers everything you need to know about the installation process and offers solutions to common issues.
- Community Forums: Engage with other Ring users who share their experiences and solutions. You'll find valuable tips that can help you overcome any mounting challenges.
- Video Tutorials: Check out the visual step-by-step guidance available on the Ring website or YouTube. These tutorials can clarify the installation process.
Additionally, make sure you have the correct tools and accessories, such as a star-shaped screwdriver and wall anchors, by referencing the installation checklist in the Ring app or website.
If you encounter difficulties, don't hesitate to contact Ring Customer Support for personalized assistance.
With these resources, you're well-equipped to successfully mount your Ring Doorbell 2.
Frequently Asked Questions
How Do You Install a Ring Doorbell 2 Mounting Bracket?
To install a mounting bracket, start by turning off the power at the breaker for safety.
Use the bracket as a template to mark the screw holes, making sure it's straight and about 1.2 meters high.
Drill holes at the marks, using plastic anchors if you're on brick or concrete.
Secure the bracket with the provided screws, ensuring everything's tight and stable.
How Do You Attach a Ring Doorbell 2 to a No Drill Mount?
Did you know that over 30% of burglaries happen when no one's home?
To enhance your home security, start by ensuring your no-drill mount is compatible with the Ring Doorbell 2.
Clean the surface where you'll apply it, then position the mount about 1.2 meters (4 feet) high.
Press it firmly for the recommended time.
How Do You Mount a Ring Doorbell Outside?
To mount a Ring Doorbell outside, start by charging it with the orange cable and setting it up in the Ring app.
Position it about 1.2 meters (4 feet) off the ground for the best angle.
Use the mounting bracket to mark screw holes, drill them, and install anchors if needed.
Connect the doorbell wires, secure the device with screws, and finish by attaching the faceplate and tightening the security screw.
How Do I Attach My Ring Doorbell to the Wall?
Attaching your Ring Doorbell to the wall can feel like launching a rocket into space!
First, turn off the power at the breaker for safety.
Use the mounting bracket as a template to mark screw holes about 1.2 meters high.
Drill holes and, if needed, insert plastic anchors.
Then, secure your doorbell by fastening the wall wires to the back.
Restore power and check that your doorbell lights up and works perfectly!
Conclusion
Now that you've successfully mounted your Ring Doorbell 2, you're joining millions of users who enjoy enhanced home security.
Did you know that nearly 70% of burglars say they'd avoid homes with visible security cameras?
With your new device, you're not just protecting your property; you're also sending a message to potential intruders.
Keep an eye on your front door and feel confident knowing your home is safer than ever!


