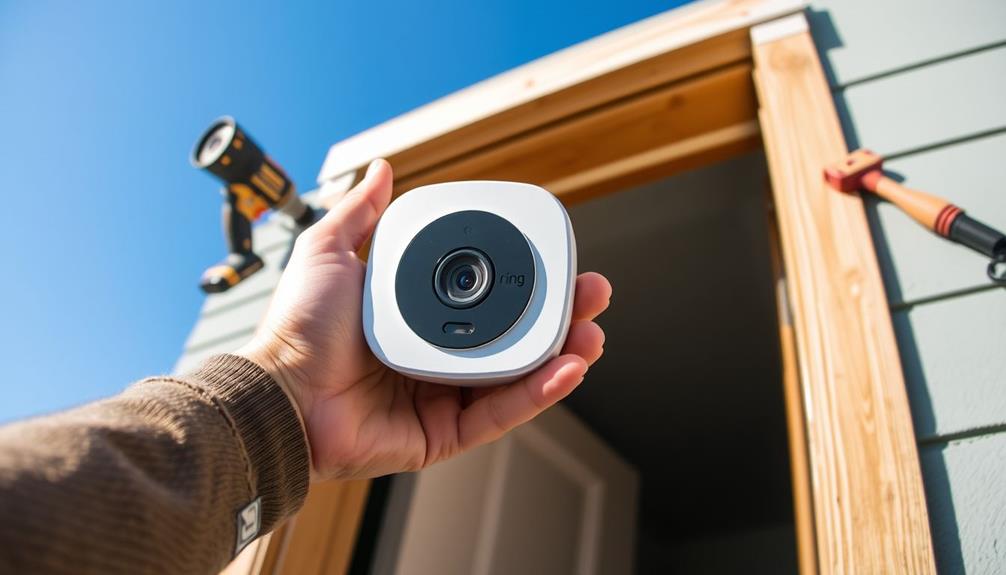

To get the back off your Ring Doorbell, start by gathering a star-shaped or T6 screwdriver and a flat tool, like a butter knife. First, remove the security screw at the bottom of the faceplate by turning it counterclockwise. Then, use your thumbs to push the faceplate upwards while supporting it with your fingers. Once the faceplate is off, locate the battery compartment. For models with removable batteries, slide the battery out by pressing the tab. Make certain you handle the device carefully to avoid damage, and you'll soon find additional tips to make the process easier. Make sure to store the removed screws in a safe place to avoid losing them. When removing the Ring Doorbell safely, take extra care to avoid pulling on any attached wiring if your doorbell is hardwired. Gently slide the device from its mounting bracket if further disassembly is required, ensuring no unnecessary force is applied.
Key Takeaways
- Identify your Ring Doorbell model, as removal methods may vary between models like the Classic, 3, and 4.
- Gather necessary tools: a T6 screwdriver, flat tool, safety glasses, and a clean cloth for protection.
- Remove the faceplate by unscrewing the security screw at the bottom and pushing the faceplate upwards.
- Access the battery compartment by locating it after faceplate removal and sliding out the battery using the black tab.

Video Doorbell Screwdriver, Double-Ended T6 T15 Screw Driver Tool for Camera Video Doorbell Replacement, Battery Change, Wifi Password Reset
DOORBELL SCREWDRIVER: This video camera screwdriver is used for Wifi password reset access, battery replacement, charging and secure…
As an affiliate, we earn on qualifying purchases.
As an affiliate, we earn on qualifying purchases.
Understanding Ring Doorbell Models
When choosing a Ring Doorbell, it's important to understand the different models available, as each offers unique features and installation methods that can impact your experience. The keyword clustering and topic clustering strategy can be applied here to help you navigate the various options more effectively.
The Ring Video Doorbell Classic is designed for wired installations, which means it doesn't have a removable battery. Instead, you'll need to charge it via USB from the back, making it essential to evaluate your installation requirements before purchase.
On the other hand, models like the Ring Video Doorbell 3 and 4 come with removable batteries that are designed to simplify maintenance. With these battery-operated variants, you can easily slide out the battery by removing the faceplate and pressing the black tab. This feature addresses your battery needs more flexibly, allowing for quicker replacements without the hassle of dismounting the entire unit.
Each Ring model also boasts various functionalities, such as motion detection and two-way audio, which can influence your overall experience. By understanding the distinctions between these models, you'll be better equipped to choose the right one that fits your lifestyle and troubleshooting needs.

Video Doorbell Key Removal Tool Compatible with Ring Battery Doorbell 2024 Release, Wired Doorbell Pro (N ewest Model), Wired Doorbell Plus (N ewest Model) 2PACK
COMPATIBILITY: compatible with Ring Battery Doorbell 2024 Release,Compatible with Wired Doorbell 2nd Gen (Newest Model), Wired Doorbell Plus…
As an affiliate, we earn on qualifying purchases.
As an affiliate, we earn on qualifying purchases.
Common Removal Challenges

Removing a Ring doorbell can present several challenges, especially due to the security screws and potential resistance from the mounting bracket. Many users face removal challenges because these screws complicate the process, making it difficult to detach the device.
If your doorbell is tightly secured, the mounting may not allow for easy removal, particularly if the installation surfaces are uneven or improperly aligned. Additionally, ensuring that your environment is free of distractions can help maintain focus during the removal process, much like how cats can recognize their owner's voice and scent to navigate their environment effectively.
When you attempt to access the battery compartment, you might encounter resistance when pressing the PUSH tab and pulling downwards—this is especially common with models like the Ring Video Doorbell 3. To ease access, some users find that partially removing the screws helps create enough room for a smoother disconnection.
In situations where the casing has warped due to tight screws, it can be even harder to get the doorbell off its mount. You may also consider using tools like paint scrapers to gently detach the device from its bracket. Remember, each model can have unique quirks, so tailoring your approach based on your specific situation is essential.

Quick Release Battery Pack — Compatible with all battery-powered Ring Cameras and Ring Doorbells
Get an extra rechargeable battery pack so you'll always have backup power ready to go.
As an affiliate, we earn on qualifying purchases.
As an affiliate, we earn on qualifying purchases.
Tools Needed for Removal

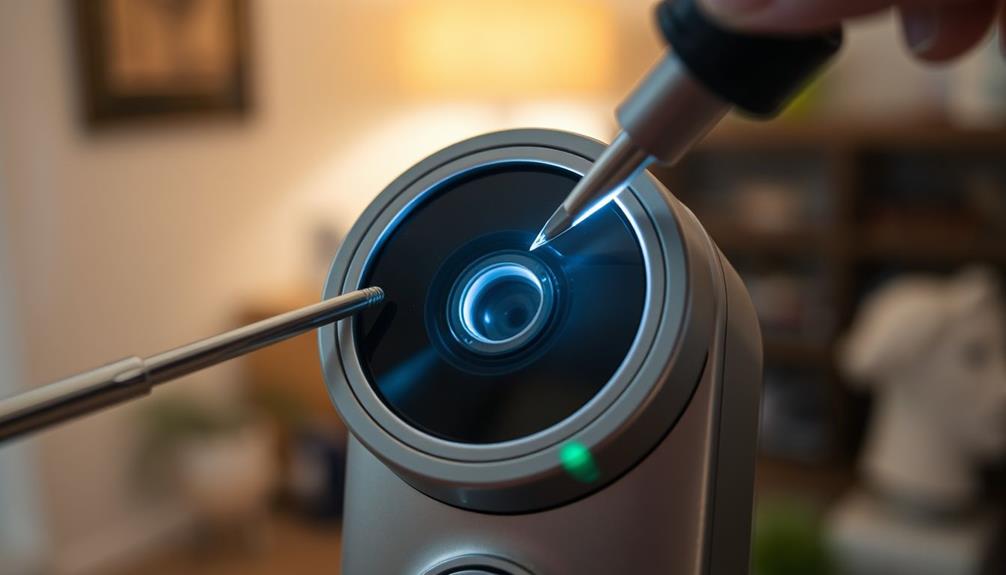
To successfully get the back off a Ring doorbell, you'll need a few essential tools, including a special star-shaped screwdriver that usually comes with the device. If you've misplaced it, a T6 torx-head screwdriver works as a great alternative. This tool is vital for removing the screws that secure the back panel.
It's significant to emphasize that using the right tools can enhance your home security with modern technology, just like how garage door openers improve safety and convenience.
In addition to the screwdriver, having a flat, skinny tool can be beneficial. A butter knife or a similar flat tool can help pry the back off if it's stuck. Just be cautious to avoid damaging the device while using it.
Safety should always be a priority, so don't forget to wear safety glasses during the removal process. This protects your eyes from any debris or accidental slips that may occur as you work.
Lastly, keep a clean cloth handy. This helps prevent scratches on your doorbell's surface while you're handling it.
With these tools at your disposal, you'll be well-equipped to tackle the task of removing the back of your Ring doorbell efficiently and safely.

Screwdriver for Doorbell Screwdriver Replacement with WiFi Password Reset and Battery Change, Fits for All Doorbell Models (Orange), CTYUKHS
Doorbell Screwdriver: If you lose the doorbell screwdriver, this doorbell screwdriver will be the perfect replacement for battery…
As an affiliate, we earn on qualifying purchases.
As an affiliate, we earn on qualifying purchases.
Step-by-Step Faceplate Removal

Removing the faceplate of your Ring Doorbell is straightforward if you follow the right steps.
Before starting, it's crucial to verify you have the necessary tools and a clear method to prevent any damage to the device.
For those interested in maintaining a clean and organized environment during this process, consider keeping essential items for a home cleaning kit nearby.
Let's go through the process, and we'll address some common issues you might encounter along the way.
Required Tools for Removal
You'll need a special star-shaped screwdriver or a T6 torx-head screwdriver to get started on removing the faceplate of your Ring doorbell. These tools are vital for loosening the security screw that holds your faceplate in place.
To guarantee a smooth removal process, consider celebrating special occasions by planning a little celebration once your doorbell is successfully removed!
Here's what you'll need:
- Star-shaped screwdriver – This is typically included with your Ring doorbell and fits perfectly into the security screw.
- T6 torx-head screwdriver – An alternative if you don't have the star-shaped screwdriver on hand, but make sure it fits snugly to avoid stripping the screw.
- A soft cloth – To protect the surface of your doorbell and catch any debris as you work.
Using the right screwdriver is essential for effectively removing the security screw at the bottom of the faceplate.
Once that's out, you can use your thumbs as levers to push the faceplate up while supporting it with your fingers.
Being prepared with these tools will make the process smoother and help you avoid damaging any components during removal.
Faceplate Removal Process
Start by locating the security screw at the bottom of the faceplate and turning it counterclockwise to loosen it. Once that's done, use your thumbs as levers to gently push the faceplate up from the bottom. Support the front with your index and middle fingers, and lift it away from the doorbell's body. It's important to perform the removal in a fluid motion to avoid damaging the faceplate or the doorbell unit.
| Step | Emotion Evoked |
|---|---|
| Loosen the screw | Anticipation |
| Push the faceplate | Excitement |
| Replace securely | Satisfaction |
When you're ready to replace the faceplate, align the plastic hook at the top with the corresponding hole. Hold it at a 45-degree angle before snapping the bottom firmly back into place. Finally, don't forget to replace and tighten the security screw completely. This guarantees the faceplate is firmly attached, giving you peace of mind that your Ring doorbell is ready to protect your home effectively.
Troubleshooting Common Issues
When facing difficulties with the faceplate removal on your Ring Doorbell, it's vital to follow a clear, step-by-step approach to troubleshoot the issue effectively. Here's how to resolve common problems:
- Locate the Security Screw: First, find the security screw at the bottom of the faceplate. Use a screwdriver to turn it counterclockwise. This step is essential to prevent any potential damage, similar to how the process of conversion is critical for managing your investments securely.
- Push Upward: Use your thumbs as levers to push the faceplate upward from the bottom. Support the front with your index and middle fingers to avoid any damage.
- Lift Carefully: Gently lift the faceplate away from the body in a fluid motion. Avoid forcing it off, as this can lead to breakage.
If you're still struggling, it could be a sign of a deeper issue, such as a problem with your Ring's wired connection or battery. In that case, don't hesitate to reach out to the support team for additional troubleshooting assistance.
Always remember to reattach the faceplate correctly by aligning the plastic hook and securely tightening the screw afterward.
Accessing the Battery Compartment

Accessing the battery compartment of your Ring Video Doorbell is straightforward once you remove the faceplate. Start by unscrewing the security screw located at the bottom of the faceplate. After that, push the faceplate upwards to detach it from the device. With the faceplate removed, you'll easily find the battery compartment.
If your model features a removable battery, you might need to press down on a black tab while sliding the battery out. Be careful when handling the battery to avoid any damage. It's important to verify that the battery is fully charged before reinstalling it. Regularly checking the battery life through the Ring app will help you maintain uninterrupted operation and remind you when it's time for charging.
For those models that don't have a removable battery, you can still charge it via a USB port located on the back of the device. Make sure to follow these steps to keep your Ring Video Doorbell functioning at its best. By accessing the battery compartment properly, you'll guarantee your doorbell is always ready to go.
Securing the Faceplate After Removal

Once you've removed the faceplate to access the battery, securing it back in place is just as important to guarantee your Ring Video Doorbell functions properly. Follow these simple steps to make certain everything is tight and secure:
- Align the Faceplate: Before pushing it back into place, make sure the faceplate is properly aligned with the device.
- Tighten the Security Screw: Replace and tighten the security screw at the bottom of the faceplate completely using the provided screwdriver. This prevents it from loosening over time.
- Check for Stability: Gently tug on the faceplate after securing it. If it doesn't shift or come loose, you've done a great job!
If you happen to lose or damage any screws during the process, don't hesitate to order replacements from customer service.
Regularly inspect the faceplate to make certain it remains securely fastened. Keeping the faceplate tight not only enhances the appearance but also assures peak operation of your Ring Video Doorbell.
Troubleshooting Common Issues

Encountering issues while trying to get the back off your Ring Doorbell can be frustrating, but knowing how to troubleshoot common problems can make the process smoother.
One common hurdle is dealing with the security screws. Use a T6 torx-head screwdriver to remove the screw from the bottom, ensuring you apply steady pressure. If the screws are too tight, don't rush; patience is key here.
If the doorbell is stuck to the mounting bracket, a flat tool can come in handy. A butter knife or paint scraper works well for gently prying the doorbell away from the bracket. Be careful to avoid damaging the casing, as overly aggressive prying might warp it.
Additionally, check that your doorbell is mounted securely but not overly tightened. Overtightening can lead to battery binding issues, complicating the removal process.
Keep a firm grip on both the doorbell and the mounting bracket while you work. By following these troubleshooting tips, you should find it easier to access the back of your Ring Doorbell without unnecessary stress.
Community Support and Resources

Joining the Ring Community can be a game-changer when you're trying to get the back off your doorbell.
You'll find a wealth of troubleshooting resources and real-time advice from other users who've faced the same challenges.
Engaging with the forum not only helps you solve your issues faster but also connects you with a network of support.
User Forum Engagement
Engaging with the Ring Community can help you quickly find solutions and share tips for removing the back of your Ring doorbell. Whether you're dealing with Rings wired to your home or a battery-operated model, the community is a great resource.
Here's how you can make the most of it:
- Post a Question: Don't hesitate to ask for help. Fellow users are often enthusiastic to share their experiences and provide guidance.
- Join in the Discussion: Participate in existing threads. You'll find valuable insights and techniques shared by community members who've faced similar challenges.
- Utilize Visual Aids: Many users post success stories along with photos and videos, which can make the process clearer and easier to follow.
Troubleshooting Resource Availability
The Ring Community not only fosters discussion but also serves as an essential resource for troubleshooting, providing access to guides and support that can help you resolve your device issues efficiently.
By engaging with fellow users, you can tap into a wealth of knowledge and experiences, especially useful when dealing with common problems related to Ring's wired devices.
To start benefiting from this community, create your Ring account. Once you've registered, you can post questions and receive feedback from users who've faced similar challenges. This collaborative environment often leads to quicker resolutions, as you might get real-time advice and tips that aren't covered in the official documentation.
In addition to community support, Ring offers an extensive library of troubleshooting guides that provide step-by-step instructions for common installation and operational issues.
If you still can't find a solution, don't hesitate to contact support. Their customer service is equipped with various methods to assist you, ensuring you get the help you need tailored to your specific inquiry.
With these resources at your disposal, troubleshooting your Ring device becomes a much smoother process.
Frequently Asked Questions
How to Take a Ring Doorbell Back Off?
To take the back off your device, start by locating the security screw at the bottom of the faceplate.
Use the provided star-shaped screwdriver or a T6 torx-head screwdriver to remove it.
Once that's done, leverage the faceplate upwards with your thumbs while supporting the front.
If your model has a removable battery, gently press the black tab down and slide the battery out.
Always handle everything carefully to avoid damage.
How Do I Take off a Ring Doorbell?
Taking off a Ring Doorbell is like peeling an orange; it requires a careful touch to avoid damage.
First, locate the security screw at the bottom of the faceplate and use the provided screwdriver to remove it.
Next, press your thumbs at the bottom to gently push the faceplate up, then lift it away.
This exposes the battery compartment, allowing you to access the battery for charging or replacement.
Remember to reattach and secure the faceplate afterward!
How to Unscrew Ring Doorbell Without Tool?
If you need to unscrew your Ring Doorbell without a tool, try using a flat, skinny object like a butter knife to gently pry at stubborn sections. Be careful not to apply too much pressure, as this could damage the surface or internal components. Patience is key when trying to remove original Ring Doorbell units, as the small screws may be tightly fastened. Once loosened, gently pull the doorbell away from the mounting plate for a smooth removal.
Be cautious to avoid damaging the casing.
If you encounter security screws, remember that a T6 torx-head screwdriver is necessary.
For models with a removable faceplate, press down on the tab and slide it upward.
Always handle components carefully to prevent any scratches or damage.
How to Change Battery in Ring Doorbell?
To change the battery in your Ring Doorbell, start by removing the faceplate.
Unscrew the security screw at the bottom and push the faceplate upwards.
Once it's off, locate the battery compartment and press down on the black tab to slide the battery out.
Replace it with a charged battery, ensuring it clicks into place.
Don't forget to check the battery life in the Ring app regularly for peak performance!
Conclusion
Getting the back off your Ring Doorbell might seem intimidating, but it's easier than you think!
You don't need to be a tech expert; just follow the steps outlined, and you'll have access to the battery compartment in no time.
Remember, tackling this task yourself can save you from costly service fees.
So, roll up your sleeves and give it a shot—your Ring Doorbell will be back in action before you know it!