To get your Ring Doorbell off for charging, first, grab a small star-shaped screwdriver and verify the device isn't hardwired. If you have an older model, remove the two security screws at the bottom and slide the doorbell straight up from the bracket. For newer models, unscrew the faceplate and carefully disconnect the battery. Connect it to a power source with a micro-USB cable, and watch for the orange light indicating charging. Once charged, reverse the steps to reattach it. If you need more tips on maintenance and charging, there's plenty more information available. Make sure you handle the device gently to avoid any damage to the exterior or the internal components. If you’re ever unsure about how to remove Ring Doorbell, consult the user manual or visit the company’s official support page for step-by-step instructions and troubleshooting tips. Proper care and regular charging will ensure your doorbell operates smoothly for years to come.
Key Takeaways
- Gather a small star-shaped screwdriver and ensure the doorbell is disconnected from any power source before starting the removal process.
- For older models, remove two security screws at the bottom to slide the doorbell off its mounting bracket.
- For newer models, gently unscrew the faceplate to access the battery compartment without damaging the device.
- Connect the battery to a power source using a micro-USB cable, observing the LED indicators for charging status.
Overview of Ring Doorbell Models
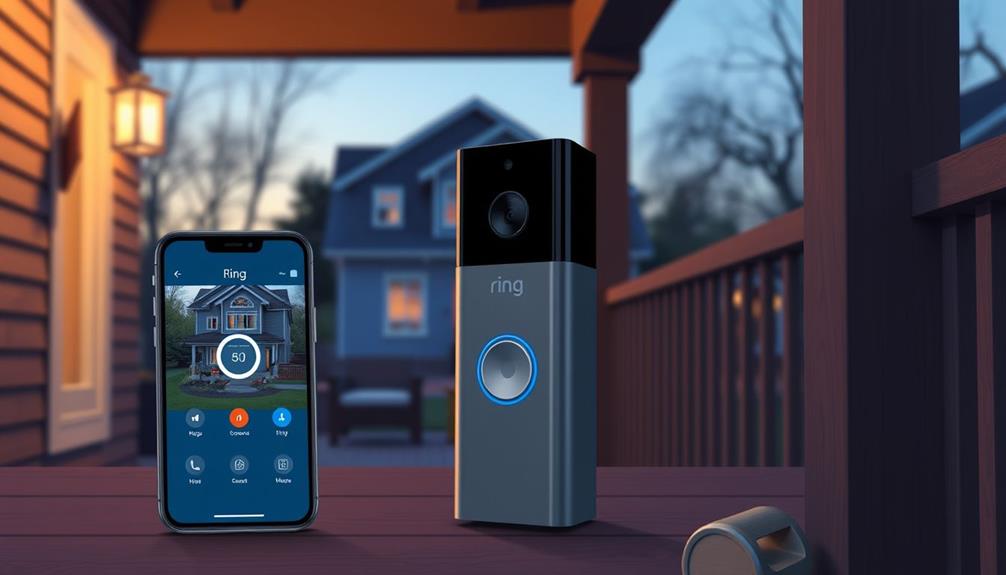
The Ring doorbell lineup includes various models, each designed with unique features and charging options to fit your needs.
You've got the classic choices like the first and second generation Ring Video Doorbells, along with newer versions such as the Ring Video Doorbell 2, 3, 3 Plus, and 4.
Each model has its own perks, making it easier to find the right fit for your home. For instance, the advancements in design and technology echo insights from famous literary figures who often reflect on the human experience.
For the first and second generation, accessing the battery requires you to remove two security screws, which can be a bit of a hassle.
In contrast, newer models are equipped with Quick Release Battery Packs, allowing you to pop out the battery without taking the doorbell off the wall. This simplifies the charging process considerably.
To charge the batteries, you'll use a micro-USB cable, and the time it takes can vary from 5 to 10 hours, depending on your power source.
Preparing for Battery Removal

Before removing the battery from your Ring Video Doorbell, gather the necessary tools and verify the device is disconnected from any power source. If your doorbell is hardwired, it's vital to unplug it to avoid any electrical mishaps during the process.
You'll need a small star-shaped screwdriver to remove the security screws located at the base of the device. Using air purifiers to improve air quality in the area where you're working can help reduce allergens and dust, creating a cleaner environment for your task.
Carefully remove these screws, as stripping them can lead to damage or void the warranty. Take your time and confirm you're using the right tool to maintain the integrity of the screws.
Once the screws are out, lift the doorbell straight up and away from the mounting bracket to access the battery compartment.
Before proceeding, make certain you have a charged micro-USB cable ready for charging the battery once it's removed from the doorbell. This preparation will streamline the process and guarantee that your Ring Video Doorbell will be back up and running soon.
With everything in place, you're ready to move on to the next steps of removing the battery and charging it efficiently.
Charging Process for Older Models

Charging older Ring Video Doorbell models involves a straightforward process that guarantees your device is ready for use.
To start, you'll need to remove the two security screws at the bottom of the device using a star-shaped screwdriver. Once you've removed the screws, slide the doorbell off the mounting bracket to access the battery compartment. It's important to ascertain that your device is functioning well, similar to how essential oils can enhance well-being and maintain a balanced environment through aromatherapy techniques.
Next, connect a micro-USB cable to the charging port on the battery. Plug the other end into a power source, like a wall outlet or computer. You'll notice a blue LED light indicating that the battery is charging. Typically, it takes about 5-10 hours to fully recharge, depending on your power source.
After the battery is fully charged, it's time to reattach the doorbell. Simply slide it back onto the mounting bracket and secure it with the security screws you removed earlier. This ascertains your Ring Video Doorbell is back in place and functioning properly.
Charging Process for Newer Models

To charge your newer Ring Doorbell, you'll need to start by unscrewing the faceplate carefully. This process is quite simple and can be done with basic tools, making it accessible for anyone.
Once you've released the battery, connect it to a power source using a micro-USB cable and watch for the orange light to confirm it's charging.
This process guarantees your doorbell is ready to go in no time, allowing you to enjoy breathtaking destinations without worrying about missed deliveries.
Unscrew Faceplate Carefully
Carefully unscrew your Ring doorbell's faceplate by removing the security screw with the included star-shaped screwdriver. This step is vital to access the battery compartment for charging. Once the security screw is fully out, gently lift the faceplate to reveal the battery compartment underneath. If you’re unsure about the process, refer to the support guide or search “how to remove Ring doorbell cover” for detailed instructions. By following these steps, you can easily access the battery for charging or replacement when needed.
It's important to guarantee that you choose the right tools and techniques to avoid any damage, similar to how you'd handle cleaning equipment in a home cleaning kit. Make sure you're gentle to avoid damaging the faceplate or the doorbell itself. Once you've removed the screw, you can gently lift off the faceplate.
Take a moment to inspect the area; you'll see the battery compartment clearly. It's important not to rush this process, as maintaining the integrity of the faceplate is critical for the doorbell's functionality. If you encounter any resistance while lifting the faceplate, double-check that the screw is completely unscrewed.
With the faceplate removed, you'll have direct access to the battery. This allows you to proceed to the next steps of detaching and charging the battery.
Release Battery for Charging
Remove the battery by pressing the release tab after you've lifted off the faceplate. First, you'll need to unscrew the security screw located on the faceplate using a star-shaped screwdriver. Once the screw is removed, gently lift off the faceplate to access the battery compartment. It's important to handle the battery carefully to avoid any damage, just like maintaining tools for peak performance, such as an airless paint sprayer.
Next, you can release the battery from the device. Here's how to do it effectively:
- Locate the release tab on the battery.
- Firmly press the release tab to detach the battery.
- Connect the battery to a micro-USB cable, plugging it into a power source.
After the battery is fully charged, reinsert it into the device. Then, reattach the faceplate and secure it with the screw you removed earlier. Following these steps will confirm your Ring Doorbell is charged and ready for use, keeping your home connected and secure.
Check Charging Status Indicators
You can easily check the charging status of your newer Ring Doorbell models by observing the LED indicators. When you see an orange light, it means the battery is currently charging. A solid blue light indicates that your battery is fully charged and ready for use.
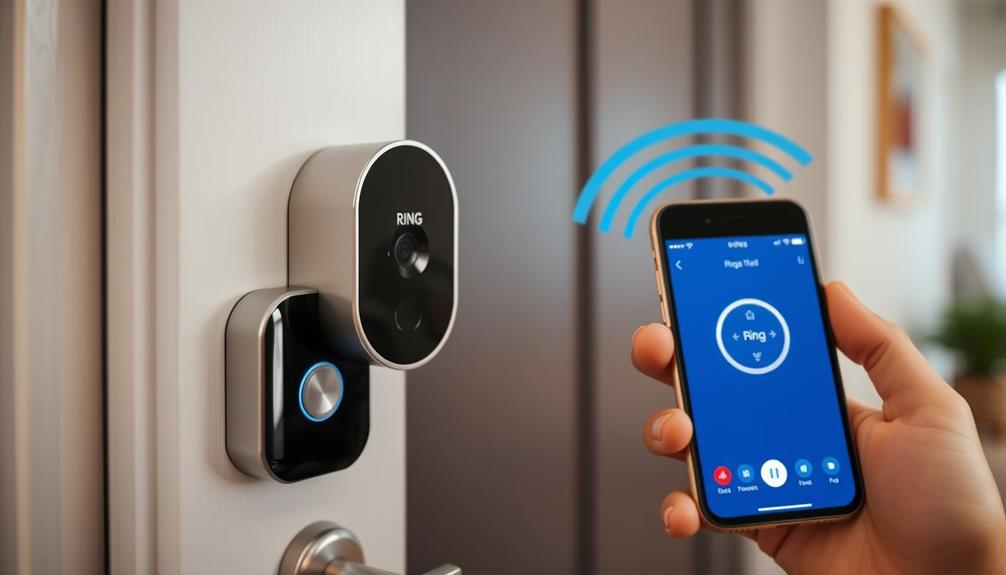
For a more detailed view, you can also check the battery status through the Ring app. Simply navigate to the menu, select "Devices," choose your specific doorbell, and tap on "Power Settings." This will give you the current battery status, helping you keep track of when it's time to recharge.
Charging typically takes between 5-10 hours, depending on the power source. To guarantee ideal charging speed, it's recommended to use a 2.1 amp wall charger.
Keeping an eye on the charging status via the LED indicators and the app will help you maintain your doorbell's functionality. Regular monitoring guarantees you can recharge before the battery fully depletes, so you're never caught off guard.
Battery Specifications and Care

Your Ring Video Doorbell relies on rechargeable lithium-ion batteries that can last between 6-12 months, depending on how you use it and the environment.
To keep it running smoothly, you should recharge the battery before it runs completely out.
Additionally, factors like temperature and motion sensitivity settings can greatly affect its battery life, so it's important to stay aware of these conditions.
Battery Life Expectancy
The Ring Video Doorbell's battery life typically lasts between 6 to 12 months on a full charge, influenced by usage patterns and environmental conditions. To guarantee your device performs at its best, it's crucial to understand factors that affect battery life expectancy.
Here are some key considerations:
- Usage patterns: Frequent motion alerts and video streaming will drain the battery faster.
- Environmental conditions: Extreme temperatures, whether hot or cold, can negatively affect battery performance.
- Motion sensitivity settings: Higher sensitivity settings may cause more frequent alerts, impacting battery longevity.
To keep your Ring Doorbell running smoothly, recharge the battery before it reaches complete depletion. Proper care, like regular cleaning of the device and charging ports, can extend the life of your rechargeable lithium-ion battery.
Charging Frequency Recommendations
Regularly recharging the Ring Doorbell's battery helps maintain its performance and guarantees uninterrupted security coverage. The battery typically lasts between 6-12 months on a full charge, but this can vary based on your usage and environmental conditions.
To verify the best battery life, it's best to recharge the battery before it's completely depleted. Doing this not only prevents potential setup issues but also keeps your doorbell functioning smoothly.
You should monitor the battery status through the Ring app. This will keep you updated on the charge level and alert you when the battery is running low. If you notice the battery draining more quickly than usual, consider adjusting the motion detection settings. This can help enhance performance and extend battery life.
Remember to regularly clean the doorbell and charging ports to maintain battery health. It's also wise to avoid exposing the device to extreme weather conditions, as these can greatly impact battery performance.
Environmental Impact Factors
Extreme environmental conditions can greatly affect the performance and longevity of your Ring Doorbell's battery. To keep your device running smoothly, be mindful of how different factors can impact battery life and performance.
Consider these key environmental factors:
- Heat: High temperatures can shorten battery life, leading to quicker drain.
- Cold: Low temperatures can cause the battery to deplete faster than normal.
- Motion Sensitivity: Higher sensitivity settings in the Ring app may result in increased battery drain due to more frequent activity detection.
Regularly checking your battery status through the Ring app is vital. It helps you avoid complete depletion, which can negatively impact battery performance.
To maintain battery health, recharge the battery before it fully drains. By paying attention to these environmental conditions, you can extend your Ring Doorbell's battery life and guarantee reliable performance.
Common Charging Issues

If your Ring Doorbell isn't charging properly, there are several common issues you might encounter that can easily be resolved.
First, check the USB cable connection; make sure it's securely plugged into both the doorbell and the power source. A loose connection can prevent your device from charging.
Next, inspect the charging port and USB cable for any visible damage. Wear and tear can impede the charging process, so replacing any faulty components is essential.
If the blue light doesn't illuminate while charging, this could signal a problem. Charging via a wall outlet usually provides faster charging times (5-10 hours) compared to using a computer.
If your battery drains quickly after charging, look into the motion detection settings in your Ring app. Excessive notifications can drain battery life faster than expected.
For persistent battery issues, consider your installation location. Extreme temperatures and poor Wi-Fi connectivity can affect battery performance.
If you've checked these points and the problem persists, it might be time to consult Ring support for further assistance.
Reattaching the Doorbell

To reattach your Ring Doorbell, align it with the mounting bracket by sliding it down from the top until it's securely in place. This step guarantees that your doorbell is properly positioned after charging.
Once it's aligned, you'll need to secure it with the provided star-shaped screwdriver. Here's what you should do next:
- Reinsert the security screws at the base of the doorbell to keep it firmly attached.
- Wait for about 30 seconds after reattachment to allow the device to initialize properly.
- Test the doorbell button by pressing it to confirm that it's functioning correctly.
Checking Battery Status

Checking the battery status of your Ring Video Doorbell is simple and can help you stay ahead of any charging needs. To get started, open the Ring app on your smartphone.
Once you're in, tap the menu icon, which is typically located in the upper left corner. Next, select "Devices" to see a list of all your connected devices, then choose your specific doorbell from that list.
After selecting your doorbell, tap on "Power Settings." Here, you'll find the current battery percentage displayed clearly on the screen. This allows you to easily monitor how much battery life is left.
Additionally, the app features "Feature Power Usage," which shows how different settings impact battery life. By regularly checking the battery status, you can prevent unexpected outages and make sure your doorbell continues to function effectively.
Make it a habit to check the battery status periodically, especially if you notice any performance issues. Keeping an eye on the battery will help you maintain the reliability of your Ring Video Doorbell and make certain you're always ready to receive visitors.
Community Support Resources

The Ring Community offers valuable support resources where you can connect with other users for tips and advice on charging and maintaining your doorbell. Engaging with fellow Ring enthusiasts can make your experience smoother and more efficient.
Here are some resources you'll find:
- Forums: Browse discussions about best practices for removing and charging your Ring Video Doorbell.
- Troubleshooting: Access posts addressing common charging issues, where users share effective solutions.
- Q&A: Ask specific questions about the charging process and get insights from experienced members.
Frequently Asked Questions
How Do I Get My Ring Doorbell off to Charge It?
To get your Ring Doorbell off, you'll need to start by locating the security screws at the base.
Grab the orange screwdriver that came with it and remove those screws.
Once they're out, gently lift the doorbell away from the mounting bracket.
This gives you access to the battery compartment, allowing you to charge it efficiently.
After charging, just align it back on the bracket and secure it with the screws again.
How Do I Remove My Ring Alarm to Charge?
To remove your Ring Alarm for charging, start by locating the power source connected to it.
Unplug the device from the outlet to guarantee safety.
If it's a battery-operated model, you can gently press on the release tab to detach the battery.
For wired models, you'll need to carefully disconnect the power supply.
Once removed, charge the battery using the appropriate cable.
Remember to securely reattach everything once the charging is complete.
How to Remove Ring Doorbell to Change Battery?
You've got a task ahead of you, and it's not as simple as it seems.
To remove the Ring Doorbell for a battery change, grab a small star screwdriver.
Carefully unscrew the security screws at the base.
Once they're out, lift the doorbell off the mounting bracket.
If you've got an older model, unplug the battery; otherwise, just release it.
Now, you're ready to tackle the next step in your battery adventure!
How to Take a Ring Doorbell Off?
To take your Ring Doorbell off, start by locating the security screws at the bottom.
Use a small star-shaped screwdriver to remove those screws.
Once they're out, gently lift the doorbell upward and away from the mounting bracket.
If you've got a newer model, remember to check for any quick-release features.
After you've finished whatever you needed to do, reattach it by sliding it back into place and securing the screws again.
Conclusion
In the end, removing and charging your Ring Doorbell isn't much more complicated than tending to a garden; with a bit of care and attention, it thrives.
Remember to follow the appropriate steps for your specific model, and don't hesitate to consult community resources if you hit a snag.
Keeping your doorbell charged guarantees that it remains vigilant, safeguarding your home like a watchful sentinel.
So, stay proactive, and your device will always be ready to protect.