
Event‑based automation lets your smart home trigger lights automatically when your security cameras detect motion, boosting security and saving energy. To do this, choose cameras with suitable lenses and placement, then connect them to your automation system via compatible protocols. You can customize how your lights respond, such as turning on or changing color. Coordinating multiple actions makes your home more secure, and fine-tuning settings guarantees quick, reliable reactions. Keep exploring to learn how to set this up effectively.
Key Takeaways
- Connect compatible cameras with your automation platform using protocols like ONVIF or RTSP.
- Configure camera motion detection to trigger lighting actions such as turn on or dim lights.
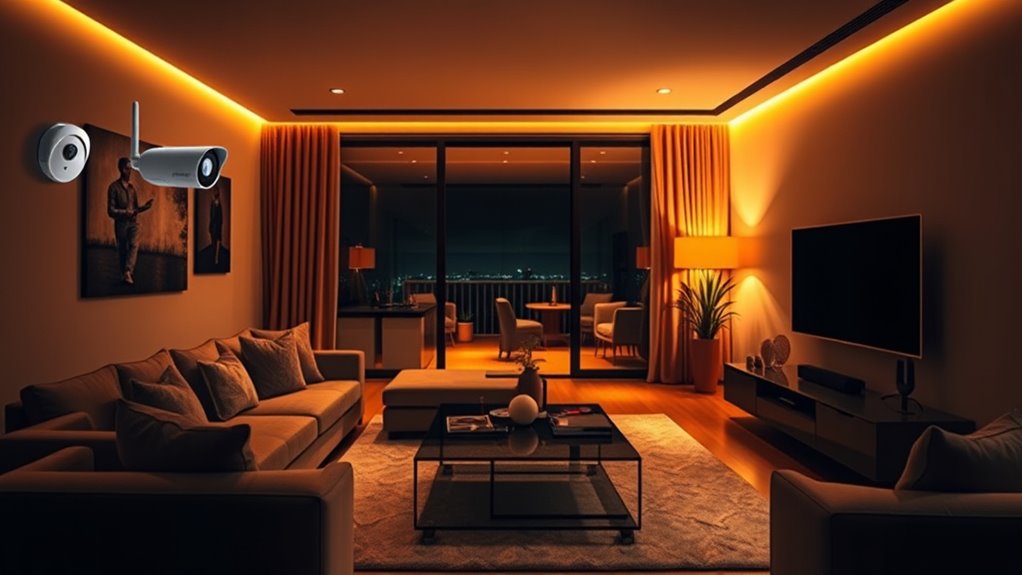
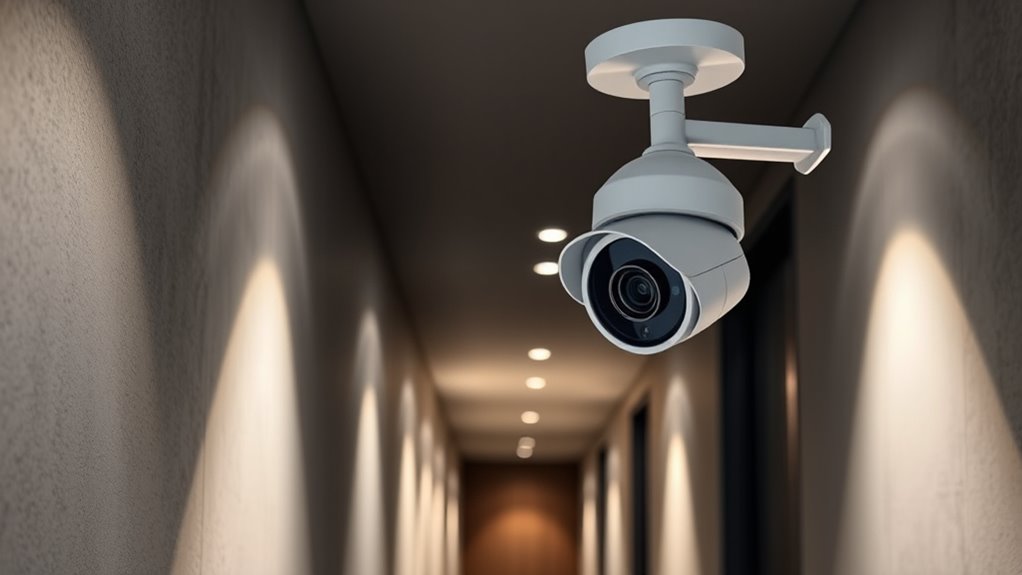
- Position cameras strategically to cover key entry points and high-traffic areas for reliable detection.
- Adjust sensitivity settings and lens angles to minimize false alarms and improve response accuracy.
- Automate multiple security responses, including lighting, alarms, and notifications, based on camera-triggered events.
Understanding Event-Based Automation in Smart Homes
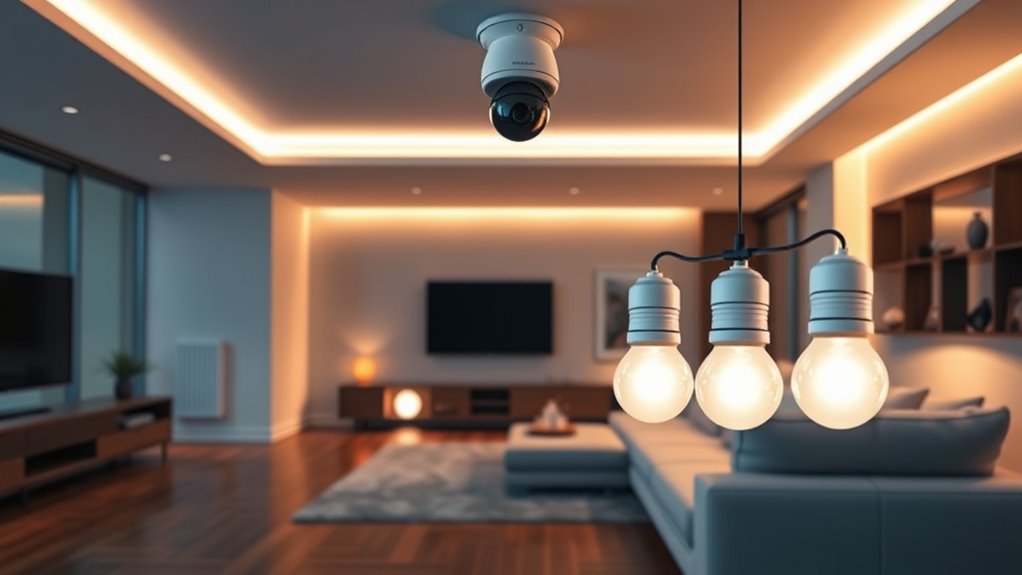
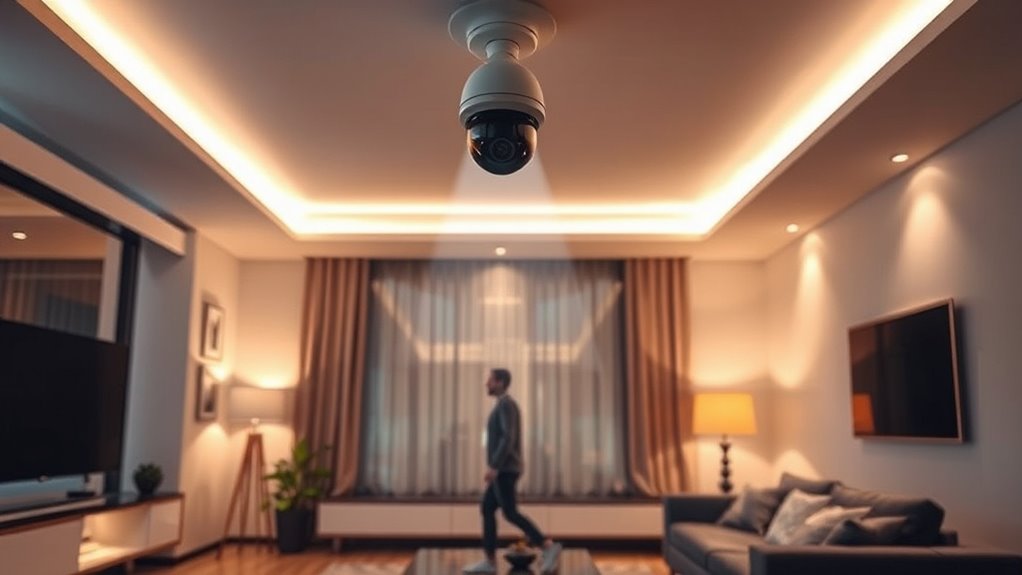
Event-based automation in smart homes allows devices to respond automatically to specific triggers or changes in the environment. For example, motion sensors detect movement, activating lights or cameras without your input. When motion is detected, you receive user notifications, keeping you informed of activity around your home. This automation makes your living space more convenient and secure, reducing the need to manually control devices. It’s especially useful at night or when you’re away, as it reacts instantly to unexpected movement. By setting up these triggers, you guarantee your smart home responds intelligently to its environment. Whether it’s turning on lights or alerting you to activity, event-based automation enhances safety, energy efficiency, and ease of use—all with minimal effort on your part. Additionally, integrating home automation principles can further streamline your daily routines and elevate your living experience.
Choosing the Right Camera for Motion Detection
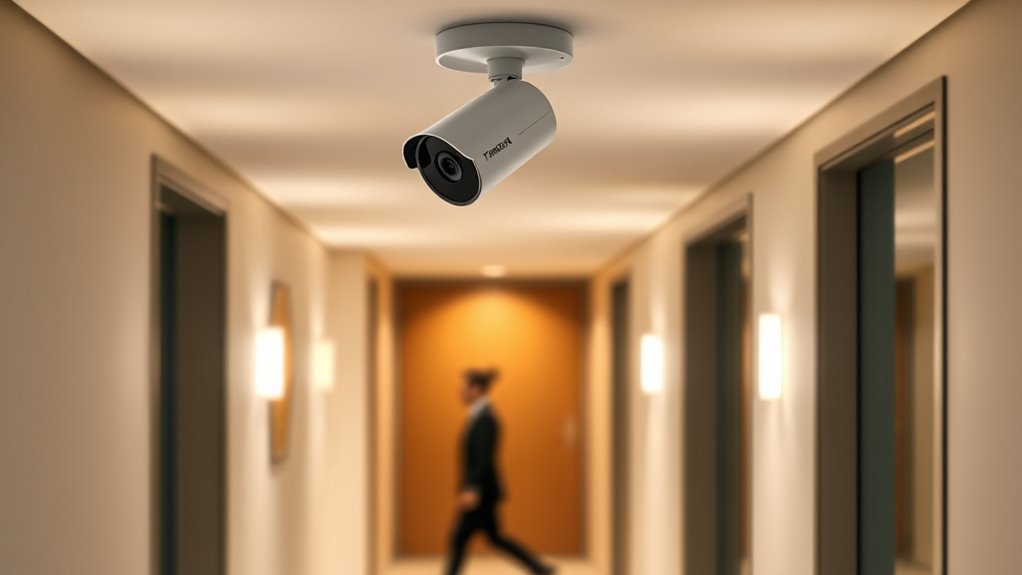
Selecting the right camera for motion detection is essential to guaranteeing your smart home responds accurately and efficiently. Focus on lens selection, which influences how much area your camera covers. A wide-angle lens offers a larger field of view, ideal for monitoring broad spaces like living rooms or driveways. Conversely, a narrower lens provides more detail for specific zones, such as doorways or hallways. Consider your environment’s size and layout to choose a camera with an appropriate field of view. This ensures you capture relevant motion without false alarms. Additionally, look for cameras with adjustable lenses or digital zoom features to fine-tune coverage. Proper lens choice helps optimize detection accuracy, making your automation system more reliable and responsive. Be aware of how sensor quality impacts motion detection performance, as higher-quality sensors can better distinguish between actual movement and environmental noise.
Setting Up Camera Detection Triggers
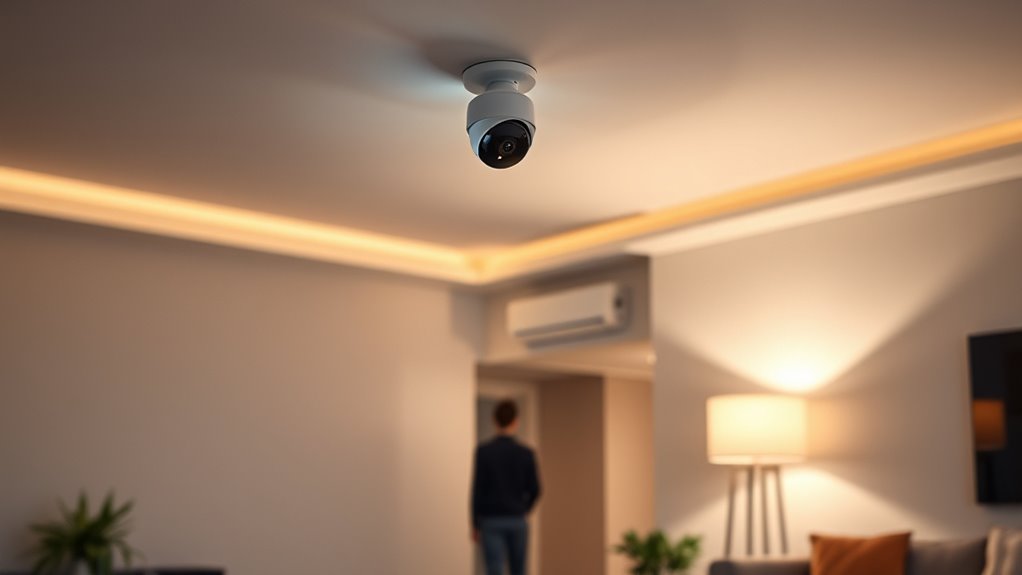
To set up camera detection triggers effectively, you need to configure your camera’s motion detection settings to identify relevant activity. Start by adjusting sensitivity so it detects genuine movement without false alarms. Be mindful of privacy concerns; avoid placing cameras where they might capture private areas or passersby unexpectedly. Proper camera placement is essential—position cameras to monitor key entry points or high-traffic zones while respecting neighbors’ privacy. Use zones or masks if your system allows, focusing detection on specific areas to reduce false triggers. Regularly review motion detection logs to fine-tune settings. This guarantees your automation responds accurately to relevant activity, minimizes privacy issues, and enhances overall system reliability. Additionally, understanding projector technology can help optimize your setup for better visual feedback and system integration.
Connecting Cameras to Your Home Automation System
Connecting your cameras to your home automation system is straightforward once you know your options. You’ll want to explore compatible camera models and understand the different integration methods available. With the right setup and configuration, your cameras will seamlessly work with your automation system to enhance security and convenience. Considering juice cleansing benefits can also improve your overall wellness, similar to how integrating smart technology can boost your home environment.
Compatible Camera Options
Choosing the right camera for your home automation system involves guaranteeing compatibility with your existing setup. Look for cameras with adjustable camera lens options to suit different viewing angles and lighting conditions. Video resolution is vital; higher resolutions, like 1080p or 4K, provide clearer images, making it easier to identify details during camera detection events. Make sure the camera supports your system’s preferred protocols, such as ONVIF or RTSP, to guarantee seamless connectivity. Compatibility with smart home hubs or automation platforms, like SmartThings or Home Assistant, is also essential. Some cameras come with built-in motion detection features that can trigger automation routines, so verify these capabilities match your needs. Overall, choosing a compatible camera with the right lens and resolution ensures reliable performance in your event-based automation. Additionally, understanding AI in Education and other technological advancements can help inform smarter automation solutions in your smart home.
Integration Methods Explained
Integrating cameras into your home automation system involves selecting the right connection method to guarantee smooth operation. You can connect cameras via wired connections, Wi-Fi, or smart hubs, depending on your setup. Wireless options are flexible and easier to install, while wired connections offer reliability. Once connected, you can pair cameras with motion sensors to trigger lights or set up voice commands for control. For example, saying “Turn on the porch light” can activate the camera’s automation. Here’s a quick comparison:
| Connection Method | Pros & Cons |
|---|---|
| Wired | Reliable, stable, complex installation |
| Wireless | Easy setup, flexible, potential interference |
| Smart Hubs | Centralized control, compatible with multiple devices |
| Direct Integration | Seamless, requires compatible devices |
Choosing the right method guarantees your camera detection easily triggers automated actions. Additionally, leveraging smart home automation technology can enhance overall system efficiency and user convenience.
Setup and Configuration
To set up your cameras within your home automation system, start by ensuring your devices are compatible and powered on. Connect each camera to your network using the manufacturer’s app or direct integration options. Be mindful of privacy concerns; choose secure connections and configure permissions carefully to protect your data. Check for any available firmware updates before finalizing setup, as these often improve security and functionality. Once connected, verify the camera feeds display correctly within your automation platform. Adjust settings like motion detection zones and alerts to suit your needs. Regularly update firmware to patch vulnerabilities and enhance performance. Proper setup and configuration guarantee your cameras work seamlessly with your system while safeguarding your privacy and maintaining ideal security. Incorporating data-driven strategies can help optimize your automation setup for better reliability and performance.
Configuring Lighting Responses Based on Camera Events
You can set your lights to turn on or change color when your camera detects motion or specific events. Adjust the automation settings to fine-tune how your lights respond, ensuring they behave exactly as you want. By configuring these camera event triggers and light settings, you create a smarter, more responsive home environment.
Camera Event Triggers
Camera event triggers allow you to automate lighting responses based on specific camera activities, such as motion detection or object recognition. By setting up these triggers, you can enhance security while minimizing false alarms. However, consider privacy concerns and camera placement, as overly sensitive triggers might lead to unnecessary lighting or privacy intrusions. Properly configuring your cameras ensures relevant events activate lights without compromising privacy. Use the following table to understand common triggers and their applications:
| Trigger Type | Typical Response |
|---|---|
| Motion detection | Lights turn on when movement is detected |
| Object recognition | Lights activate for specific objects or people |
| Sound detection | Lights respond to loud noises |
| Camera tampering | Alerts or lights if camera is obstructed |
Additionally, understanding that creativity can be cultivated through consistent practice helps in optimizing your camera configurations for more effective automation.
Light Automation Settings
Configuring lighting responses based on camera events allows for targeted and efficient automation that enhances security and convenience. You can customize how lights react when a camera detects motion or a person, ensuring immediate illumination or alerts. Setting up lighting schedules helps you define specific times for lights to activate, optimizing energy use. Voice command integration lets you manually override or adjust lighting responses seamlessly, adding flexibility. To refine your setup, consider:
- Creating detailed lighting schedules for different times of day
- Linking camera events to specific lighting zones
- Setting dimming levels for different scenarios
- Using voice commands to activate or deactivate automation quickly
- Incorporating security camera features to enhance responsiveness and accuracy
Automating Multiple Actions for Enhanced Security

Automating multiple actions simultaneously can considerably strengthen security by ensuring swift and coordinated responses to threats. When motion sensors detect movement, you can trigger lighting control to turn on exterior or interior lights instantly. This immediate illumination not only deters intruders but also improves visibility for cameras and homeowners. You can extend automation to activate alarms, send notifications, or lock doors, creating a thorough security response. By integrating these actions, you eliminate delays caused by manual intervention. This synchronized approach makes your security system more effective and reliable. Using motion sensors as the trigger point allows your automation to react quickly to any suspicious activity, providing peace of mind and increased safety for your property. Additionally, understanding asset division principles can help you plan for financial security and stability after implementing your security measures.
Troubleshooting Common Issues With Camera-Triggered Lights
While automating multiple actions can greatly enhance your security system, issues sometimes arise with camera-triggered lights that can undermine their effectiveness. Poor camera placement often causes missed detections or false alarms, leading to unnecessary light activation. Ensuring your camera is positioned correctly—covering key areas without obstructions—is vital. False alarms can also occur from environmental factors like moving shadows or animals, wasting energy and reducing trust in the system. To troubleshoot these issues, consider the following:
Proper camera placement and sensitivity adjustments prevent false alarms and ensure reliable security lighting.
- Adjust camera angles for best coverage
- Reduce sensitivity settings to prevent false alarms
- Remove objects or lighting sources that cause shadows
- Regularly clean camera lenses for clear detection
Addressing these elements helps improve reliability and minimizes unintended activations.
Tips for Optimizing Reaction Speed and Accuracy
To guarantee your camera-triggered lights respond swiftly and accurately, focus on fine-tuning your system’s settings and placement. Proper motion sensor placement is essential; position sensors at ideal angles and heights to minimize blind spots and false triggers. Avoid placing sensors near heat sources or direct sunlight, which can affect response time optimization. Adjust sensitivity settings to balance detecting genuine activity without overreacting to minor movements. Regularly test your setup to identify delays or missed detections, and recalibrate as needed. Keep sensors clean and free of obstructions to maintain quick response times. By carefully selecting sensor locations and fine-tuning settings, you’ll achieve faster, more reliable reactions, ensuring your lights activate precisely when needed.
Frequently Asked Questions
How Secure Are Camera-Triggered Lighting Automation Systems From Hacking?
Camera-triggered lighting automation systems can have security vulnerabilities if not properly secured. Hackers might exploit weak points to gain access, so you should prioritize hacking prevention by using strong, unique passwords, updating firmware regularly, and enabling encryption. To keep your system safe, avoid default settings, monitor for suspicious activity, and consider adding firewalls. Staying vigilant helps protect your smart home from potential hacking threats.
Can I Customize Lighting Responses for Different Camera Detection Zones?
You can customize lighting responses for different camera detection zones by setting up zone-specific lighting and custom trigger zones. This allows you to tailor how lights react based on where motion is detected. You simply define specific areas within your camera’s view and assign desired lighting actions to each zone. This way, you enhance security, save energy, and create a more personalized automation experience, making your system both flexible and efficient.
What Privacy Considerations Should I Be Aware of With Camera-Based Automation?
When using camera-based automation, you should be aware of privacy considerations like how camera footage is stored and who has access to it. You might unintentionally collect sensitive data, so verify your data storage is secure and complies with privacy laws. Be transparent with anyone in the camera’s view, and regularly review your security settings to prevent unauthorized access or misuse of your footage.
Is It Possible to Integrate Voice Commands With Camera-Triggered Lights?
Imagine you walk into your home and say, “Turn on the lights,” while your camera detects motion. Yes, voice command integration with camera-triggered lights is possible, allowing you to customize automation easily. You can set up scenarios where voice commands activate specific lighting routines based on camera detection, enhancing convenience. This type of automation customization makes your smart home more responsive, giving you hands-free control and seamless integration of security and lighting systems.
How Do Weather Conditions Affect Camera Detection Accuracy and Lighting Triggers?
Weather impact markedly affects camera detection accuracy and lighting sensitivity. Rain, fog, or snow can obscure camera lenses, reducing detection reliability, while bright sunlight may cause false triggers. You should adjust your camera settings for different weather conditions, increasing sensitivity during low visibility and reducing false alarms in bright conditions. Regularly cleaning lenses and using weatherproof equipment help maintain ideal detection performance regardless of weather variations.
Conclusion
Think of your smart home as a finely tuned orchestra, where each device plays its part perfectly. Event-based automation guarantees your lights respond instantly to camera detections, creating a seamless security symphony. By choosing the right camera, setting accurate triggers, and fine-tuning responses, you’ll keep your home safe and responsive. Remember, the key is to make your automation flow smoothly—like a melody—so every event triggers the right action at just the right moment.