To set up your Ring security camera, start by choosing a clear location and gathering mounting hardware. Download the Ring app and create an account, then power on your camera and connect it to your Wi-Fi network. Mount and adjust the camera for ideal coverage. Use the app to fine-tune settings, test video and motion detection, and customize alerts. Keep in mind that proper setup guarantees reliable security, and you’ll find more tips to enhance your device as you continue.
Key Takeaways
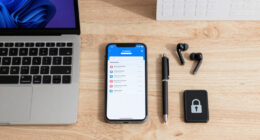
- Download the Ring app, create an account, and connect your camera to power and Wi-Fi during setup.
- Choose an optimal mounting location, install the camera securely, and test the view using Live View.
- Configure camera settings such as motion zones, sensitivity, and notifications via the Ring app.
- Verify device connectivity and streaming quality by performing live tests and adjusting placement if needed.
- Customize notification preferences and security settings to receive alerts and ensure secure operation.

Ring Spare Parts Kit for Video Doorbell (2nd Generation)
Replace any lost or misplaced parts for your Ring Video Doorbell (2nd Generation).
As an affiliate, we earn on qualifying purchases.
As an affiliate, we earn on qualifying purchases.
Pre-Setup Preparation and Charging
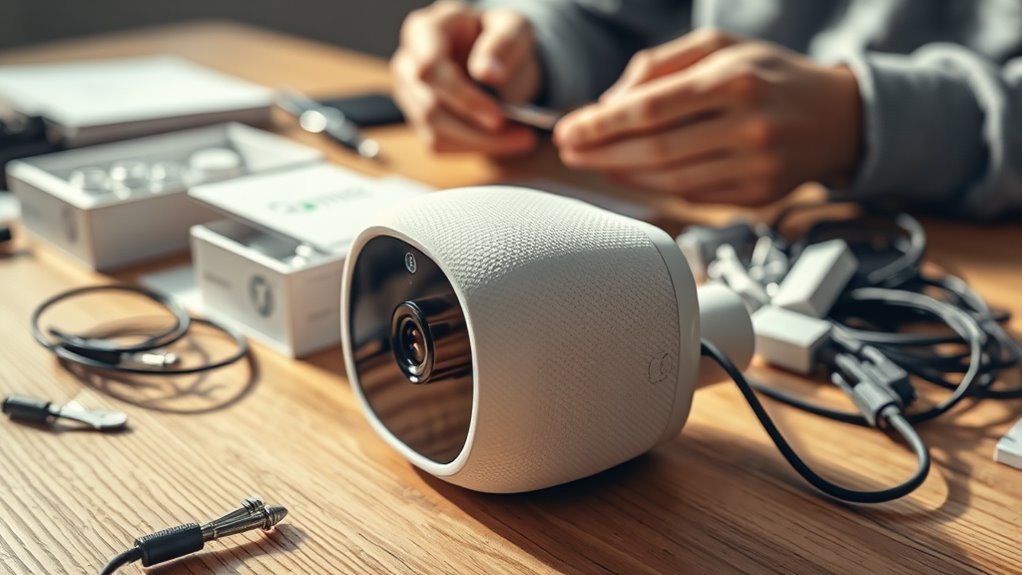
Before installing your Ring security camera, proper preparation is vital. First, identify your specific model, like the Stick Up Cam or Spotlight Cam, so you know its unique needs. Check if it requires pre-charging; for example, the Stick Up Cam needs a full charge that can take up to 10 hours. Determine whether your camera runs on batteries, a plug-in, or is hardwired, and gather all necessary mounting hardware, such as screws and clips. Assess the installation site for obstacles and the best viewing angles to guarantee maximum coverage. Finally, confirm that you have a stable power source if charging is needed. Understanding the power connection type and compatibility can also be helpful if you plan to use audio accessories with your security system. Additionally, reviewing the camera specifications ensures you select the optimal placement and setup for your environment. Being aware of the different cookie categories and their purposes can help you maintain privacy while managing your device settings. Familiarizing yourself with data privacy practices can further enhance your security and peace of mind. Preparing these elements beforehand helps streamline setup and guarantees your camera operates smoothly from the start.

Ring Rechargeable Quick Release Battery Pack
Get an extra rechargeable battery pack so you'll always have backup power ready to go.
As an affiliate, we earn on qualifying purchases.
As an affiliate, we earn on qualifying purchases.
Downloading and Installing the Ring App
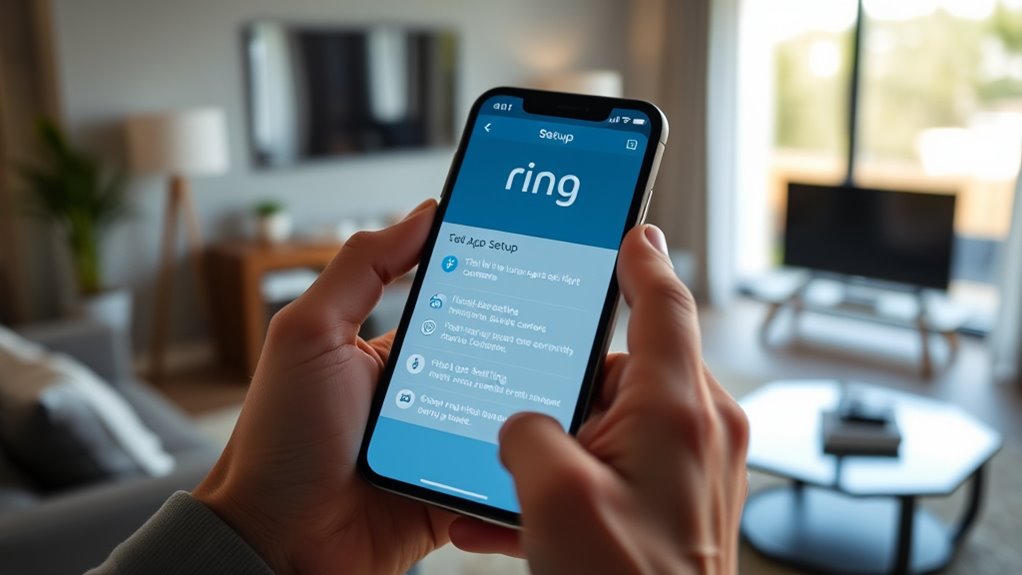
To get started with your Ring security camera, you’ll need to download and install the Ring app on your mobile device. The app is available for both iOS and Android devices. iOS users can find it in the App Store, while Android users should visit the Play Store. Alternatively, you can access it by visiting ring.com/app on your mobile browser. To install, search for “Ring” in your store, then download and follow the on-screen prompts. Make sure your device has enough storage space and runs a compatible operating system. The installation usually takes just a few seconds, depending on your internet speed. Be aware that device compatibility can affect the app’s performance and features. Additionally, ensuring your device’s software updates are current can help prevent connectivity issues and improve app stability. Regularly updating your device’s operating system can also enhance security and functionality. It is also helpful to check for any app updates regularly to access new features and improvements. Properly configuring your device’s security settings can further protect your data and ensure smooth operation. Once installed, you’ll be ready to manage and monitor your Ring devices through the app.

LaView Security Cameras 4pcs, Home Security Camera Indoor 1080P, Wi-Fi Cameras Wired for Pet, Motion Detection, Two-Way Audio, Night Vision, Phone App, Works with Alexa, iOS & Android & Web Access
Stay Connected Anywhere: This wired Wi-Fi Camera access 24/7 live streams via LaView app on mobile or web…
As an affiliate, we earn on qualifying purchases.
As an affiliate, we earn on qualifying purchases.
Creating and Logging Into Your Ring Account

Creating and logging into your Ring account is a straightforward process that starts with providing a valid email address and setting a secure password. During registration, you’ll also enter your first and last names. The app guides you through each step, making setup easy. Once your account is created, logging in requires your email address and password. For security, two-step verification is mandatory and can’t be disabled, meaning you’ll need a verification code when logging in from new devices or after account changes. If sharing access, all users must have the verification code. Additionally, enabling two-factor authentication enhances your account security by providing an extra layer of protection. To ensure optimal website functionality, it’s important to understand how cookies are used during login and browsing sessions. Regularly reviewing your privacy settings helps you control who can access your device and account information. Understanding how security protocols are implemented can further strengthen your account’s defenses. Once logged in, you can manage multiple locations and users, ensuring your security setup aligns with your needs. Regular login isn’t necessary on devices where you’re already signed in and staying logged in.

2Pack Adjustable Security Wall Mount Bracket for Ring Stick Up Cam & Ring Outdoor Cam Plus, Perfect View Angle for Your Surveillance Camera System – White
Universal Compatibility – This mounting bracket is designed for Ring Stick Up Cam & Outdoor Cam Plus 2K…
As an affiliate, we earn on qualifying purchases.
As an affiliate, we earn on qualifying purchases.
Connecting Your Ring Camera to Wi-Fi

Once you’ve logged into your Ring account, the next step is connecting your device to Wi-Fi so it can function properly. Make certain your Ring device is powered on, then put it into setup mode by pressing and holding the small setup button until a pulsing white light appears. From your mobile device, connect to the Ring device’s temporary Wi-Fi network. Open the Ring app and follow the prompts to complete setup. When prompted to select a Wi-Fi network, choose a 2.4 GHz network with a strong, secure password. Confirm your network name and password before proceeding. Wait for the connection to finalize. If you encounter issues, check your Wi-Fi stability, restart your device and router, and ensure the device is within range. Using a professional voiceover can help guide users through complex setup procedures more effectively. Additionally, ensuring your Wi-Fi network is compatible with security standards can help prevent connectivity issues. Implementing AI-driven troubleshooting tools can further streamline resolving setup challenges.
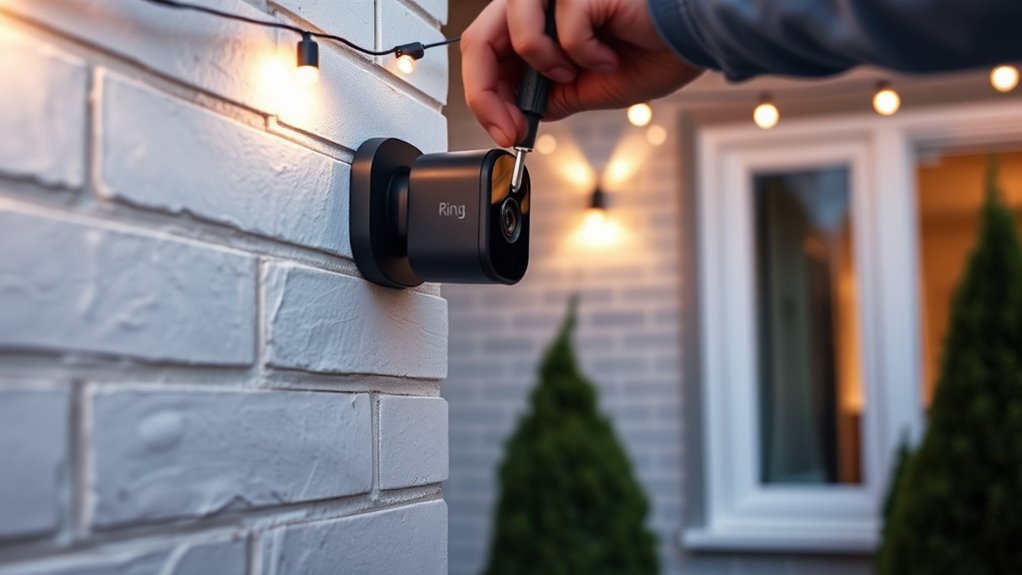
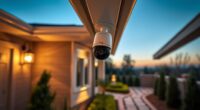
Mounting and Positioning Your Camera
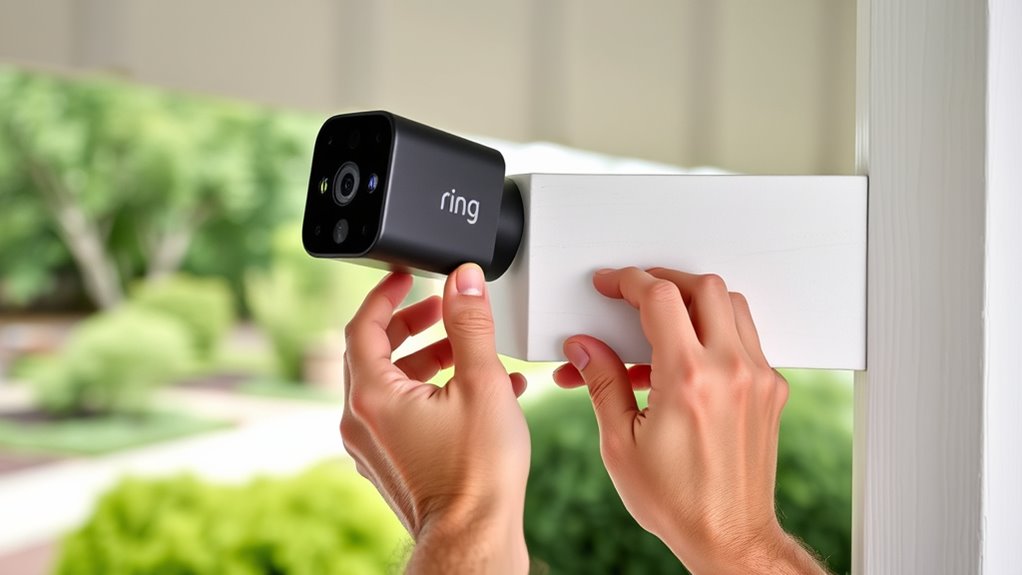
Choosing the right spot and properly mounting your Ring camera are essential steps to guarantee ideal surveillance coverage. Start by selecting a location with a clear view of the area you want to monitor, avoiding obstructions like trees or wires. Check the surface type—wood, brick, or siding—and gather the necessary tools such as screwdrivers and drills. Decide on the mounting option best suited for your needs, like wall, ceiling, or corner mounting. Use the included screws and secure the camera tightly, adding rubber pads on smooth surfaces if needed. Test camera angles using the Live View feature in the Ring app to ensure optimal coverage. Make sure the camera is oriented correctly, easily accessible for power, and positioned to minimize glare or direct sunlight. Proper placement ensures reliable security and clear footage. Additionally, consider the camera’s field of view to maximize the area covered and avoid blind spots. Ensuring the camera’s placement accounts for lighting conditions can also improve footage clarity during different times of day. It’s also helpful to review the best security zones to optimize your camera’s effectiveness in safeguarding your property. Proper positioning can also help mitigate potential pollution and glare, which may affect video quality.
Configuring Camera Settings and Features
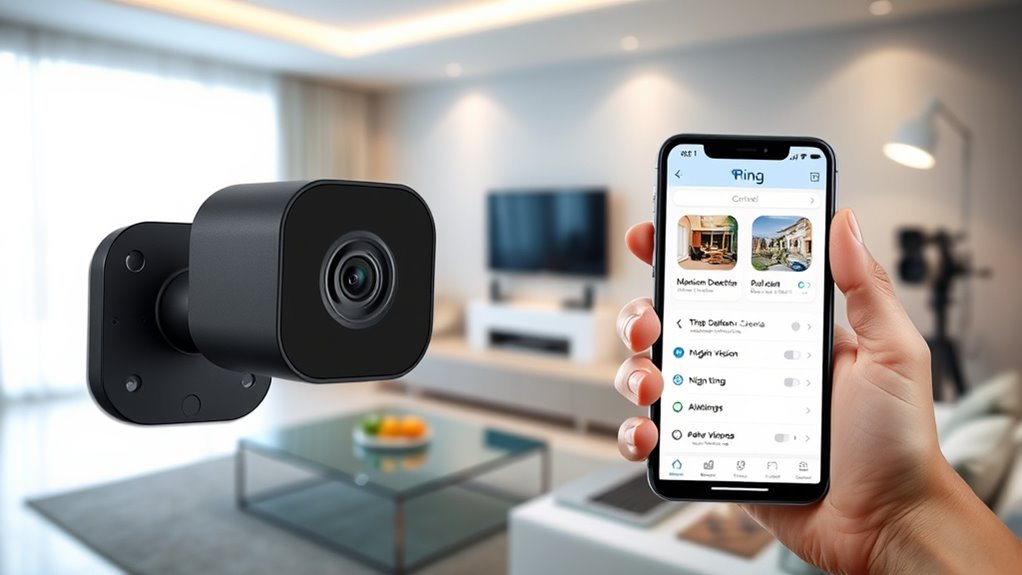
To get the most out of your Ring security camera, it’s important to customize its settings and features according to your needs. Start by charging your battery or connecting it to a solar panel for continuous power, especially for battery-powered models.
Adjust video and recording settings based on device modes like Home, Away, or Disarmed—each mode controls when recordings happen. Manage recording schedules and video quality through the Ring app, which automatically adapts to your network.
Customize light settings by manually turning lights on or off, setting timers, or adjusting brightness. Fine-tune motion sensitivity and create specific motion zones to minimize false alerts.
Use device modes to tailor camera and notification behaviors, ensuring your security system fits your lifestyle perfectly.
Testing and Verifying Camera Operation
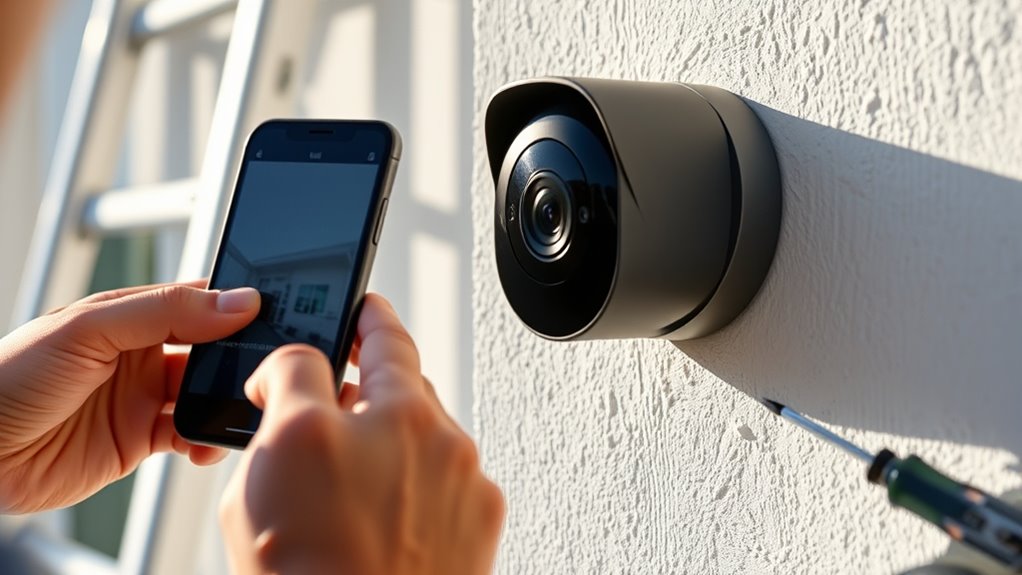
Testing and verifying your Ring security camera guarantees it functions correctly and provides reliable security coverage.
First, make certain your device is connected to the same WiFi network as your smartphone for seamless communication.
Bring your device near the camera to check signal strength and conduct a speed test using speedtest.net, aiming for at least 2 Mbps upload and download speeds.
Initiate a live view through the Ring app to verify the camera streams properly, checking video quality, audio clarity, and connection stability.
Walk in front of the camera to trigger motion detection, ensuring notifications arrive promptly.
Test the siren and alarm features, confirming they activate correctly and adjusting volume if needed.
Regularly perform these tests to maintain excellent camera operation and security readiness.
Ensuring your device is properly configured for optimal performance can prevent connectivity issues and improve overall security effectiveness.
Managing Notifications and Security Settings
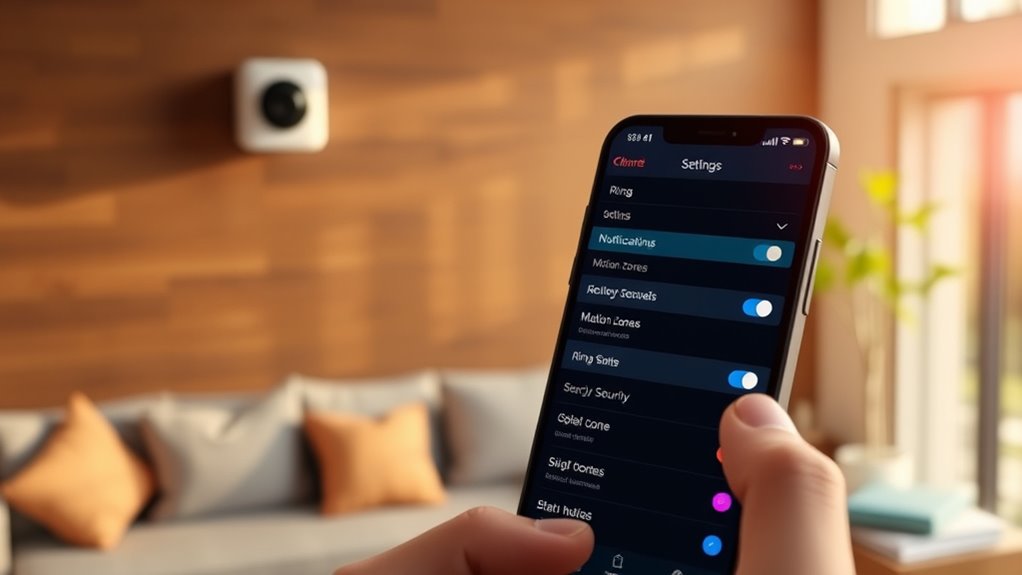
Managing notifications and security settings on your Ring camera guarantees you stay informed without being overwhelmed. Start by selecting the specific device you want to customize in the Ring app. Tap “more” (•••) on the device dashboard to access settings.
Personalize your Ring camera alerts to stay informed without feeling overwhelmed.
You can toggle Ring Alerts for doorbells and Motion Alerts for motion detection. Adjust notification tones to your preference, and choose between push notifications or emails.
For more control, set Motion Schedules to silence alerts during certain times, and enable features like Motion Warning or customize motion zones for better accuracy.
Integrate Ring Alarm notifications to manage alarm alerts, and use Do Not Disturb modes carefully to avoid missing critical alerts.
Don’t forget to save your changes after adjustments to ensure your settings are applied correctly.
Frequently Asked Questions
How Do I Troubleshoot Wi-Fi Connectivity Issues With My Ring Camera?
When troubleshooting Wi-Fi issues with your Ring camera, start by checking the signal strength in the app.
Make sure it’s connected to the 2.4 GHz band, as it’s more reliable.
Restart the camera by holding the setup button for 10 seconds.
Verify your Wi-Fi password, and confirm there are no physical barriers blocking the signal.
If problems persist, try resetting the device or adjusting your router settings.
Can I Use Multiple Ring Cameras With the Same Account?
Like a Swiss Army knife, your Ring account can manage multiple cameras. You can connect several devices to one account, view up to four cameras at once, and share access with others.
Just remember, your plan determines how many devices are covered. With a Protect Plus plan, all your cameras are unified under one roof, making management straightforward.
No need to juggle multiple accounts—your Ring system has got you covered.
How Do I Update the Firmware on My Ring Device?
To update your Ring device’s firmware, open the Ring app and check for updates.
If an update is available, you’ll see an “Updating” icon, and the device will begin downloading and installing the firmware.
During this process, your device might be temporarily non-functional.
The update completes when the flashing lights stop or go dark.
Make sure your device has a stable Wi-Fi connection and sufficient battery life for a smooth update.
What Should I Do if My Camera’s Live Feed Is Lagging?
Think of your camera’s live feed as a delicate thread connecting you to your home’s heartbeat. If it lags, check your WiFi strength on the Device Health page and restart your router and camera to clear kinks.
Lower video quality or temporarily disconnect other devices to free up bandwidth. Keep firmware updated and guarantee your camera is ideally placed.
If issues persist, consider upgrading your router or contact support for help.
How Do I Reset My Ring Camera to Factory Settings?
To reset your Ring camera to factory settings, locate the setup button on your device, usually near the battery.
Press and hold the button for about 10 seconds (or 20 seconds for models like the Stick Up Cam). You’ll see flashing lights or hear sounds indicating the reset.
Once done, the camera erases all previous settings, allowing you to set it up again or transfer ownership easily.
Conclusion
And there you have it—your very own high-tech guardian, ready to judge your neighbors and protect your home, all from the comfort of your couch. With a few simple steps, you’ve transformed from a mere mortal into a vigilant sentry, armed with nothing more than a smartphone and some clever positioning. So sit back, relax, and enjoy the illusion of security—because in today’s world, who needs actual human oversight when you’ve got a shiny camera watching over you?