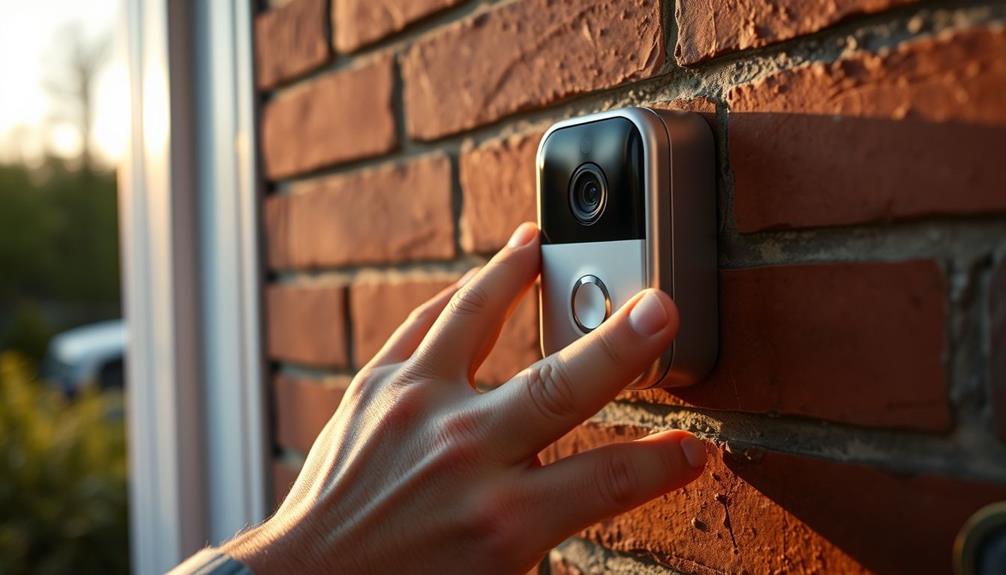
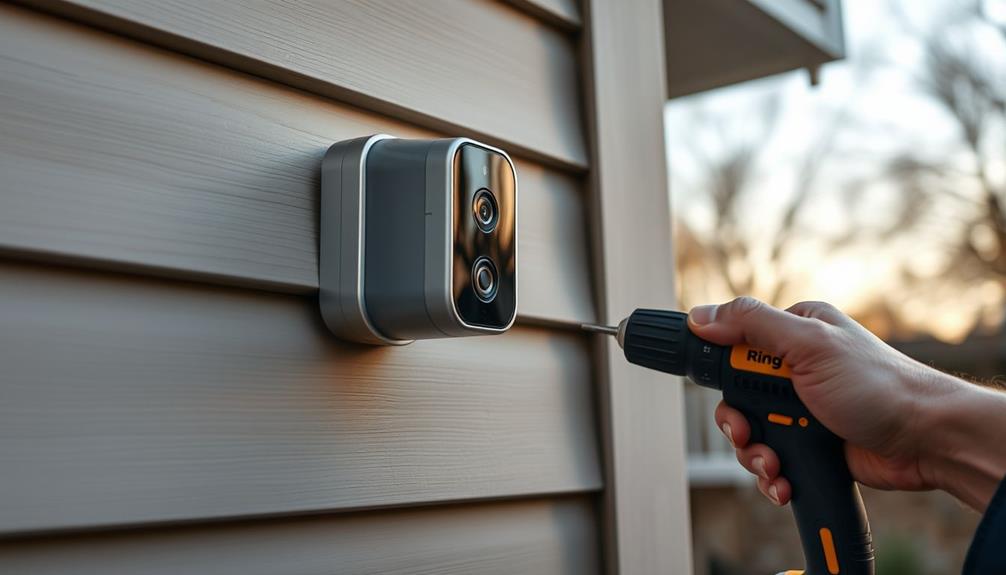
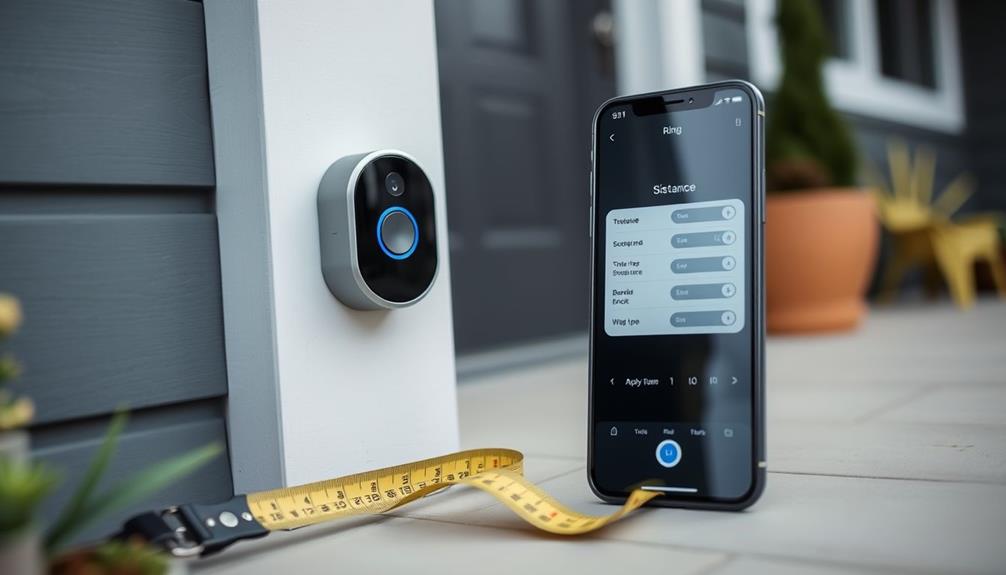
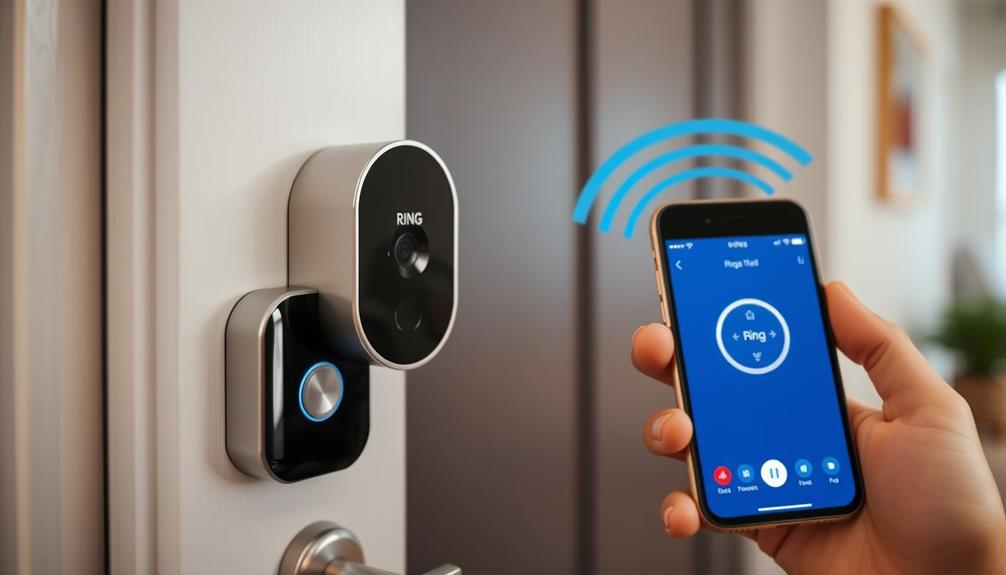
To install your Ring Doorbell, begin by charging the battery with the orange cable that comes with it. Set it up in the Ring app near your Wi-Fi router. Install the doorbell at a height of about four feet and make sure the power is turned off before connecting the existing doorbell wiring. Fasten the device using the provided screws. Once everything is connected, turn the power back on and test the doorbell by pressing the button. Ensure that your Wi-Fi signal is strong for optimal performance. There is more helpful information coming up to assist you in refining your installation and maintenance process.
Key Takeaways
- Charge the built-in battery using the provided orange cable before installation.
- Mount the doorbell at about four feet above ground and ensure secure attachment of existing wiring.
- Connect the existing doorbell wires to the Ring Doorbell screws after turning off power at the breaker.
- Set up the device in the Ring app while positioned near your Wi-Fi router for optimal connectivity.
Overview of Video Doorbells
Video doorbells are becoming a popular choice for homeowners who want to enhance their security and stay connected with visitors from anywhere using a smartphone app.
These devices allow you to remotely view who's at your door, providing peace of mind and convenience. With features like motion-activated notifications, you'll get alerts about deliveries or any suspicious activity, allowing you to capture video evidence of incidents right from your phone. As part of a thorough home security system, consider integrating features such as security alerts to maximize protection.
Video doorbells come in both wired models and battery-operated options. Wired models integrate with your existing doorbell systems, using low-voltage wiring compatible with 8-24 VAC setups. If you prefer a more flexible approach, battery-operated models require no wiring at all, making installation straightforward.
The choice between these two options often depends on your current doorbell setup and your preference for installation convenience. Regardless of which type you choose, video doorbells considerably enhance your home security, offering a reliable way to monitor your front door and communicate with visitors seamlessly.
Installation Process

To get started with your Ring Doorbell installation, first charge the built-in battery using the provided orange cable. Once charged, you can begin the installation process.
Next, set up the Ring Doorbell in the Ring app while near your Wi-Fi router to guarantee a strong connection. Mount the doorbell at a height of approximately four feet above the ground. Use the mounting bracket as a template to mark the screw holes.
Here's a quick reference table to help you through the installation:
| Step | Action | Reminder |
|---|---|---|
| 1. Charge | Charge the built-in battery | Use the orange cable |
| 2. Setup | Install via the Ring app | Stay close to the Wi-Fi router |
| 3. Mount | Securely mount the doorbell | Mark screw holes accurately |
| 4. Connect | Attach existing doorbell wiring | Guarantee power is off at the breaker |
After securing the device, restore power at the breaker. Finally, test the Ring Doorbell by pressing the button to confirm its video functionality. You're all set!
Wiring and Power

Before connecting your Ring Doorbell, verify that your doorbell system supplies low voltage between 8 to 24 VAC, as it's not compatible with DC or lighting transformers. For ideal audio quality, consider integrating your doorbell with a home theatre system to enhance communication.
Start by disconnecting power at the breaker to prevent electrical hazards while you work with the wiring. Safety is key during this installation.
Next, take the existing doorbell wiring from your wall and connect it to the screws on the back of the Ring Doorbell. Make sure you use the provided screws to secure the device, as using incorrect screws can damage the doorbell and lead to malfunctions. The order of connection doesn't affect functionality, so you can choose either wire for each screw.
Once everything is connected, double-check your work to make certain there are no loose wires. Now, it's time to restore power at the breaker. When you do this, your Ring Doorbell should light up, indicating that it's ready for configuration.
Following these steps will help you successfully set up your doorbell and enjoy the added security it provides.
Wifi Connectivity

Guaranteeing strong wifi connectivity is vital for your Ring Doorbell to function effectively and deliver seamless notifications and video streaming. When you set up your doorbell, place it near your wifi router to confirm peak performance. Regularly check your wifi signal strength to maintain a reliable connection; this is essential for uninterrupted video streaming.
Additionally, using AI in Cybersecurity can help guarantee your smart devices remain protected from potential threats, which is increasingly important as more devices connect to your home network.
If you encounter issues with connectivity, consider adding a Ring Chime Pro. This device not only enhances connectivity but also extends the wifi range for your Ring devices. If you're facing video quality problems, troubleshoot by adjusting your router's placement to reduce interference and improve signal strength.
Make certain your Ring Doorbell connects to a 2.4GHz network, as many smart devices perform better on this frequency compared to a 5GHz network. This way, you'll maximize compatibility and guarantee stable connections.
Safety Precautions

Installing your Ring Doorbell safely requires taking proper precautions to prevent electrical hazards and guarantee compliance with local regulations. Here are some essential safety measures to keep in mind:
| Safety Precautions | Importance | Action Required |
|---|---|---|
| Disconnect Power | Prevents electrical hazards | Turn off the breaker before starting |
| Consult Local Laws | Secures compliance with building codes | Research local regulations |
| Use Provided Screws | Avoids damage and secures a secure fit | Only use screws included with the device |
| Hire a Professional Installation | Reduces risks when handling electrical wiring | Consider hiring an expert if unsure |
| Regularly Inspect Installation | Maintains safety and functionality | Check for wear or damage regularly |
Maintenance and Care

Regular maintenance is essential for keeping your Ring Doorbell functioning effectively and guaranteeing that you get the most out of its features. Follow these simple steps to maintain peak performance:
- Check battery levels regularly to make certain your device is charged and ready. If it's low, make sure you're charging your Ring promptly.
- Clean the camera lens periodically to prevent dust and debris from obstructing video capture. A clean lens assures clear visuals for your security needs.
- Update the Ring app frequently. Keeping it current helps you access the latest features, security improvements, and performance enhancements.
- Monitor your subscription status to enjoy all desired features, such as video recording and playback, especially if you're on the Ring Protect Plan.
Additionally, consider seasonal adjustments, like repositioning a solar charger, to improve battery life and device efficiency.
Frequently Asked Questions
How Do I Put My Ring Doorbell on My Door?
To put your Ring Doorbell on your door, start by charging its battery with the USB cable until it's fully charged. Then, download the Ring app on your smartphone and follow the instructions to connect the doorbell to your Wi-Fi network. Once it’s connected, use the provided screws and mounting bracket to securely attach the doorbell to your door frame. If you are installing ring doorbell on siding, be sure to use the appropriate screws and anchors to ensure a secure fit. Be sure to adjust the angle of the doorbell to get the best view of your entryway.
Once it's ready, turn off the power at the breaker for safety.
Use the mounting bracket to mark where to drill, keeping it about four feet high.
Connect any existing wires, secure the doorbell in place, restore power, and press the button to test if it's working.
You're all set!
How Easy Is It to Put in a Ring Doorbell?
You'd think installing a high-tech gadget like a Ring Doorbell would require a rocket scientist, but it's actually a breeze!
It takes less than 10 minutes, and you just need basic tools like a screwdriver.
You'll find that following the simple instructions and using the included mounting bracket makes the process even smoother.
Plus, with security screws, you can rest easy knowing your doorbell's safe.
It's an easy win for any homeowner!
How Do You Install a Ring Doorbell by Yourself?
To install a Ring Doorbell by yourself, start by charging the built-in battery for about 8 hours.
Use the Ring app to set up the device close to your Wi-Fi router for a strong signal.
Mount the doorbell at about four feet high, using the included screws.
Connect the existing doorbell wires, ensuring power is off at the breaker.
Does Ring Doorbell Require Wiring?
Imagine standing at the entrance of your home, where a little guardian watches over you.
The Ring Doorbell's wiring needs depend on which model you choose.
If you opt for a wired version, yes, you'll need low-voltage wiring for power.
But if you prefer the flexibility of a wireless model, you won't need any wiring at all.
Just charge it up, and it's ready to keep an eye on your doorstep.
Conclusion
Installing your Ring Doorbell is like setting up a security guard for your home—ready to keep a watchful eye on your property 24/7.
With just a bit of patience and the right tools, you can guarantee your doorstep is always monitored.
Remember, regular maintenance is key to keeping your doorbell functioning smoothly.
So, treat it like a trusty companion; check its battery and connection often, and it'll always be there to greet your visitors.


